Your first day
The set-up: your centre's details, its site and rooms, your staff and their screening dates, the policies, the children, and the invitations. Each step is done when the records are in KeepCount; nothing is ticked by hand. The screens are from a demonstration centre; everyone in them is fictional.
-
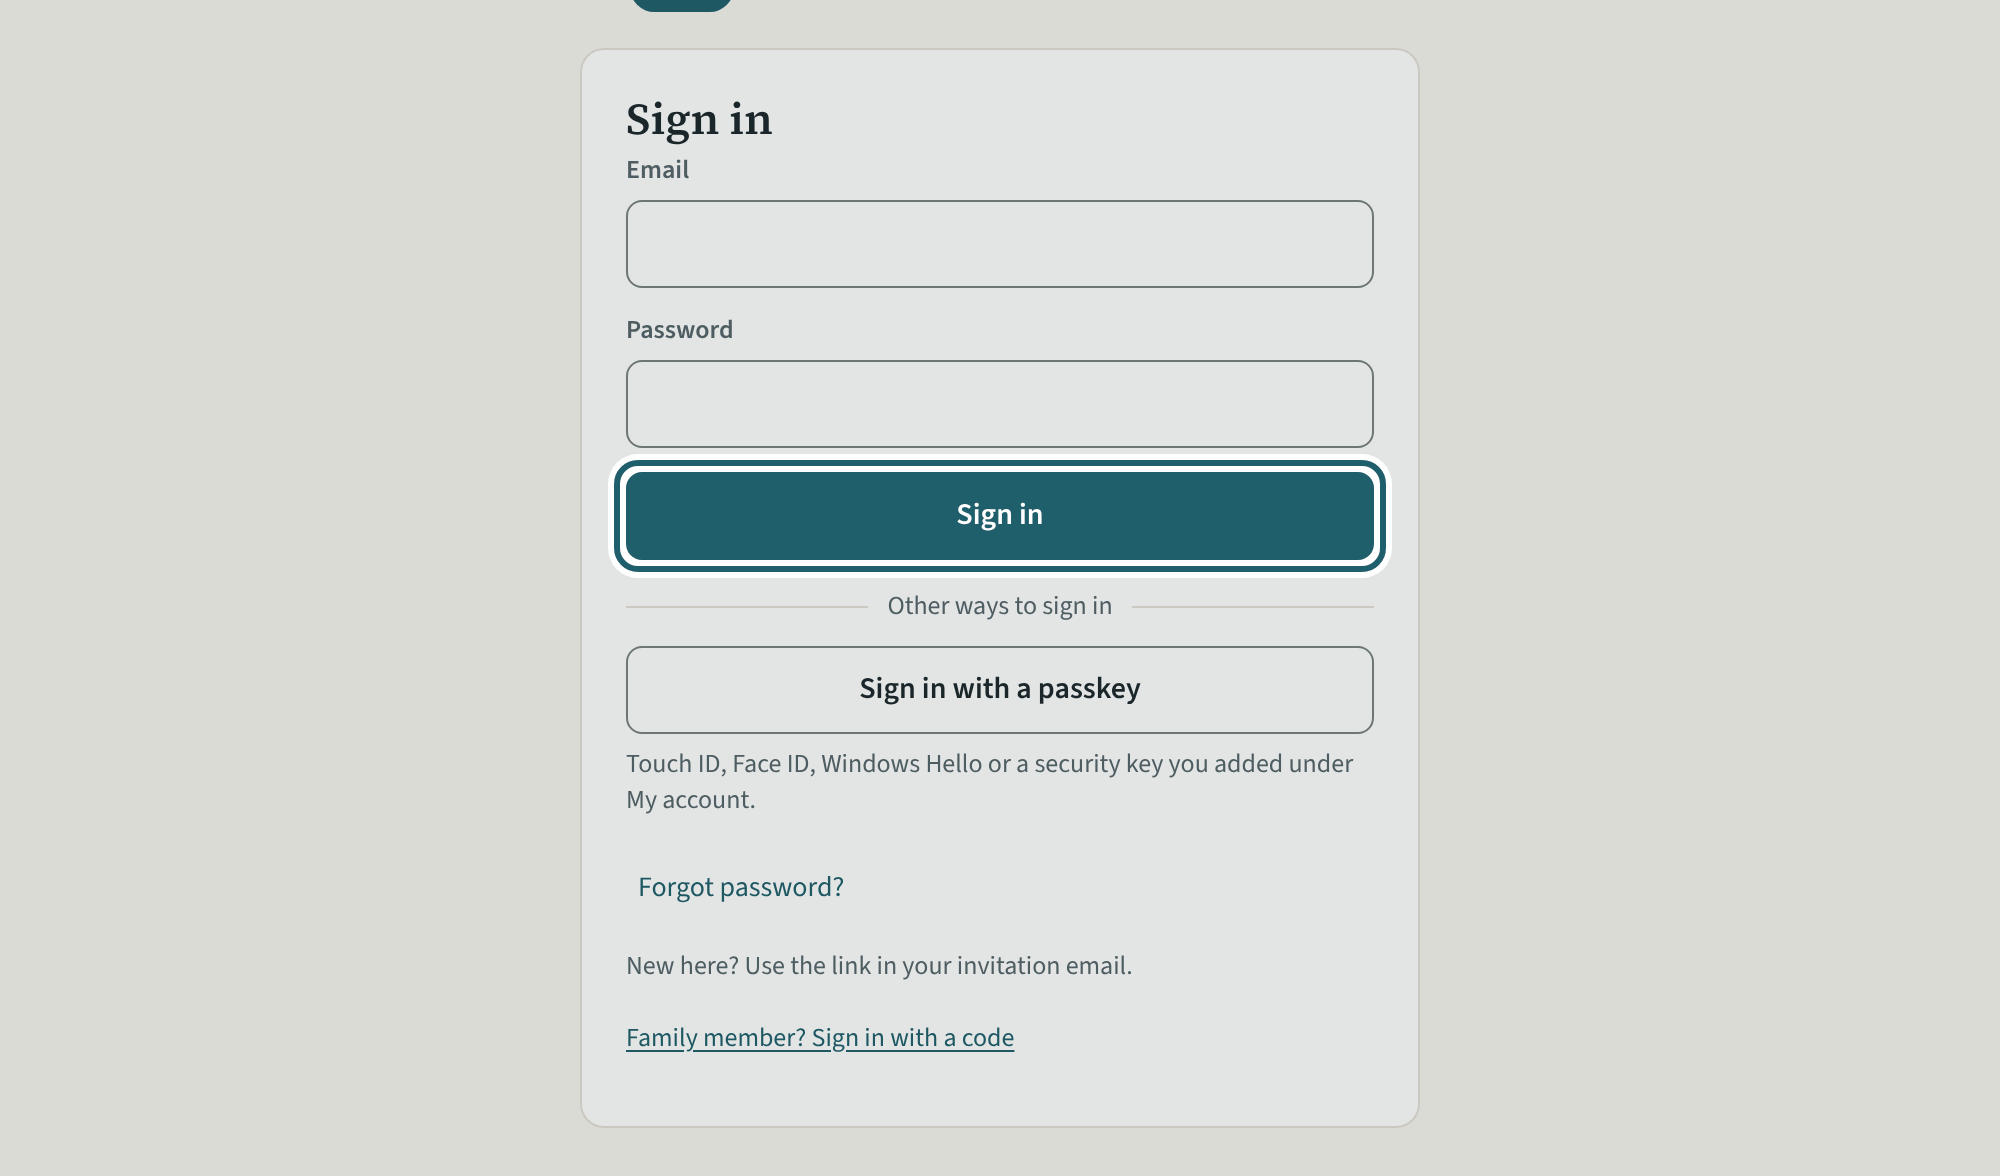
Sign in
Open the link in the email that followed your demo, choose a password, and sign in with your email and that password.
Watch out: The owner's login does everything, billing included. Give the day-to-day work its own logins (the last step) rather than sharing this one.
-
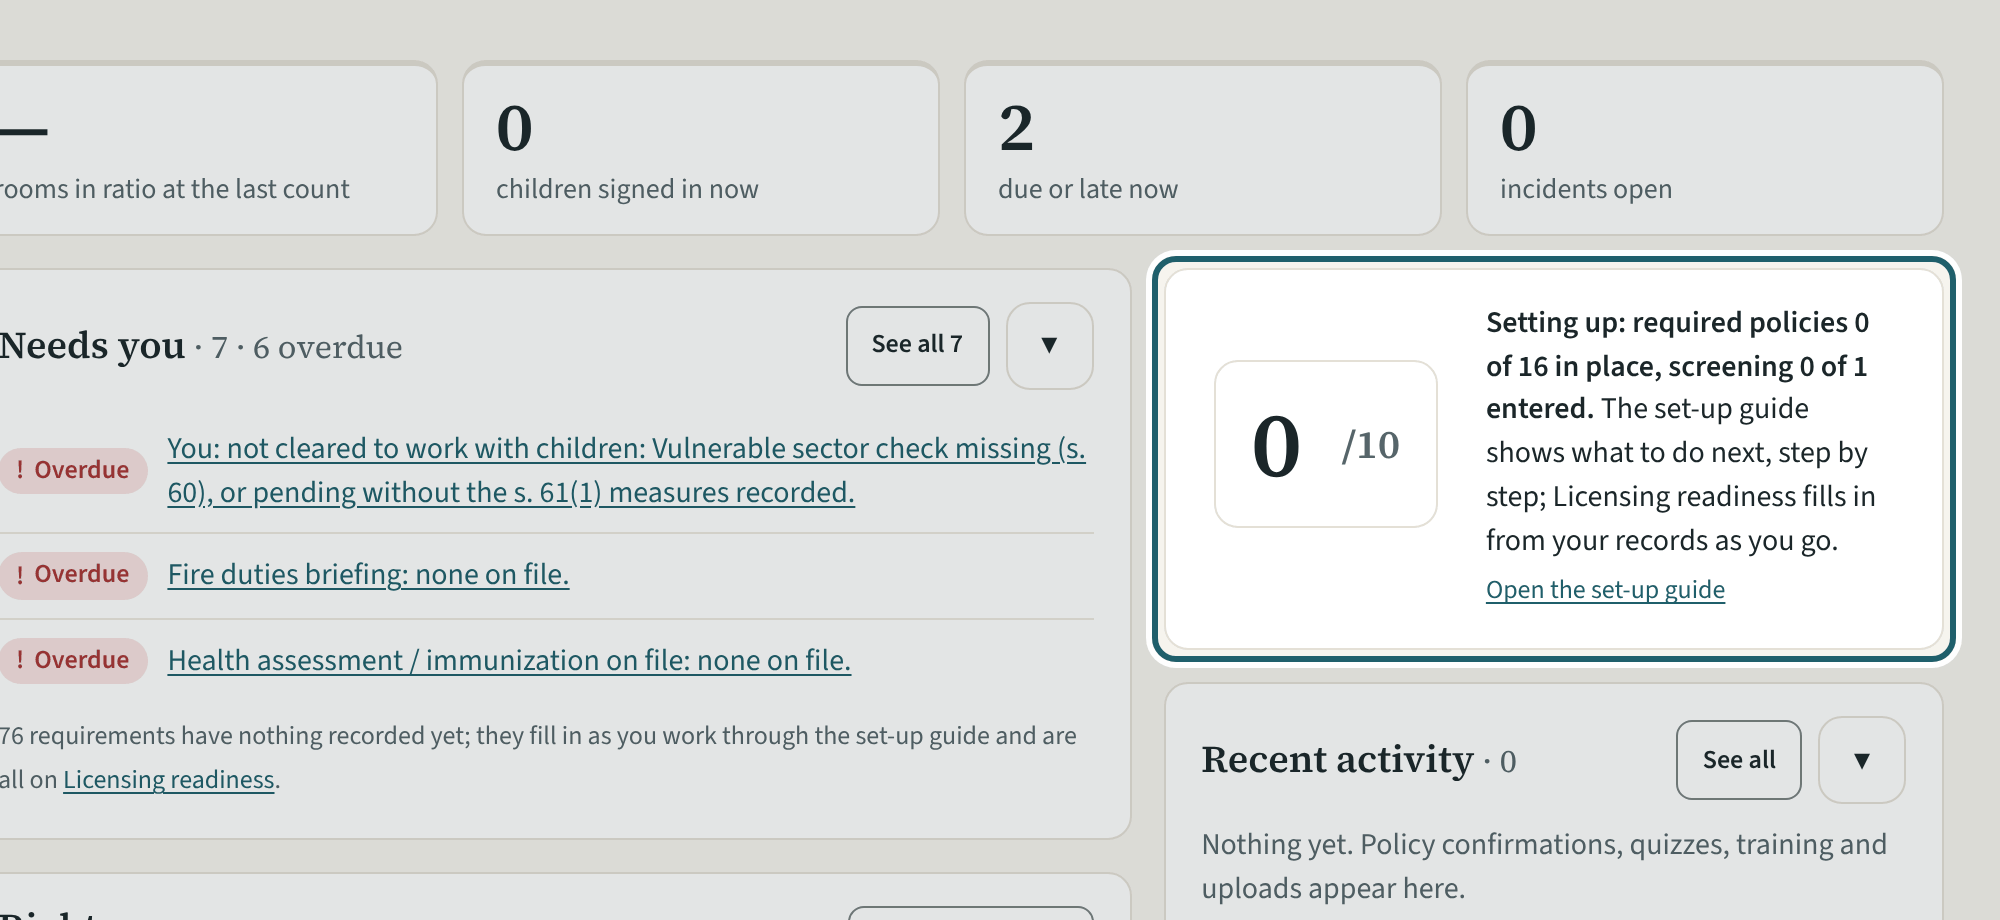
The dashboard on the first day
The dashboard says what to do next. Licensing readiness fills in from your records as you go; the set-up guide leads until the set-up is done.
-
A few questions first
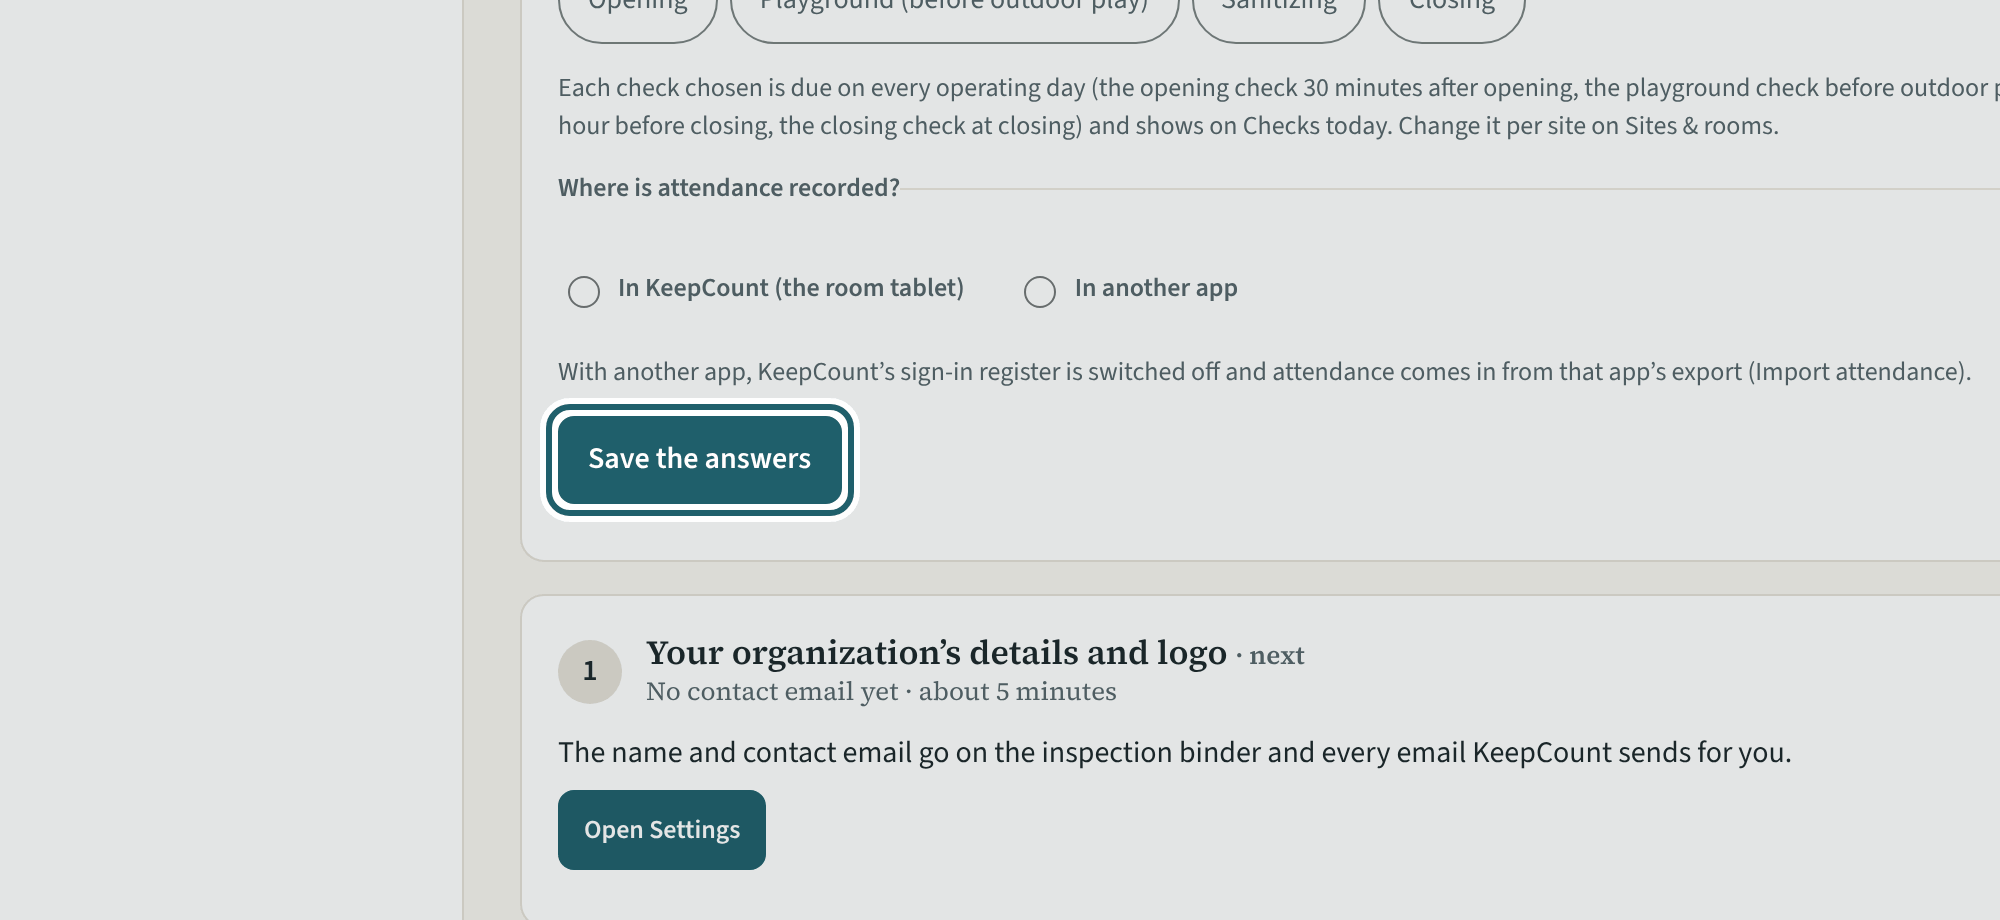
Open "Set up KeepCount" in the menu and answer the questions about your centre: about five minutes, and the readiness list follows your answers.
Watch out: A changed answer changes the readiness list: answer for how the centre runs today, and change it when that changes.
-
The ten steps
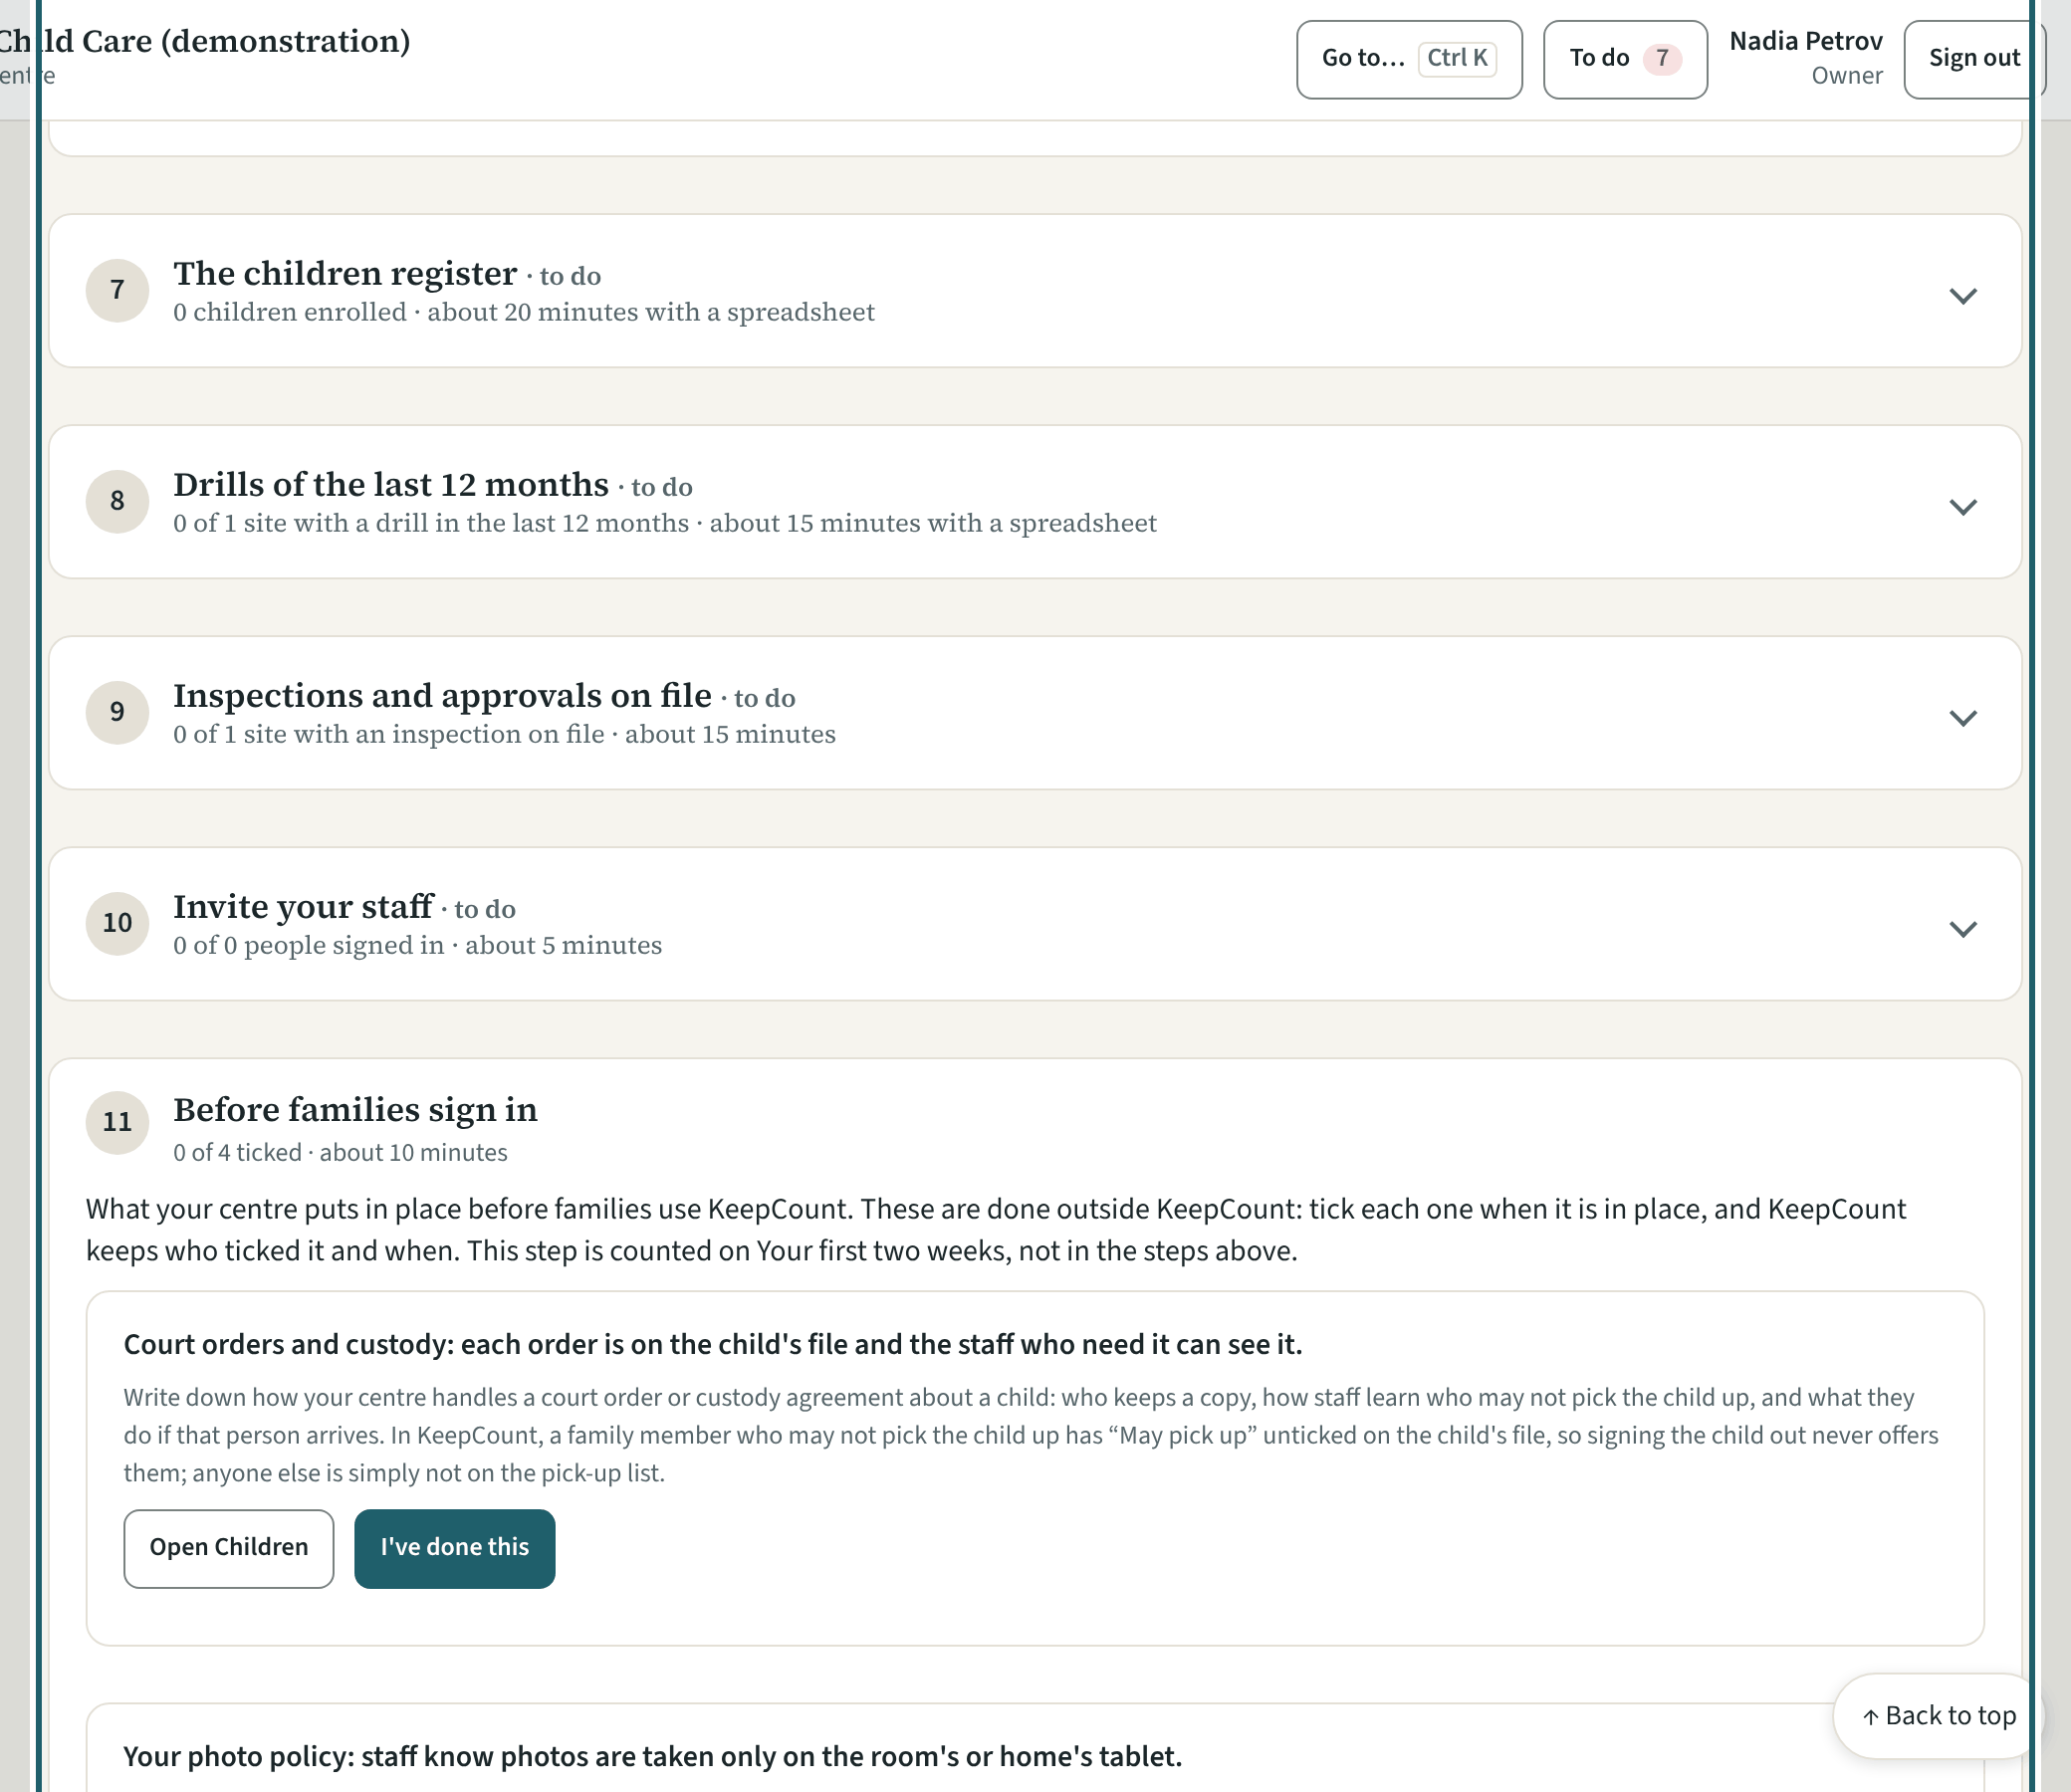
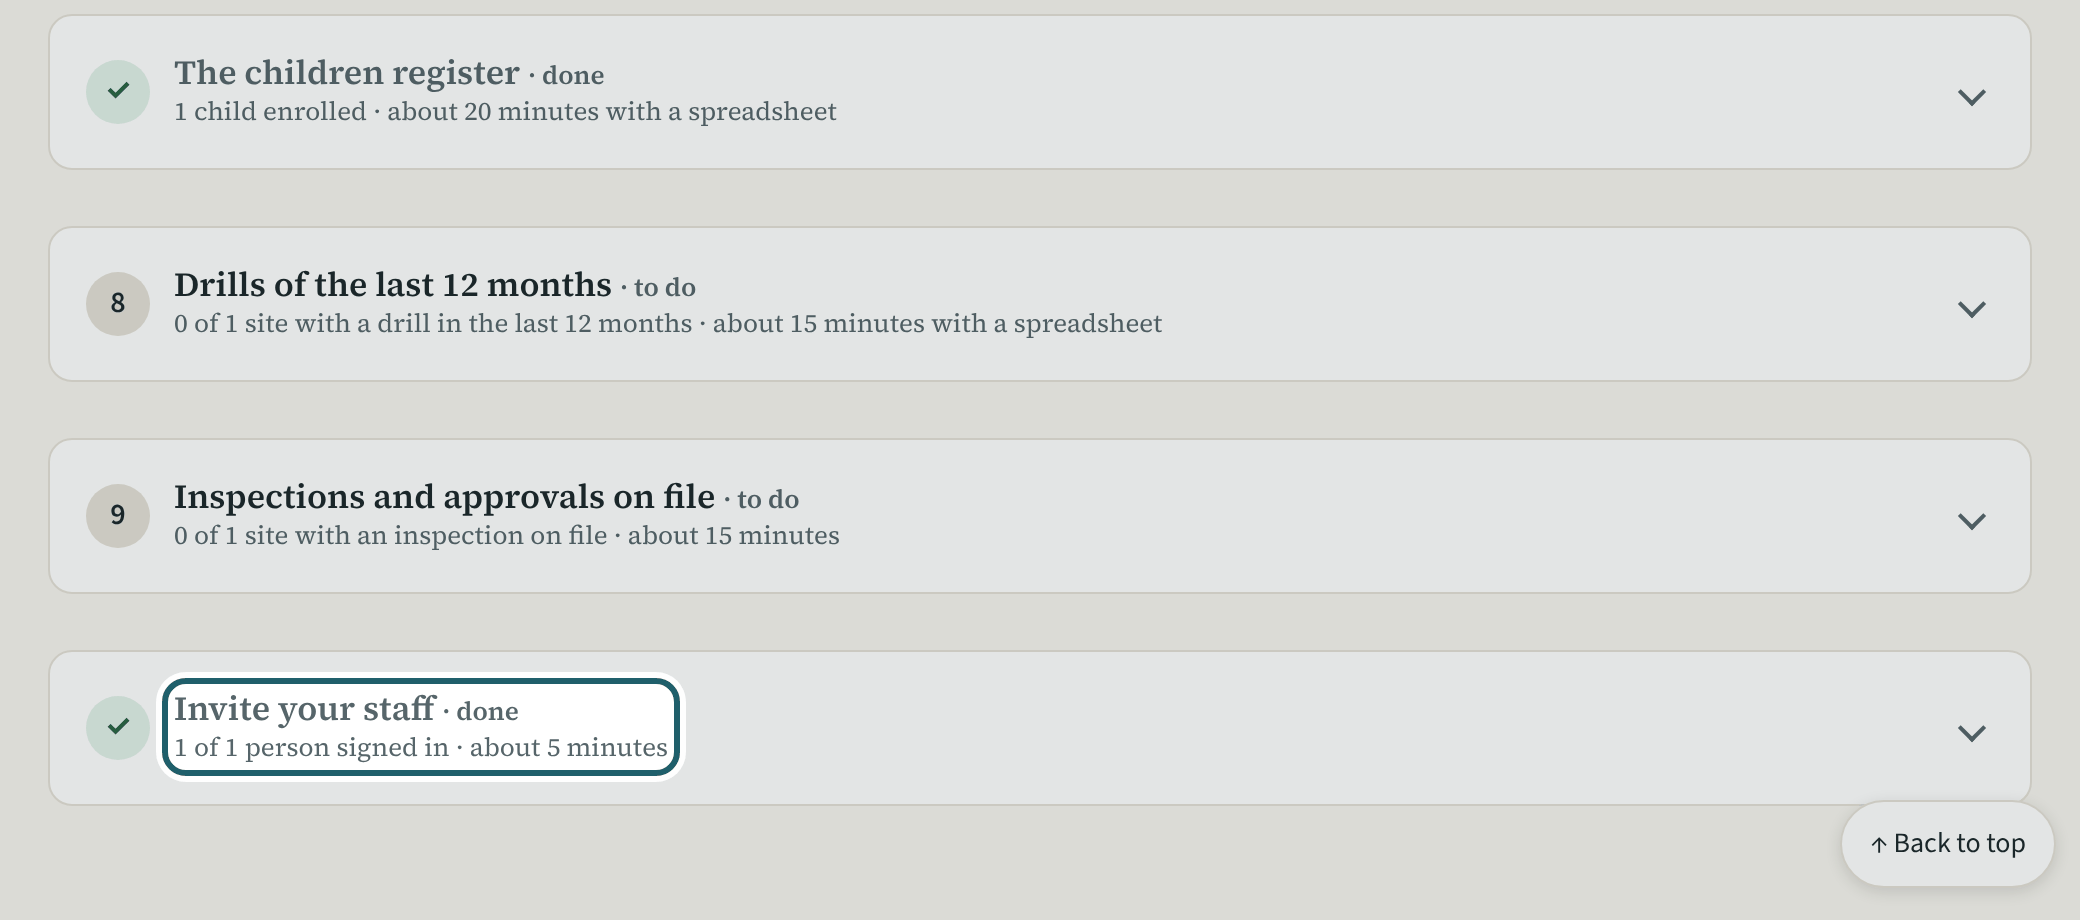
Below the questions, the ten steps in order, each with what it needs, about how long it takes, and a button to the screen. Done means the records exist.
-
Your organization's details
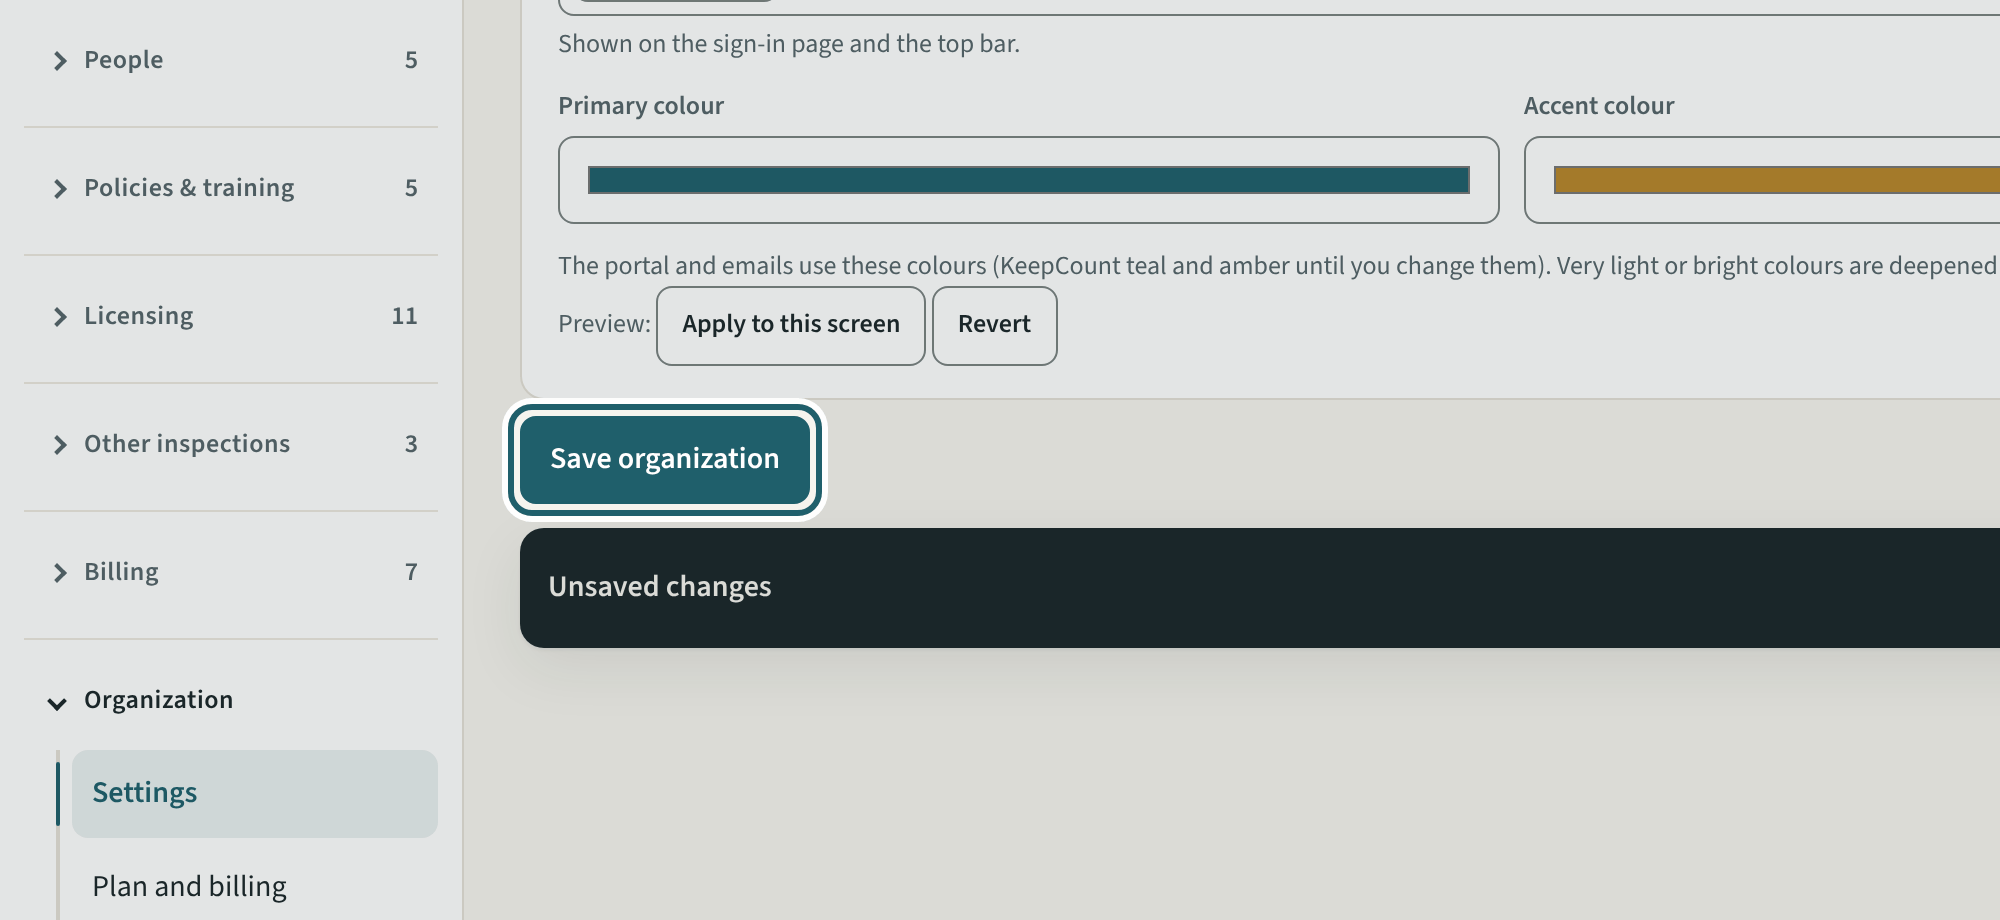
In Settings, check the name, add the contact email staff see, your tagline and your logo, then "Save organization".
Watch out: The name and contact email print on the binder and every email KeepCount sends for you: check them before inviting anyone.
-
The site: licence, capacity, days
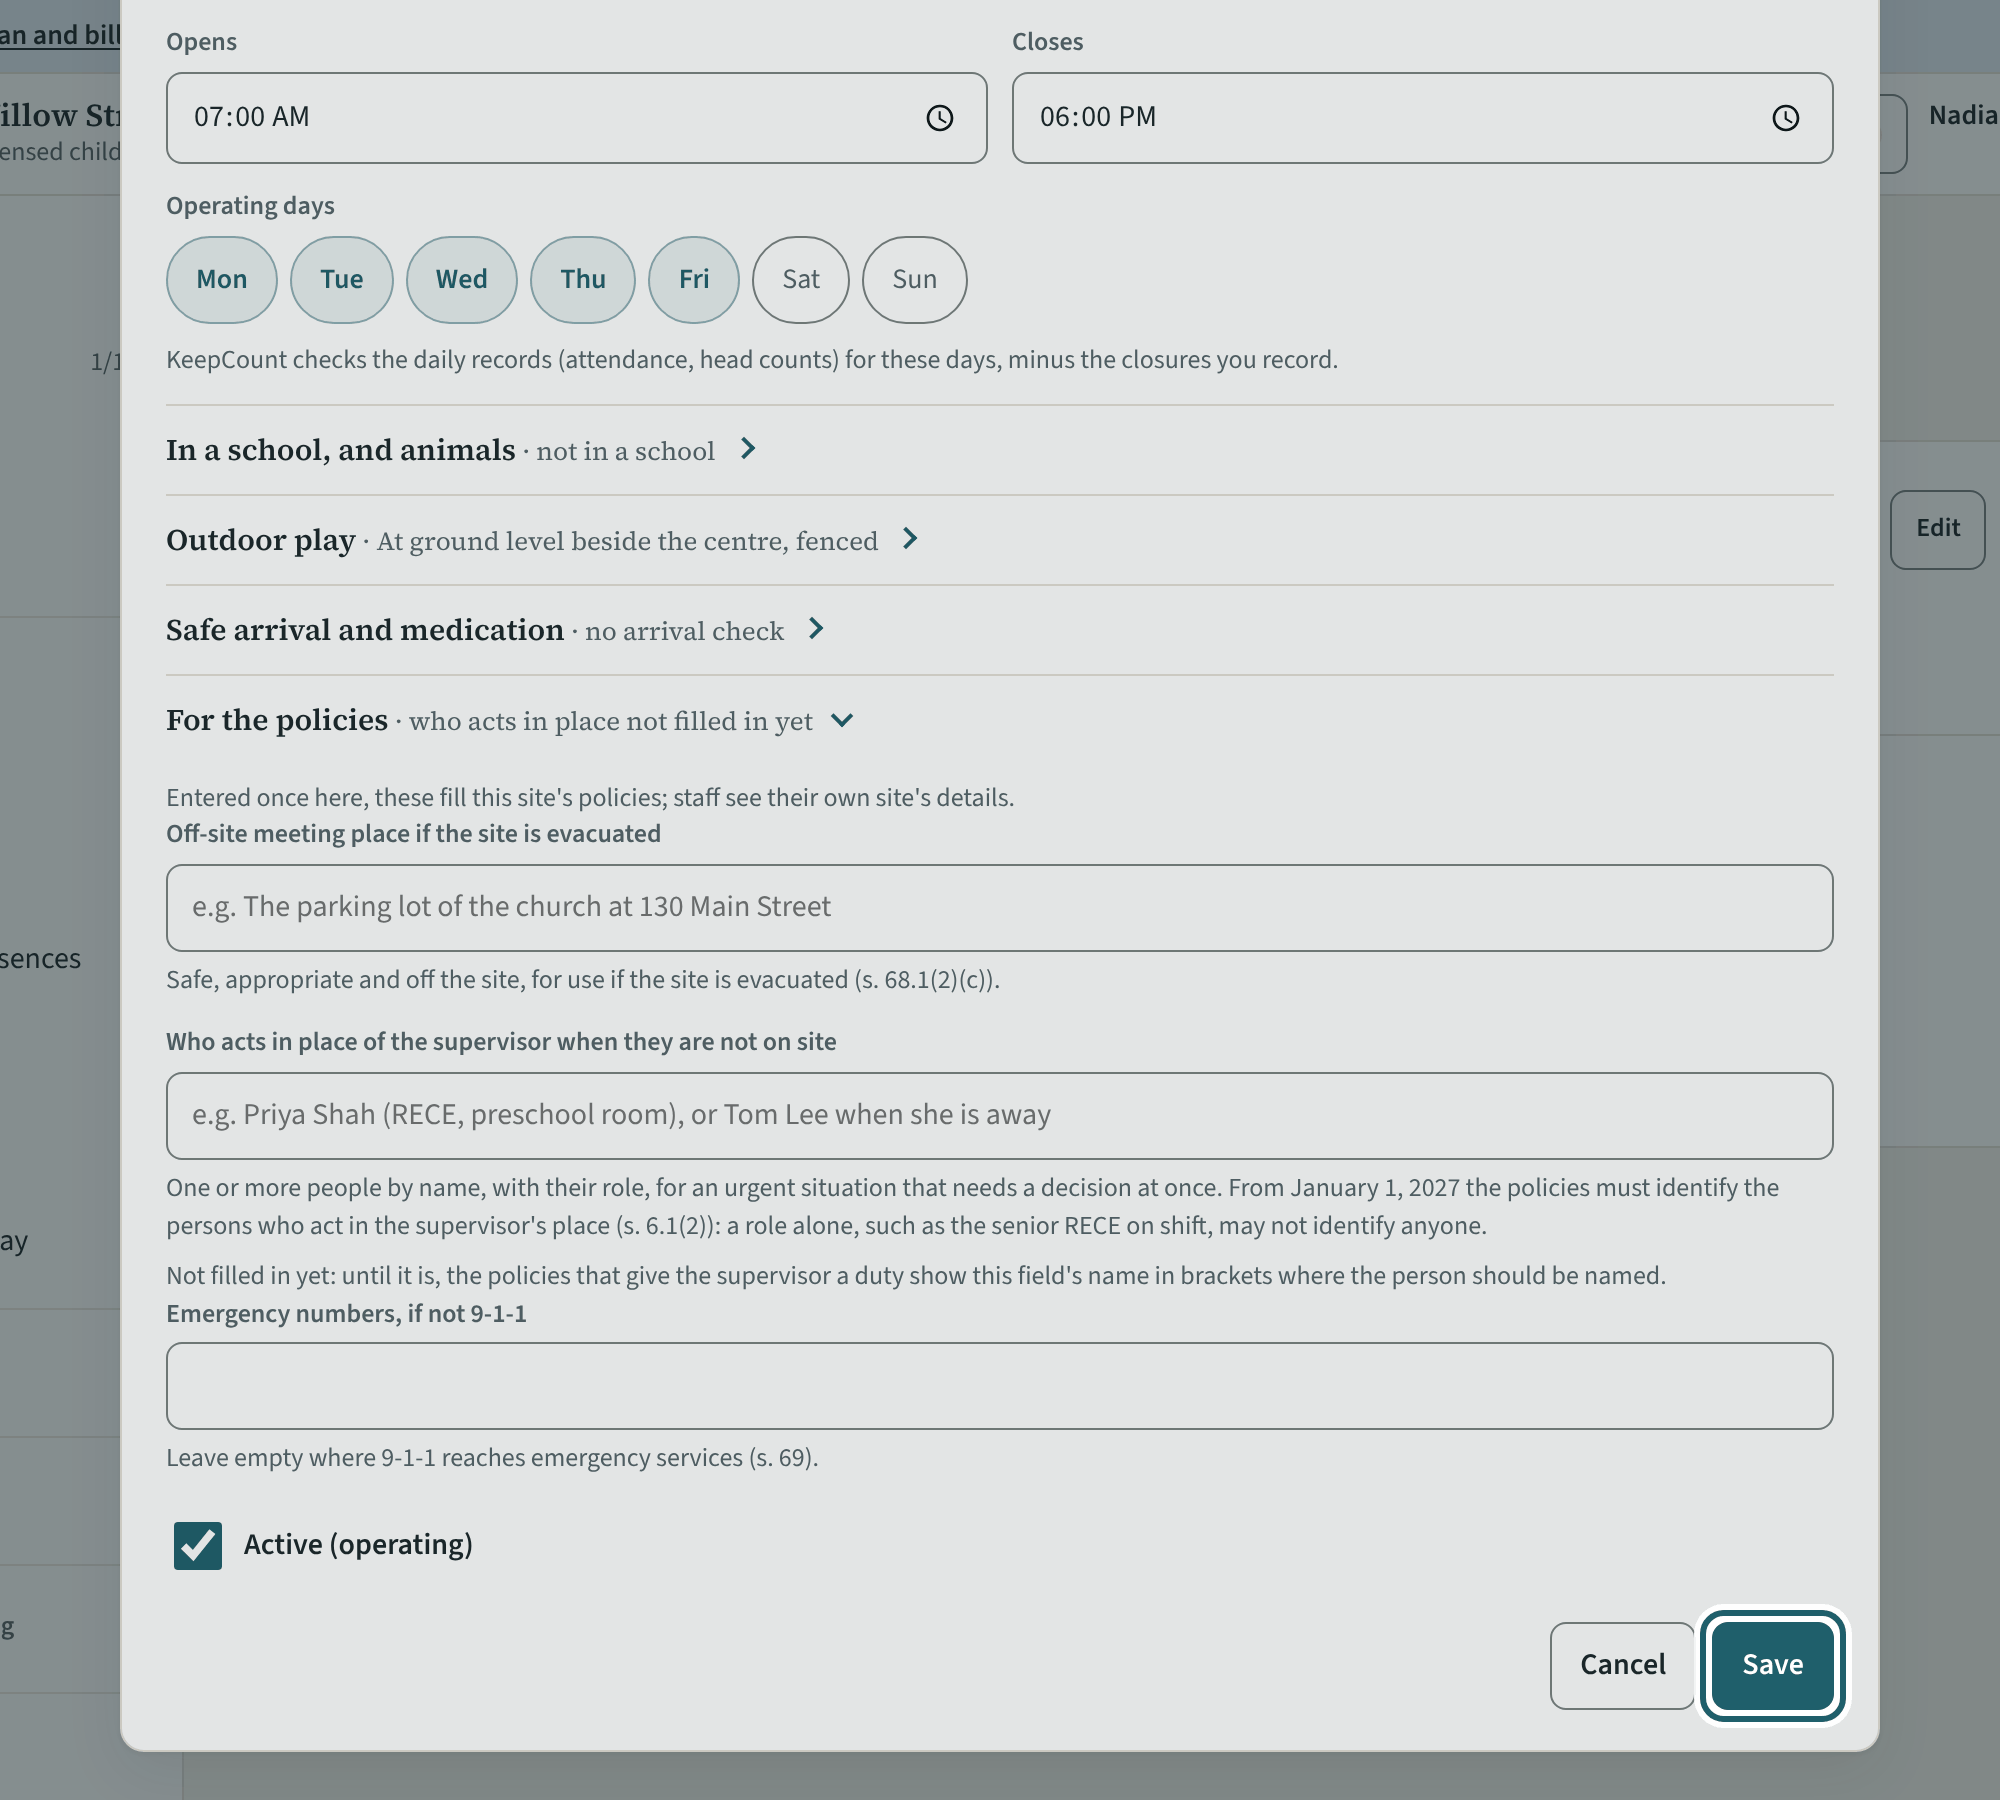
On Sites & rooms, "Edit" the site: its name as on the licence, the licence number, capacity and expiry, the supervisor, the hours and operating days.
Watch out: Use the name on the licence. The hours set when the opening check is due, when a child is "expected and not here", and when the closing check is due.
-
Add the rooms
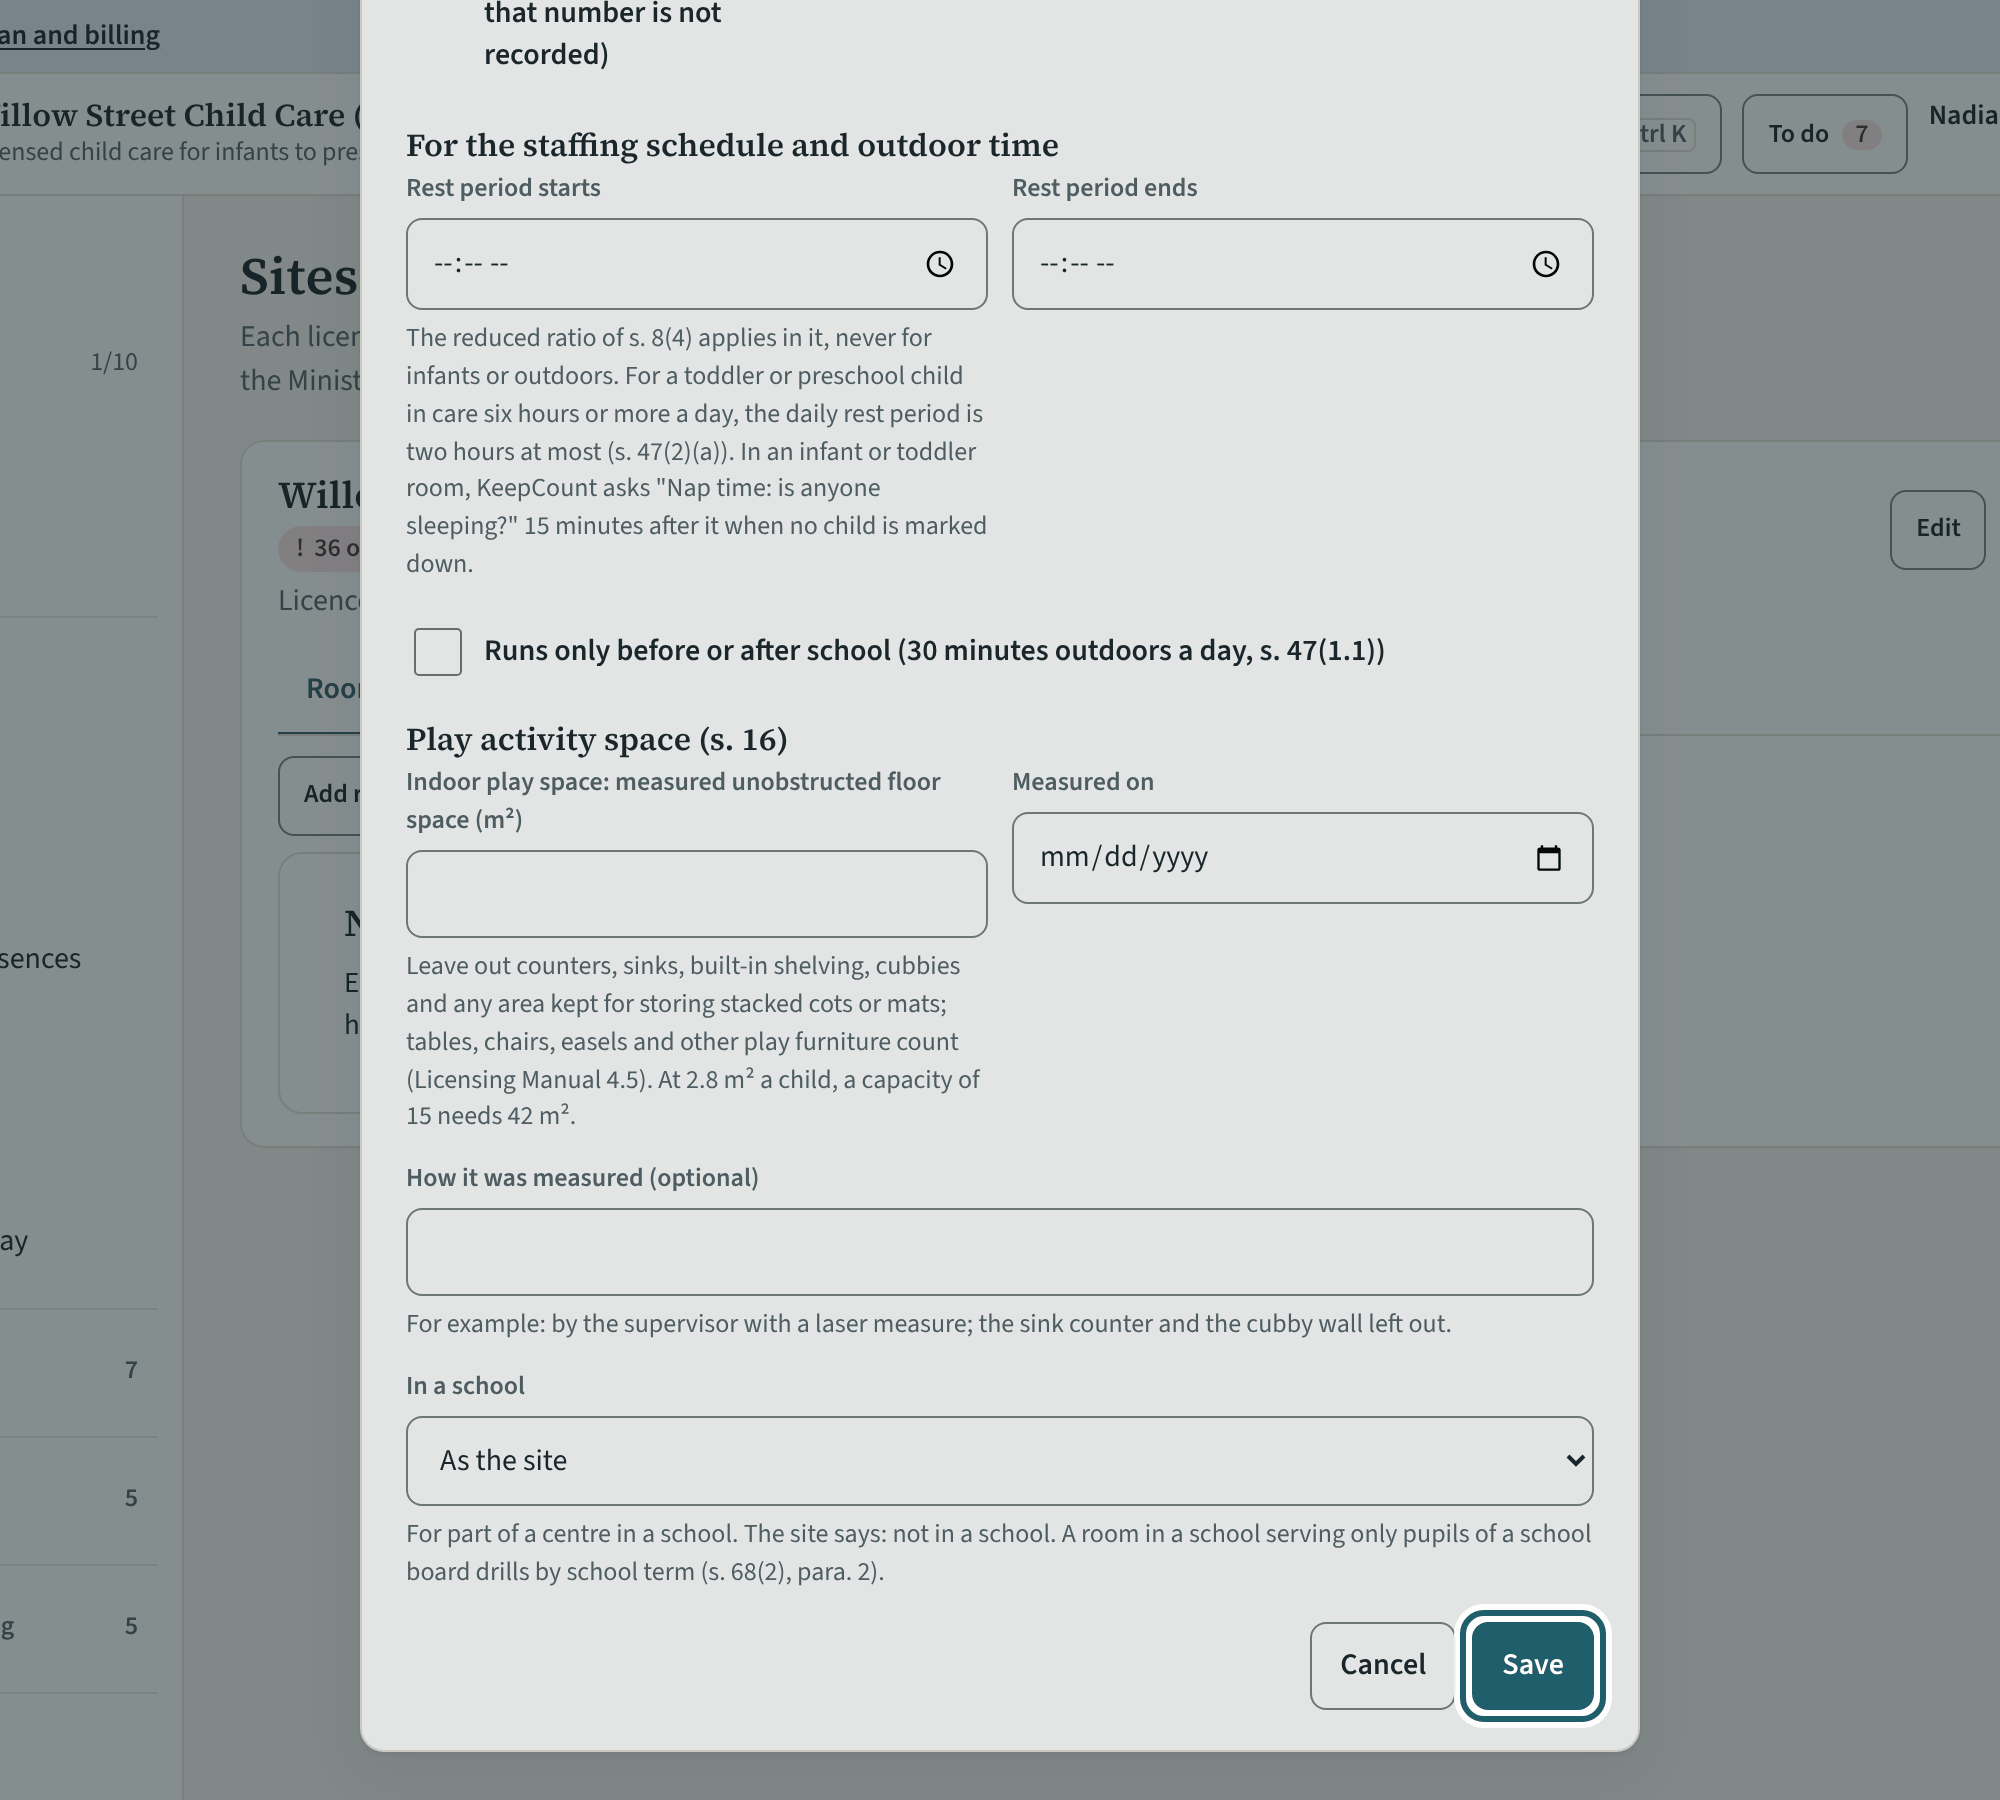
"Add room" for each licensed room: its name, its licensed age group and its licensed capacity. The ratio and group size follow from the age group.
Watch out: The age group decides the ratio and group size every head count is judged against; a mixed-age group approved by a director is marked here.
-
Add your staff
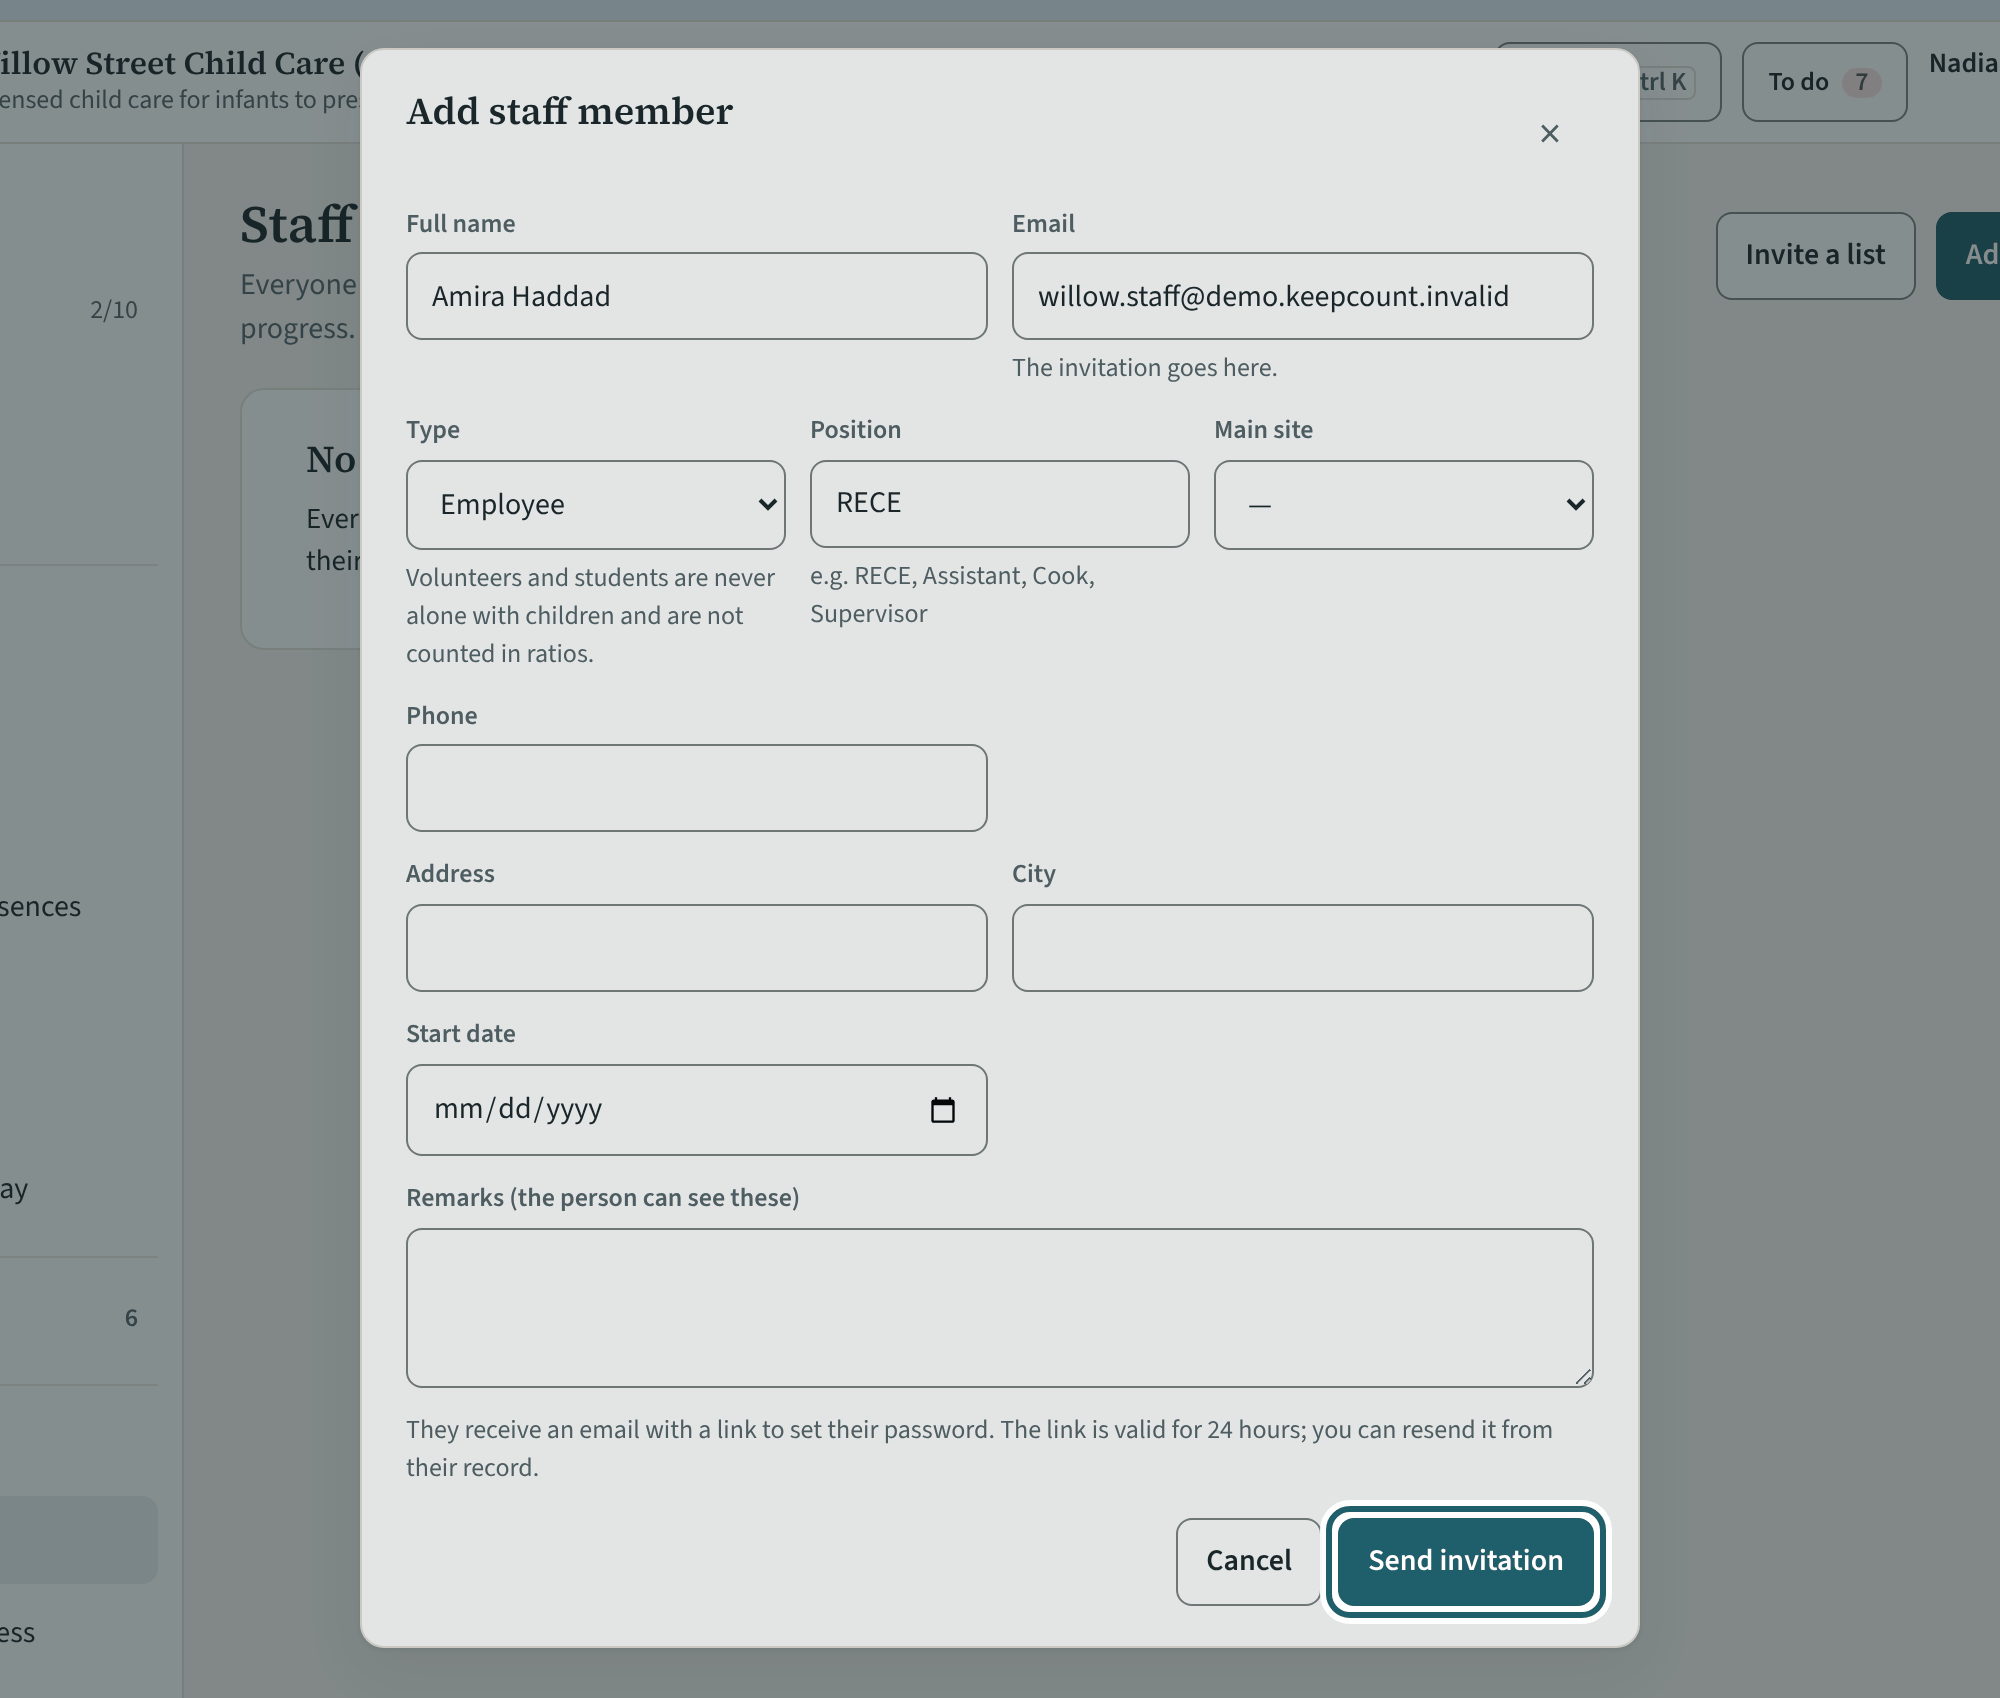
On Staff, "Add staff member": name, email, type, position and site. Saving sends the invitation; the person chooses a password from its link.
Watch out: A volunteer or a student on placement is never alone with a child (s. 11.1(1)); KeepCount's own rule never counts them in the ratio.
-
Screening dates
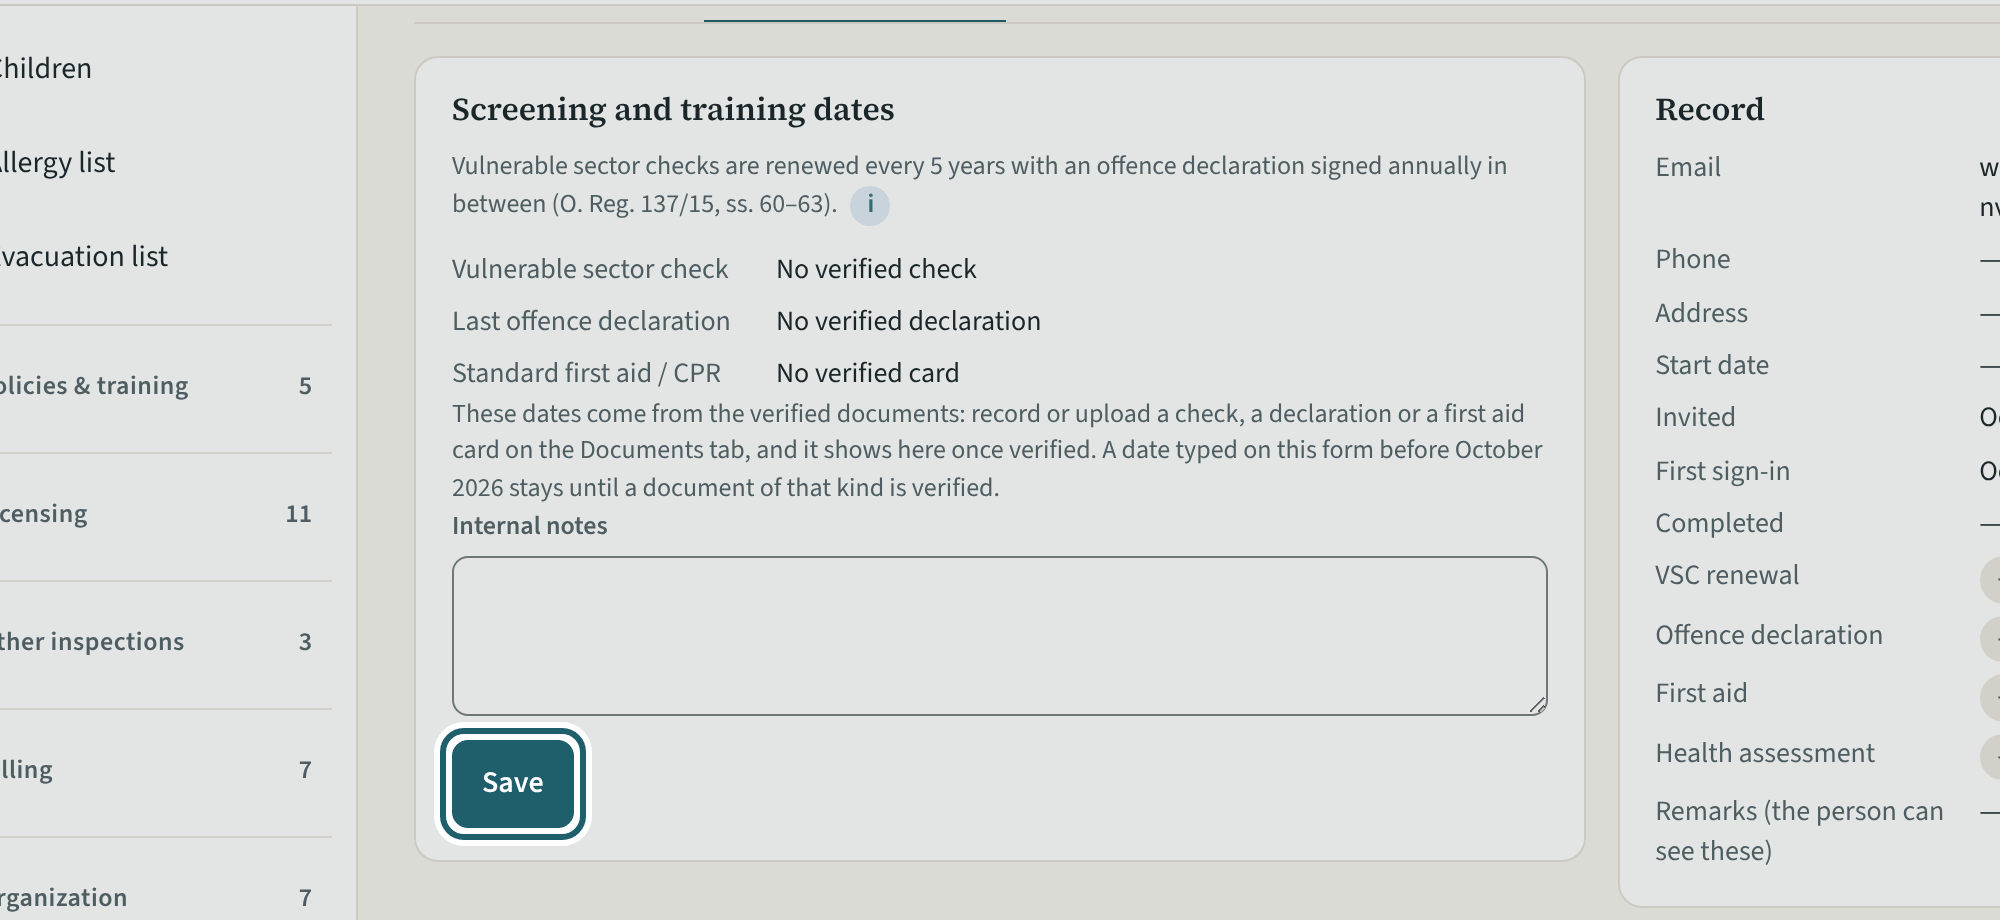
On a person's record, "Record & screening": the vulnerable sector check, the last offence declaration and the first aid expiry. Save once; renewals follow.
Watch out: Until the documents are verified the person is not cleared: the room tablet says so beside their name, and they are not counted in the ratio.
-
People in each room
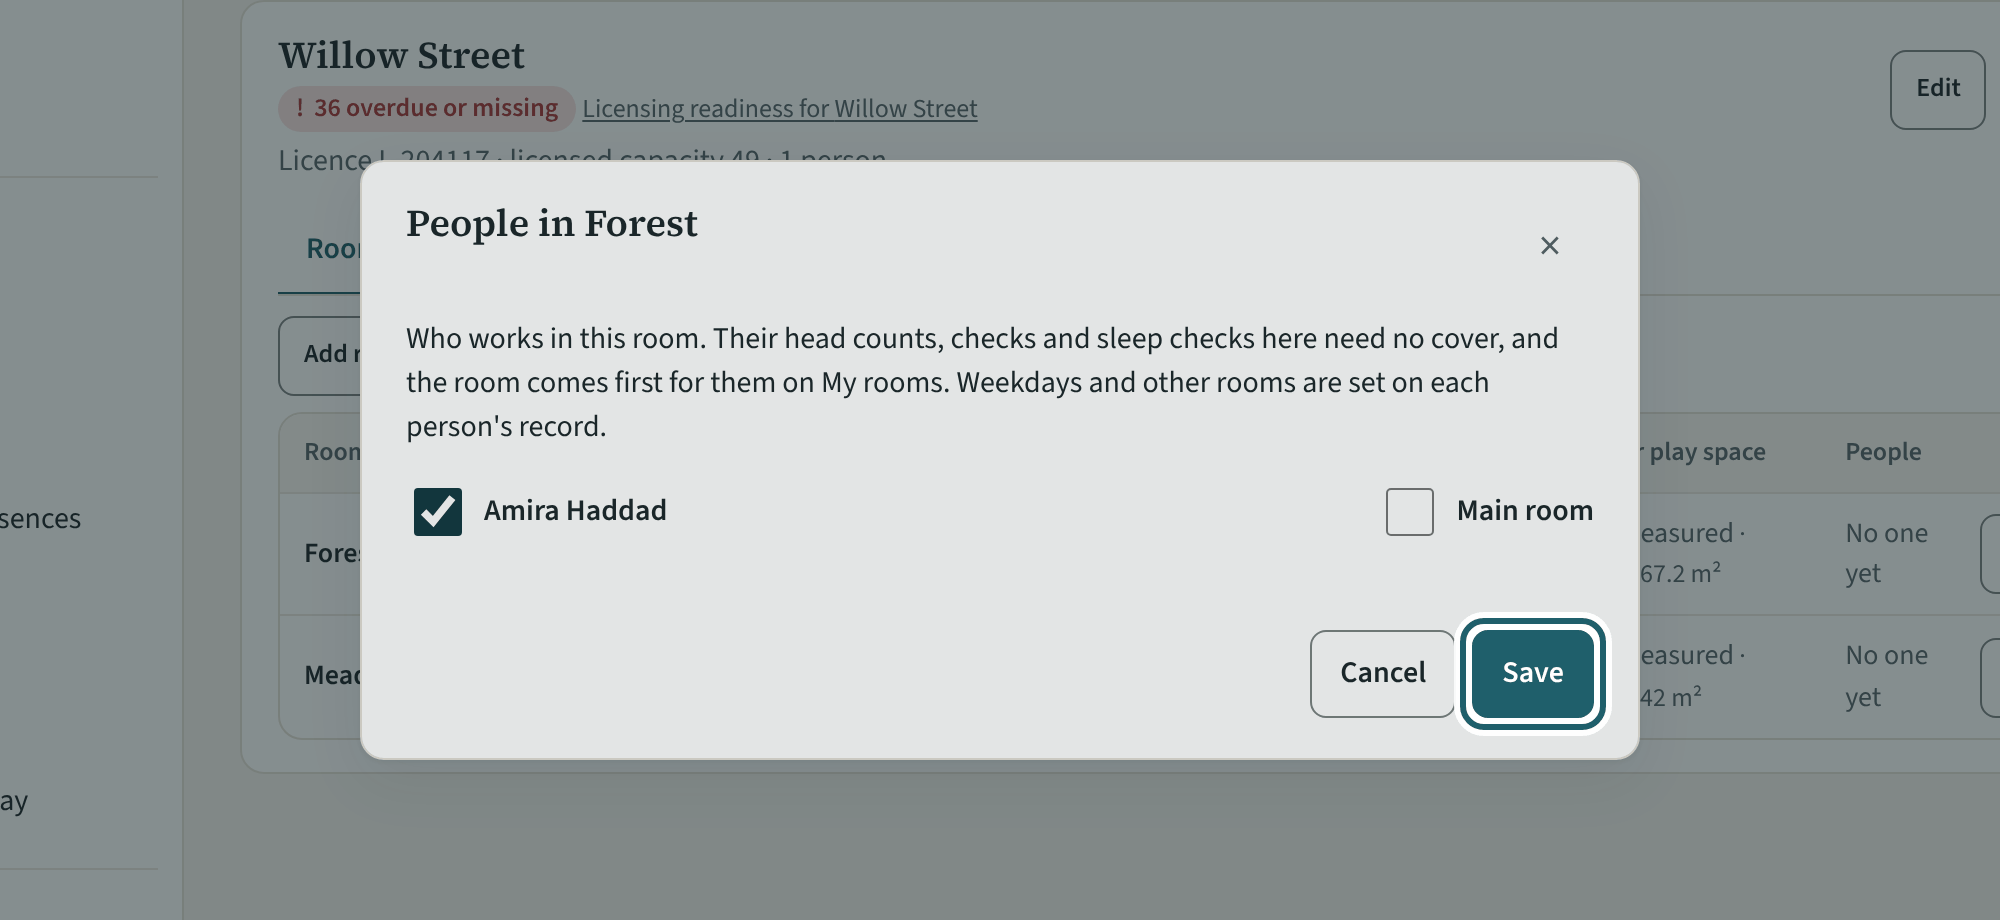
On Sites & rooms, "People" on a room: tick who works in it and whose main room it is. That is what "My rooms" shows each person.
Watch out: A person's usual room is what their phone opens and what their Due now list follows: set it before their first day.
-
The policies, as drafts
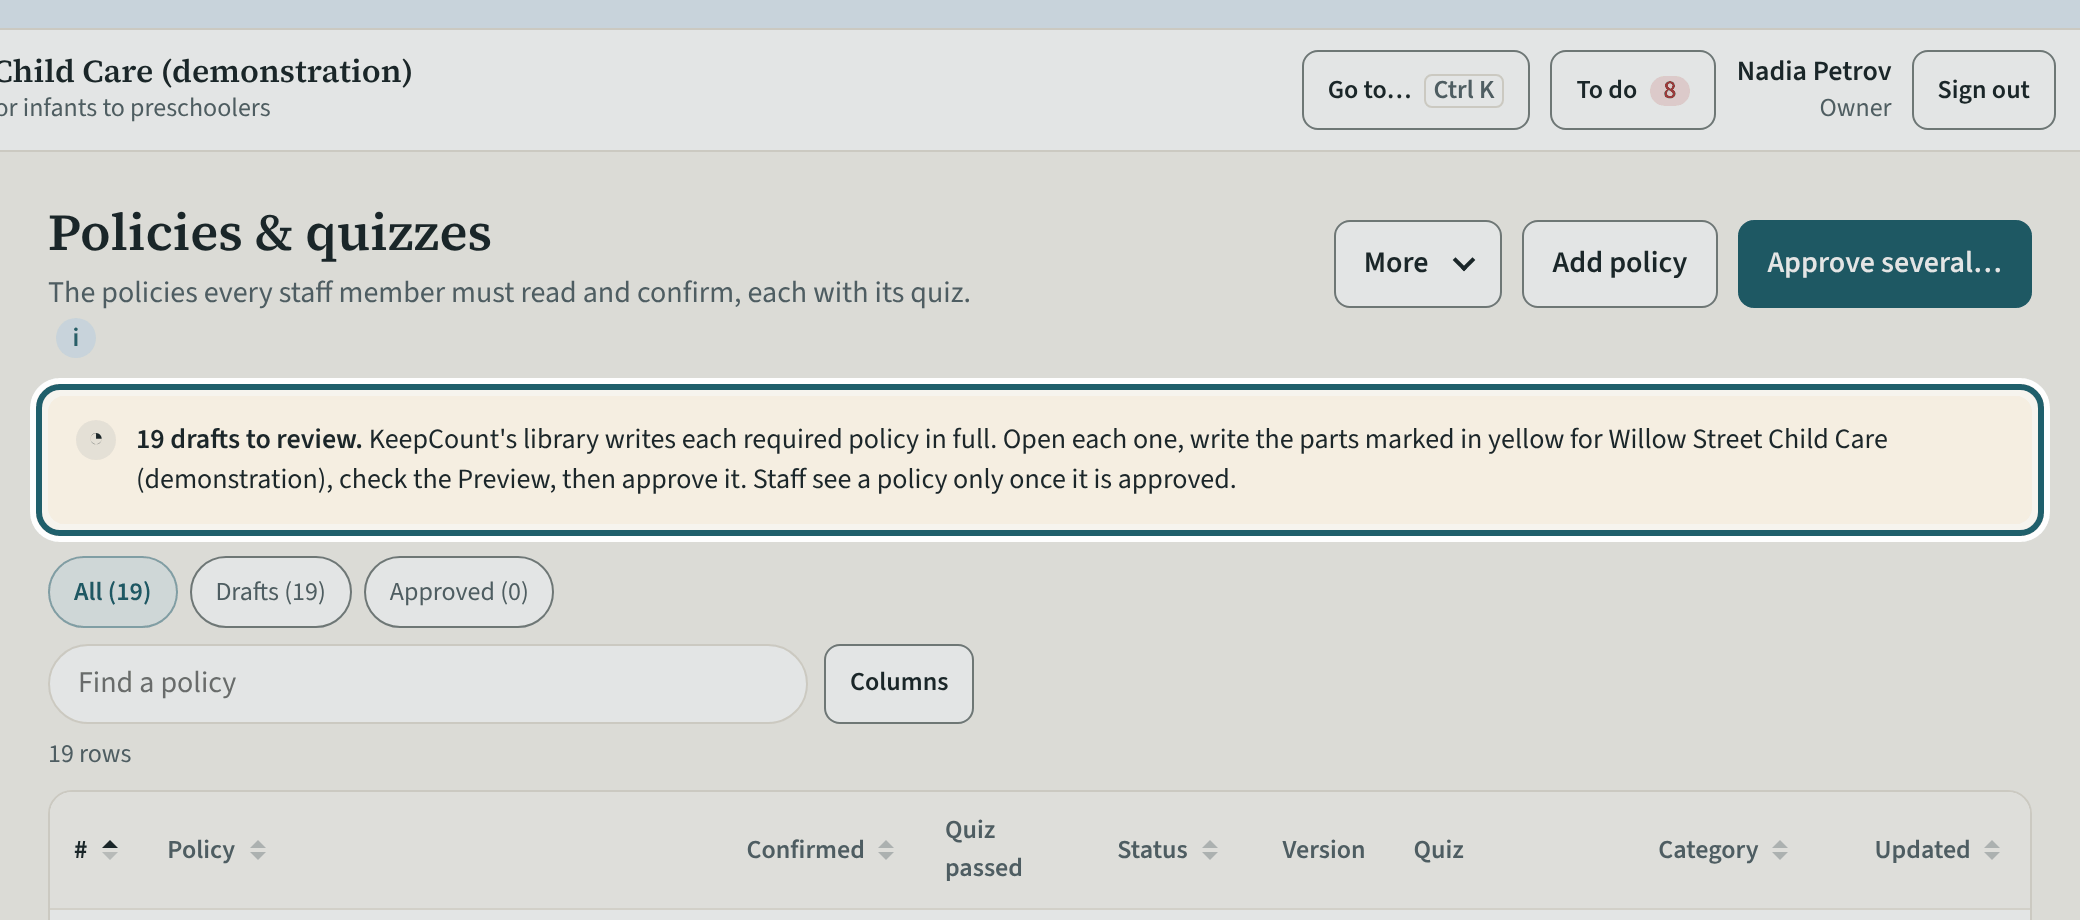
Policies & quizzes holds a full draft of each policy the regulation requires, with its quiz. Read each, write the parts marked for your centre, and approve it.
Watch out: Staff see a policy only once it is approved; nothing reaches them before. Approve the policies before the invitations go out, so no one signs in to an empty list.
-
A draft, part by part
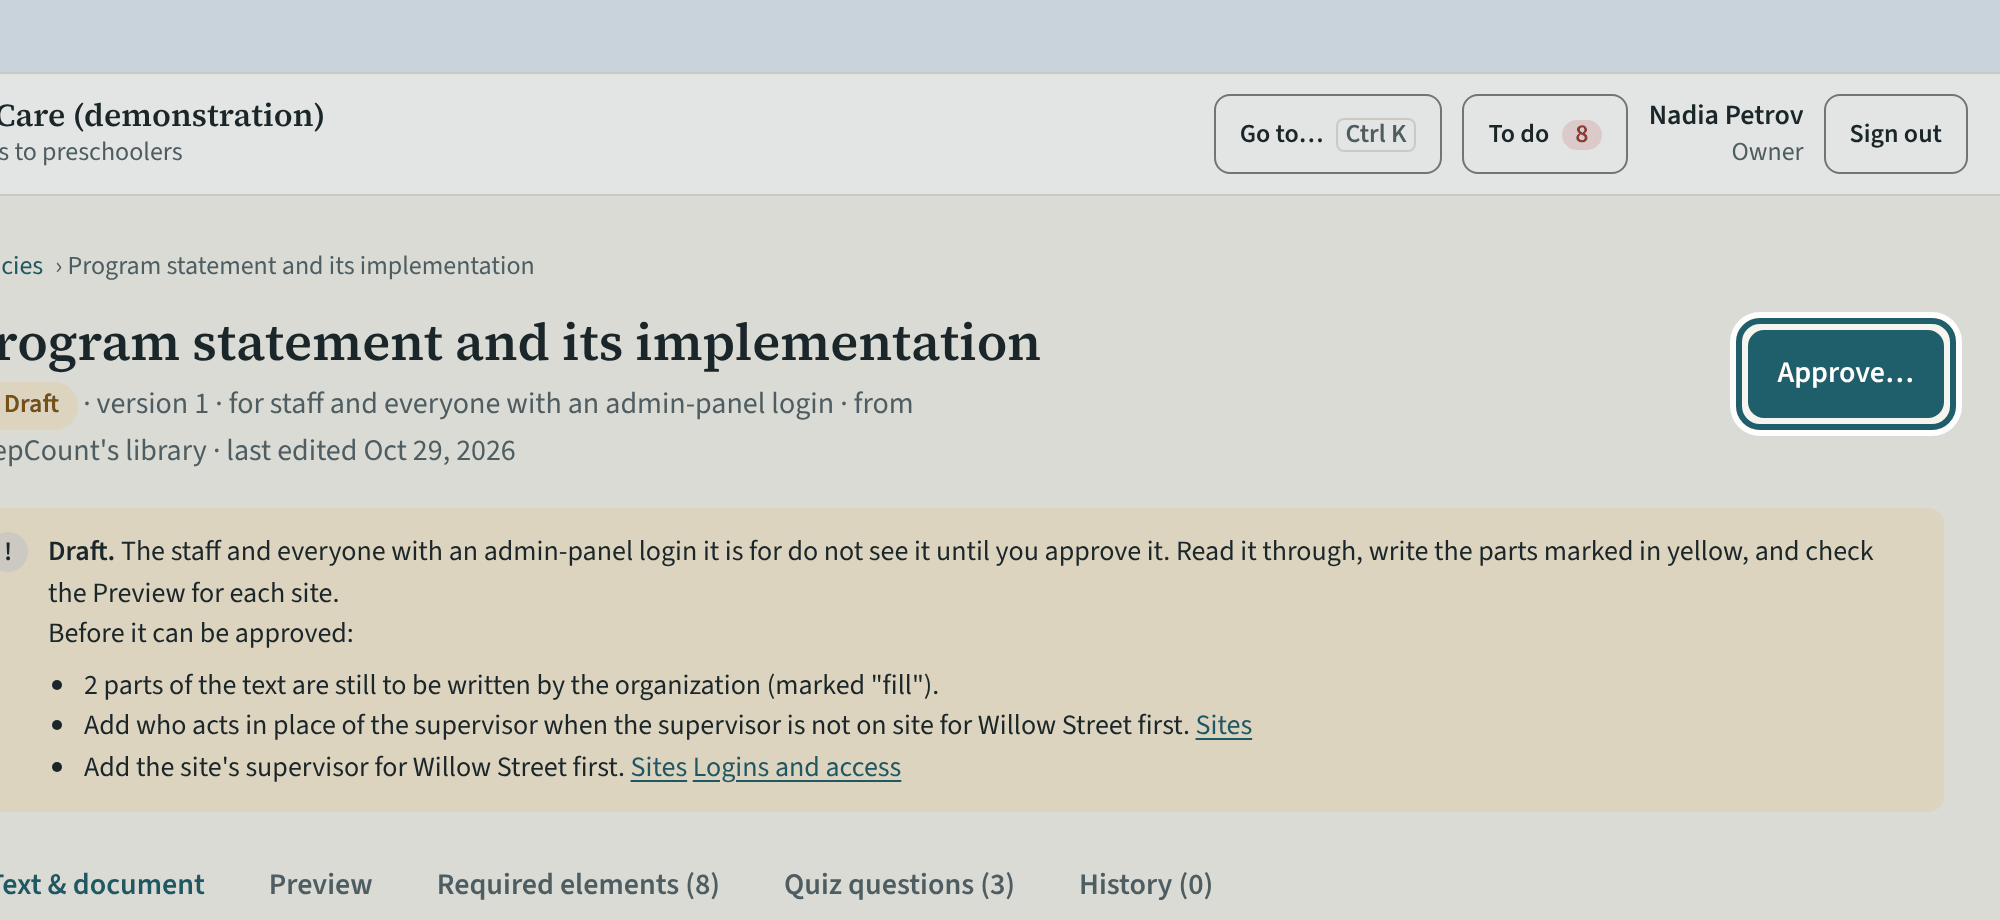
Open a draft: the text with the parts to write marked, the required elements, the quiz and the history. "Approve…" once it describes your centre.
Watch out: A draft with a part still marked "fill" cannot be approved: write the yellow parts first, then check the Preview as staff will read it.
-
Approve it
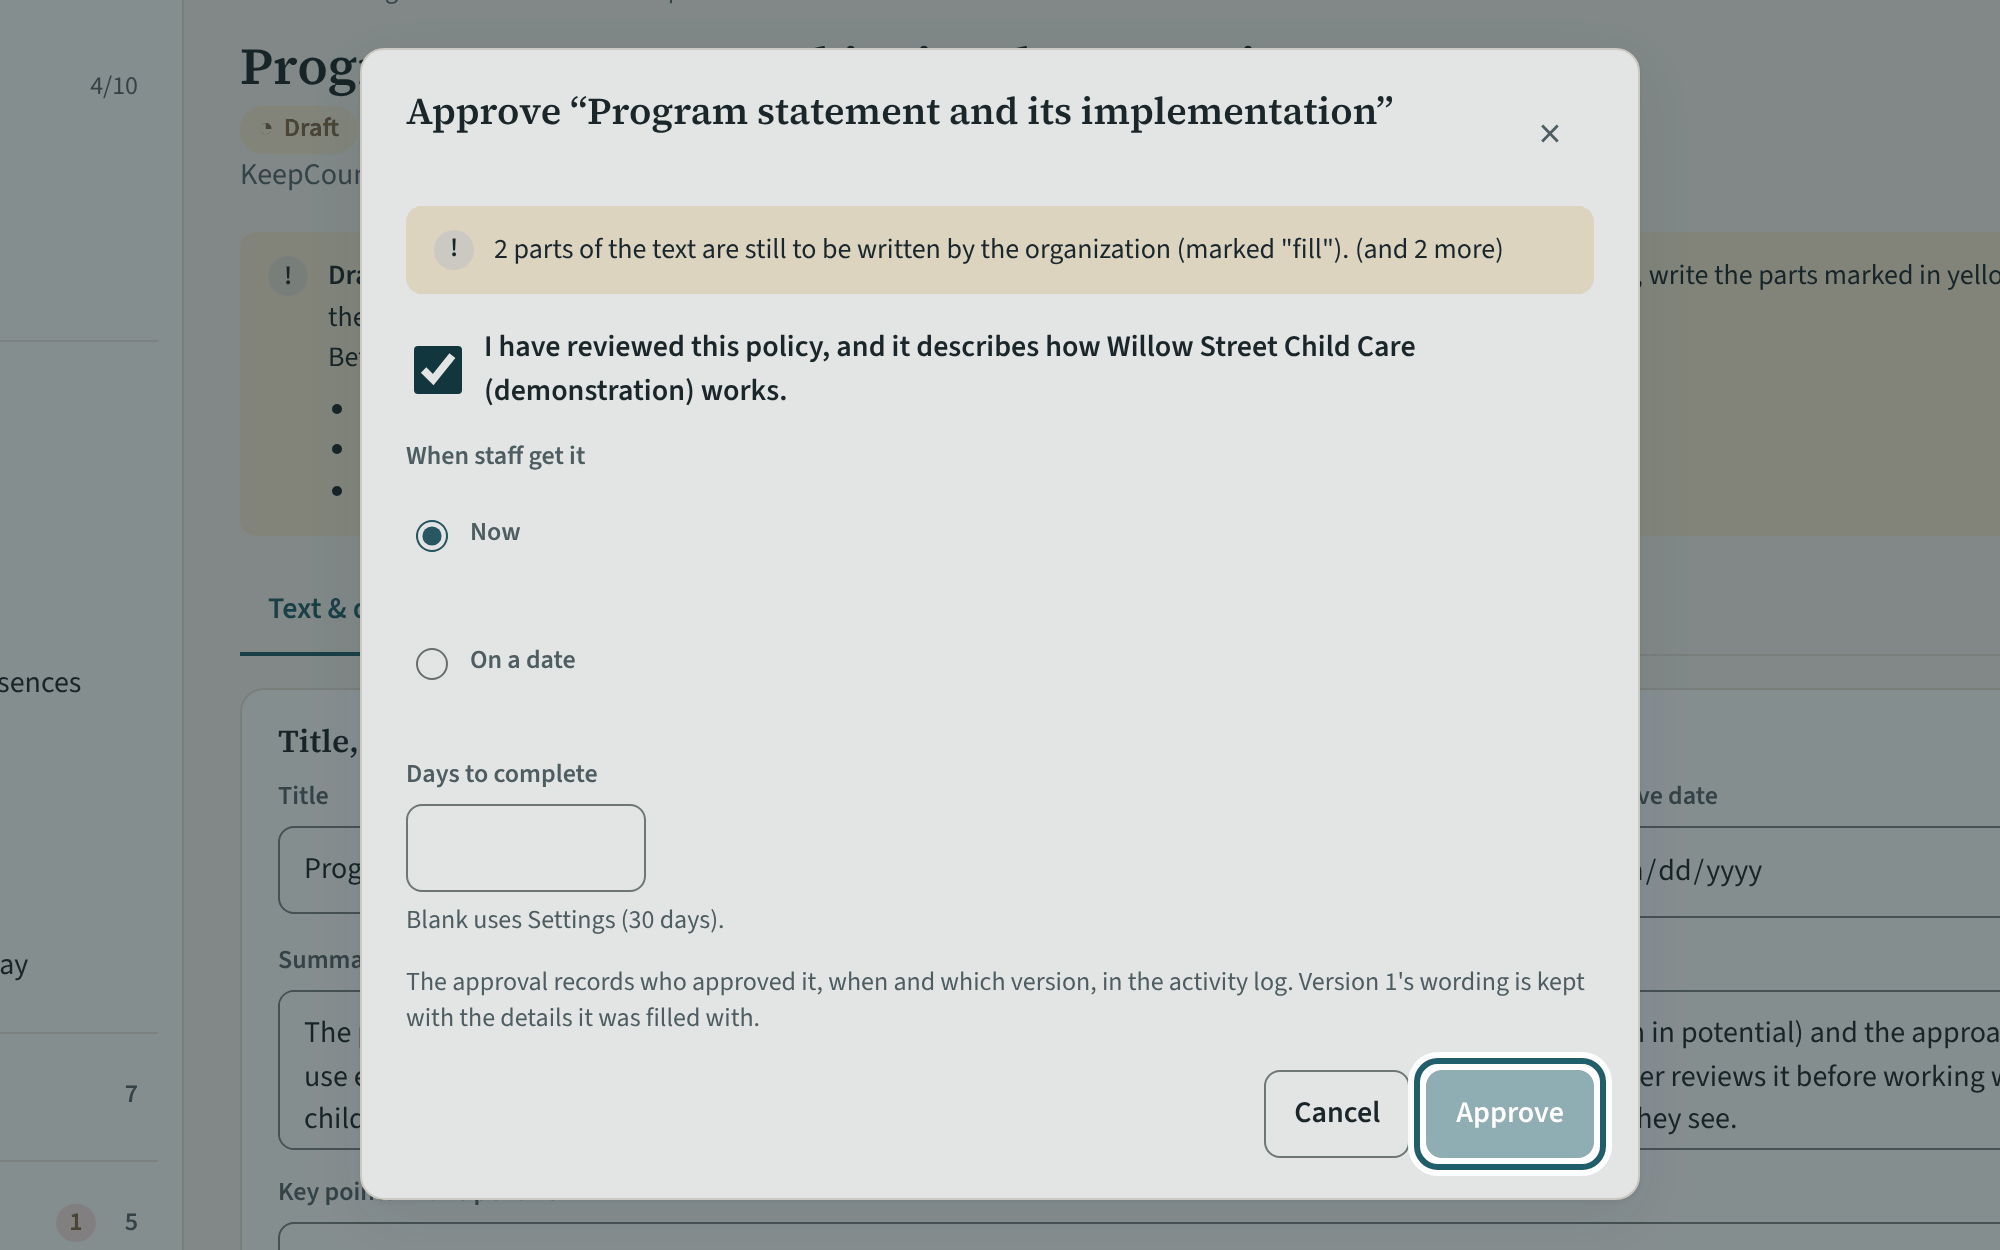
"Approve…": confirm "I have reviewed this policy, and it describes how the centre works", choose now or a date, set the days staff have to confirm, and approve.
Watch out: Approval asks you to confirm the policy describes how the centre works. Publishing a new version later asks everyone to confirm again.
-
The children register
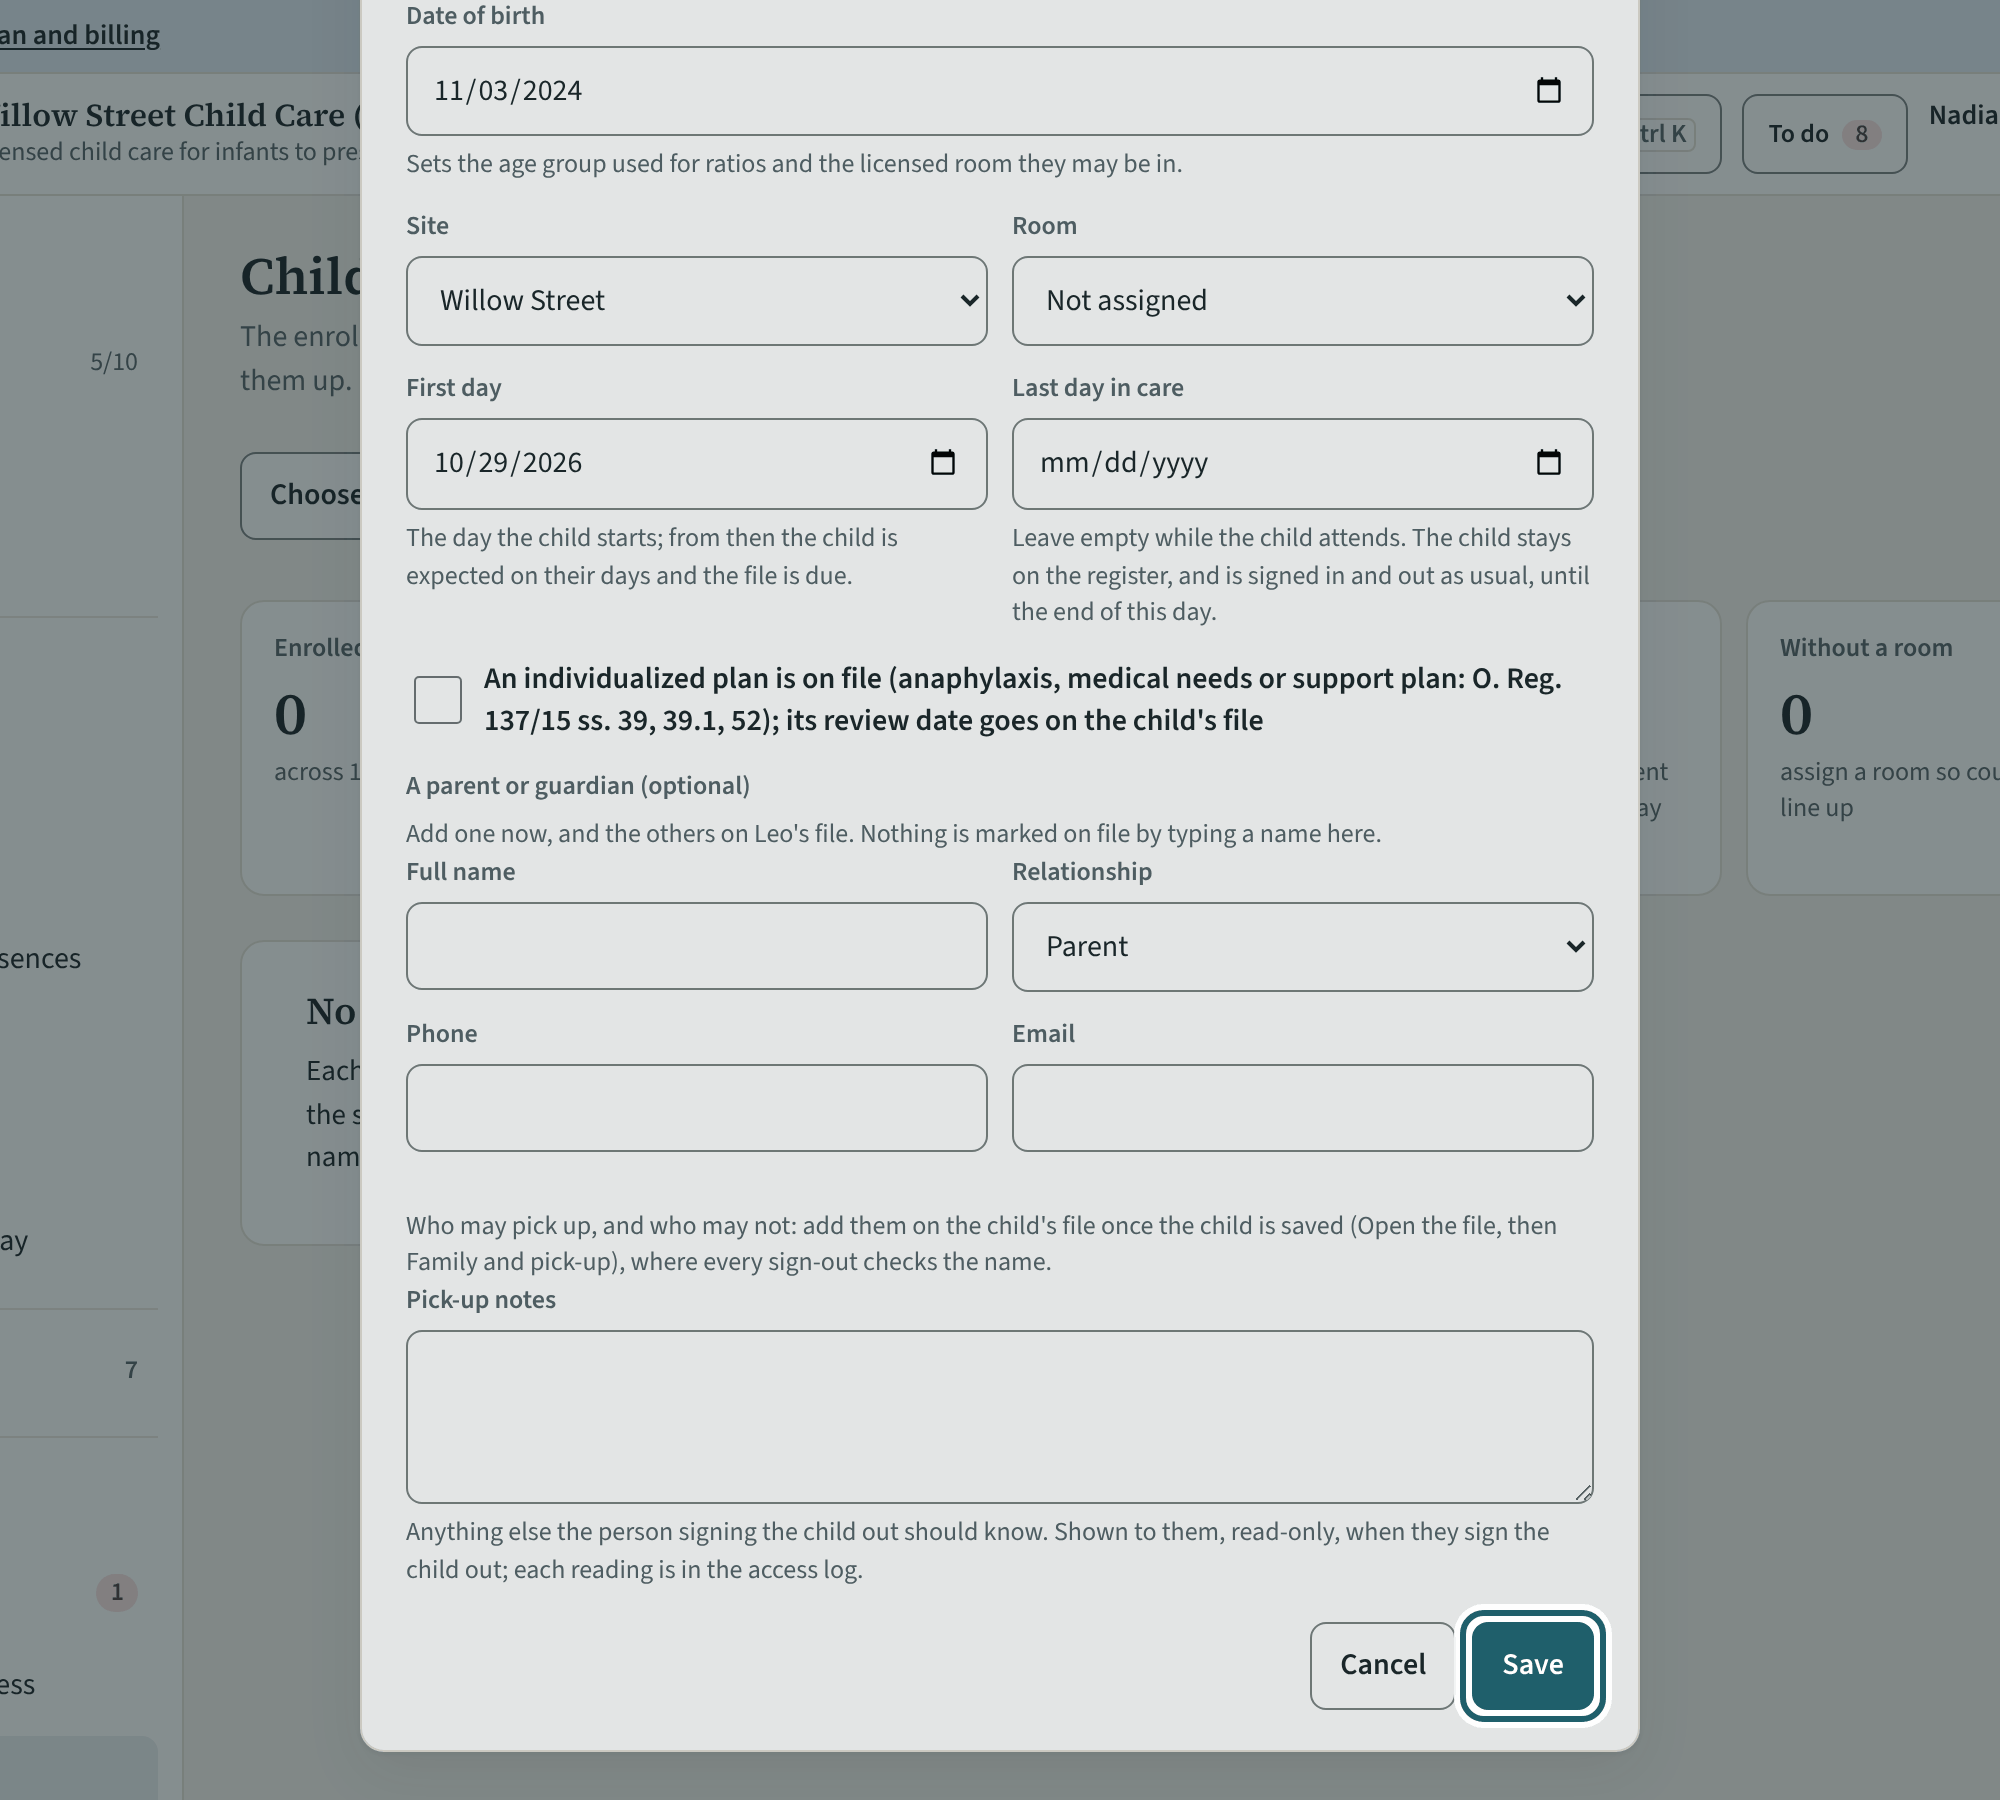
On Children, "Add child": name, date of birth, site and room, first day. The children's names are encrypted; only your staff see them, in their rooms.
Watch out: Children's names are encrypted and seen only by the staff of their rooms. Office staff never see a child's health information.
-
Who may pick up
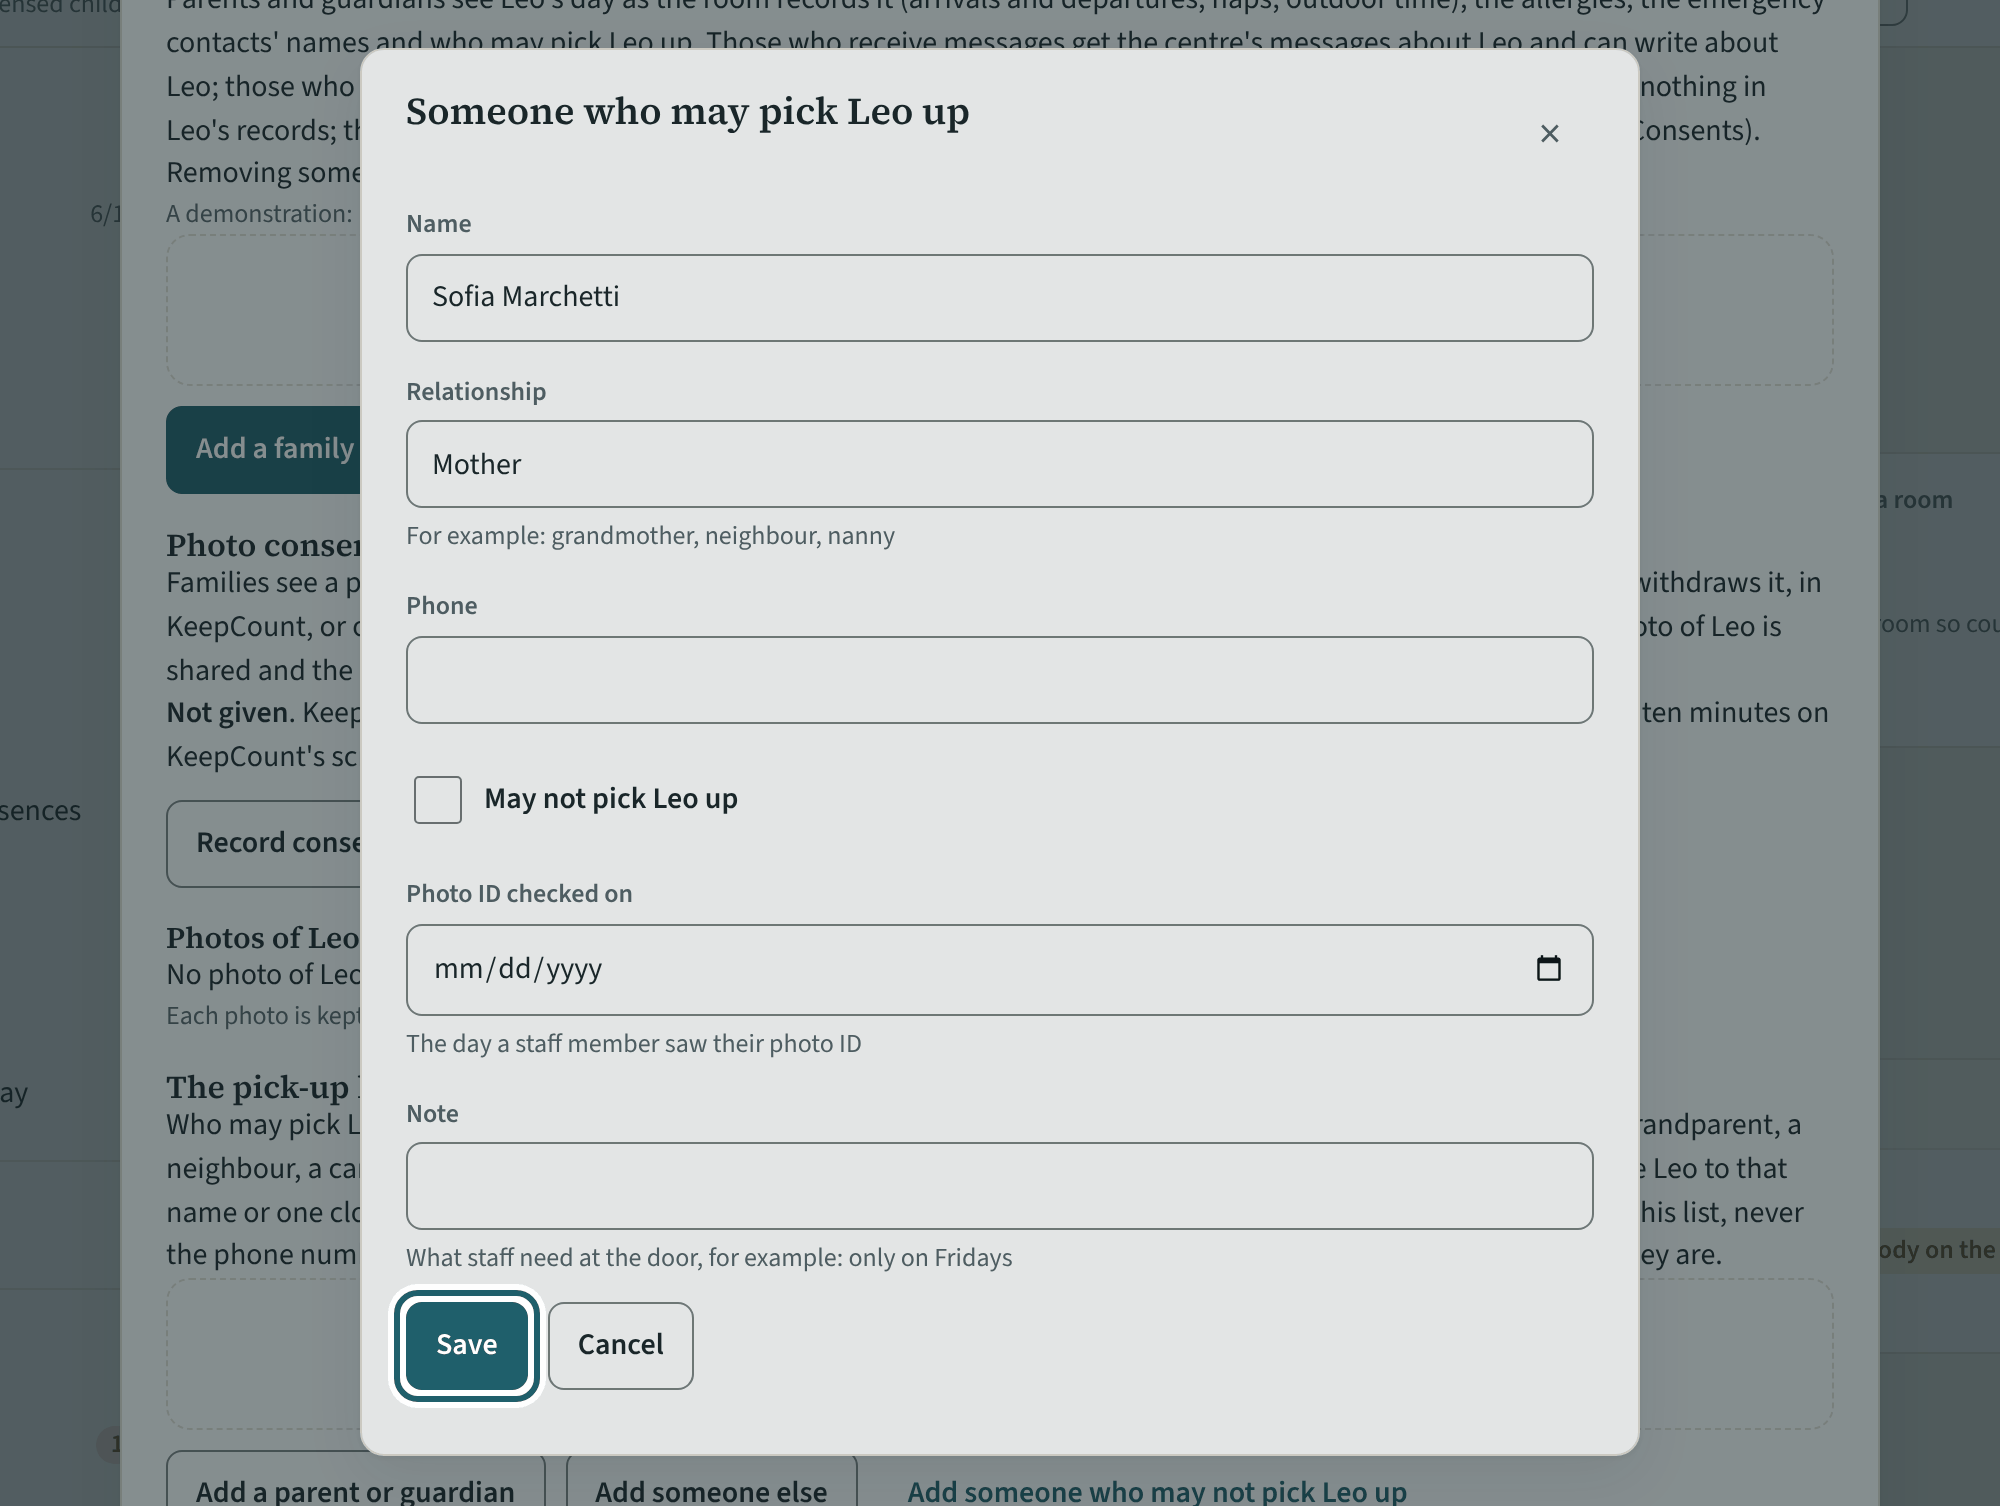
In the child's file, "Family and pick-up", "Add a parent or guardian": name, relationship, phone and the day their photo ID was checked.
Watch out: A name not on this list makes the tablet ask whether a parent approved the person, or stops the release: keep the list current, and record who a parent has excluded.
-
Invite your staff
The last step: "Send the invitations". Each person gets one email with a link to choose a password; their policies and training are waiting for them.
Watch out: Send them after the policies are approved, so each person signs in to a list of things to do. "Resend invite" on a record replaces a link that expired.
Your first week
The records begin: the readiness list, the evidence on file, the first drill, the rooms in use, the first incident, the binder, and who else administers the centre.
-
Licensing readiness
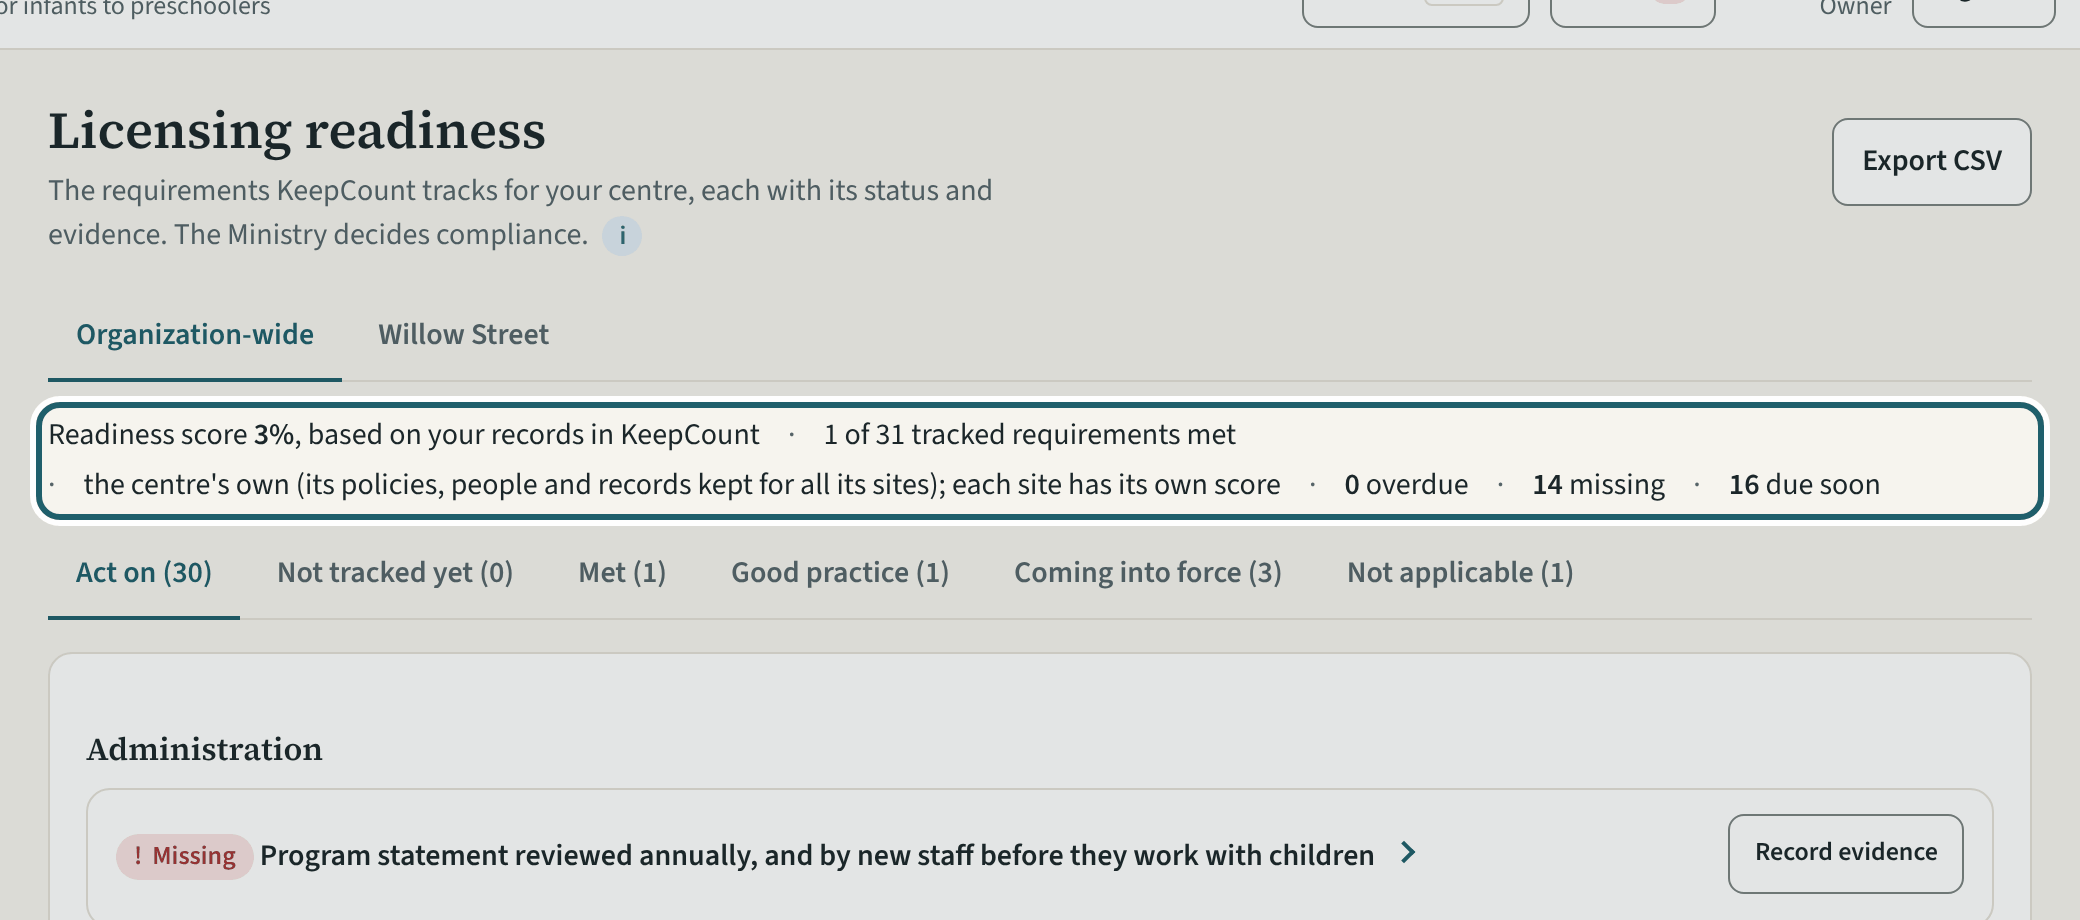
Licensing readiness is the regulation as a list: a score, what is overdue, missing or due soon, and every requirement with its status from your records.
Watch out: Mark a line not applicable only when it truly is: your reason prints in the binder. The statuses are based on your records in KeepCount; the Ministry decides compliance.
-
Why this matters
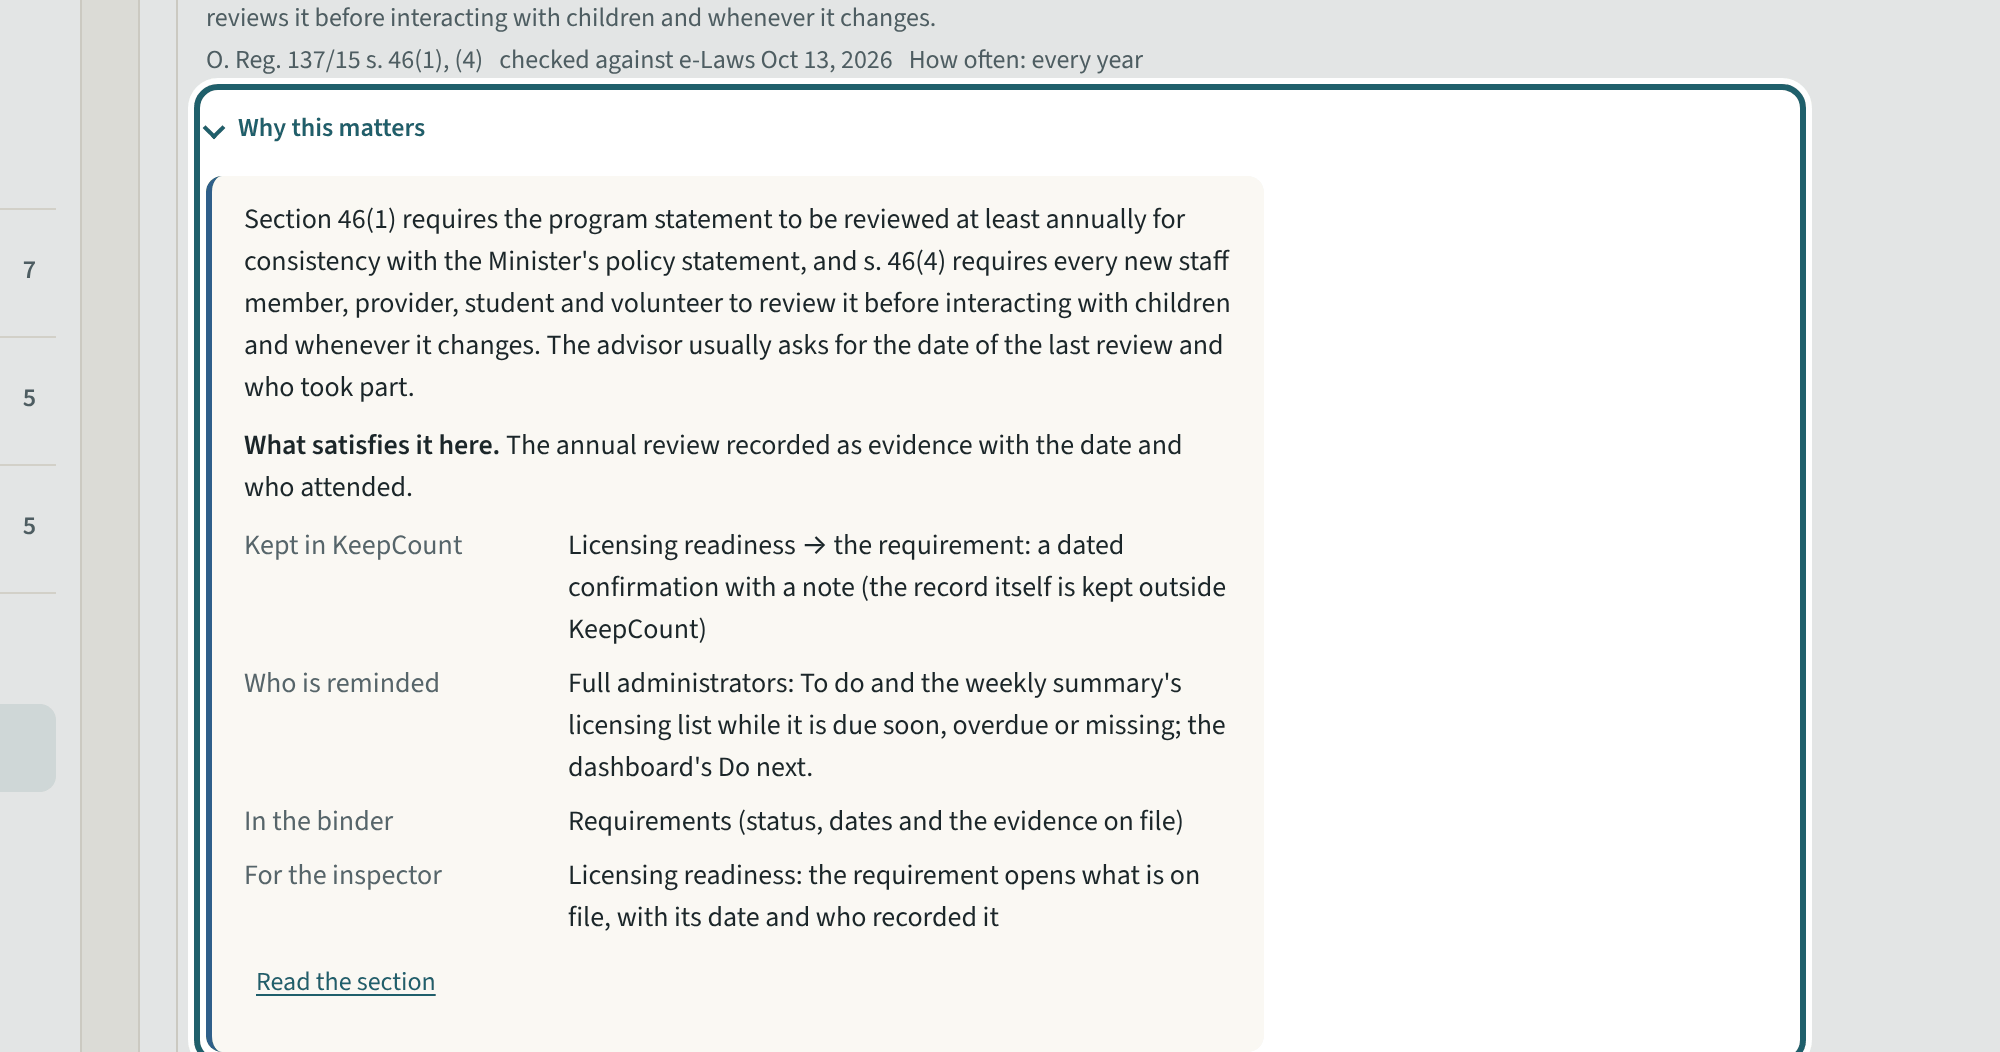
Open "Why this matters" under a requirement: what the section asks, what satisfies it here, who is reminded, and what the inspector asks.
-
Record evidence
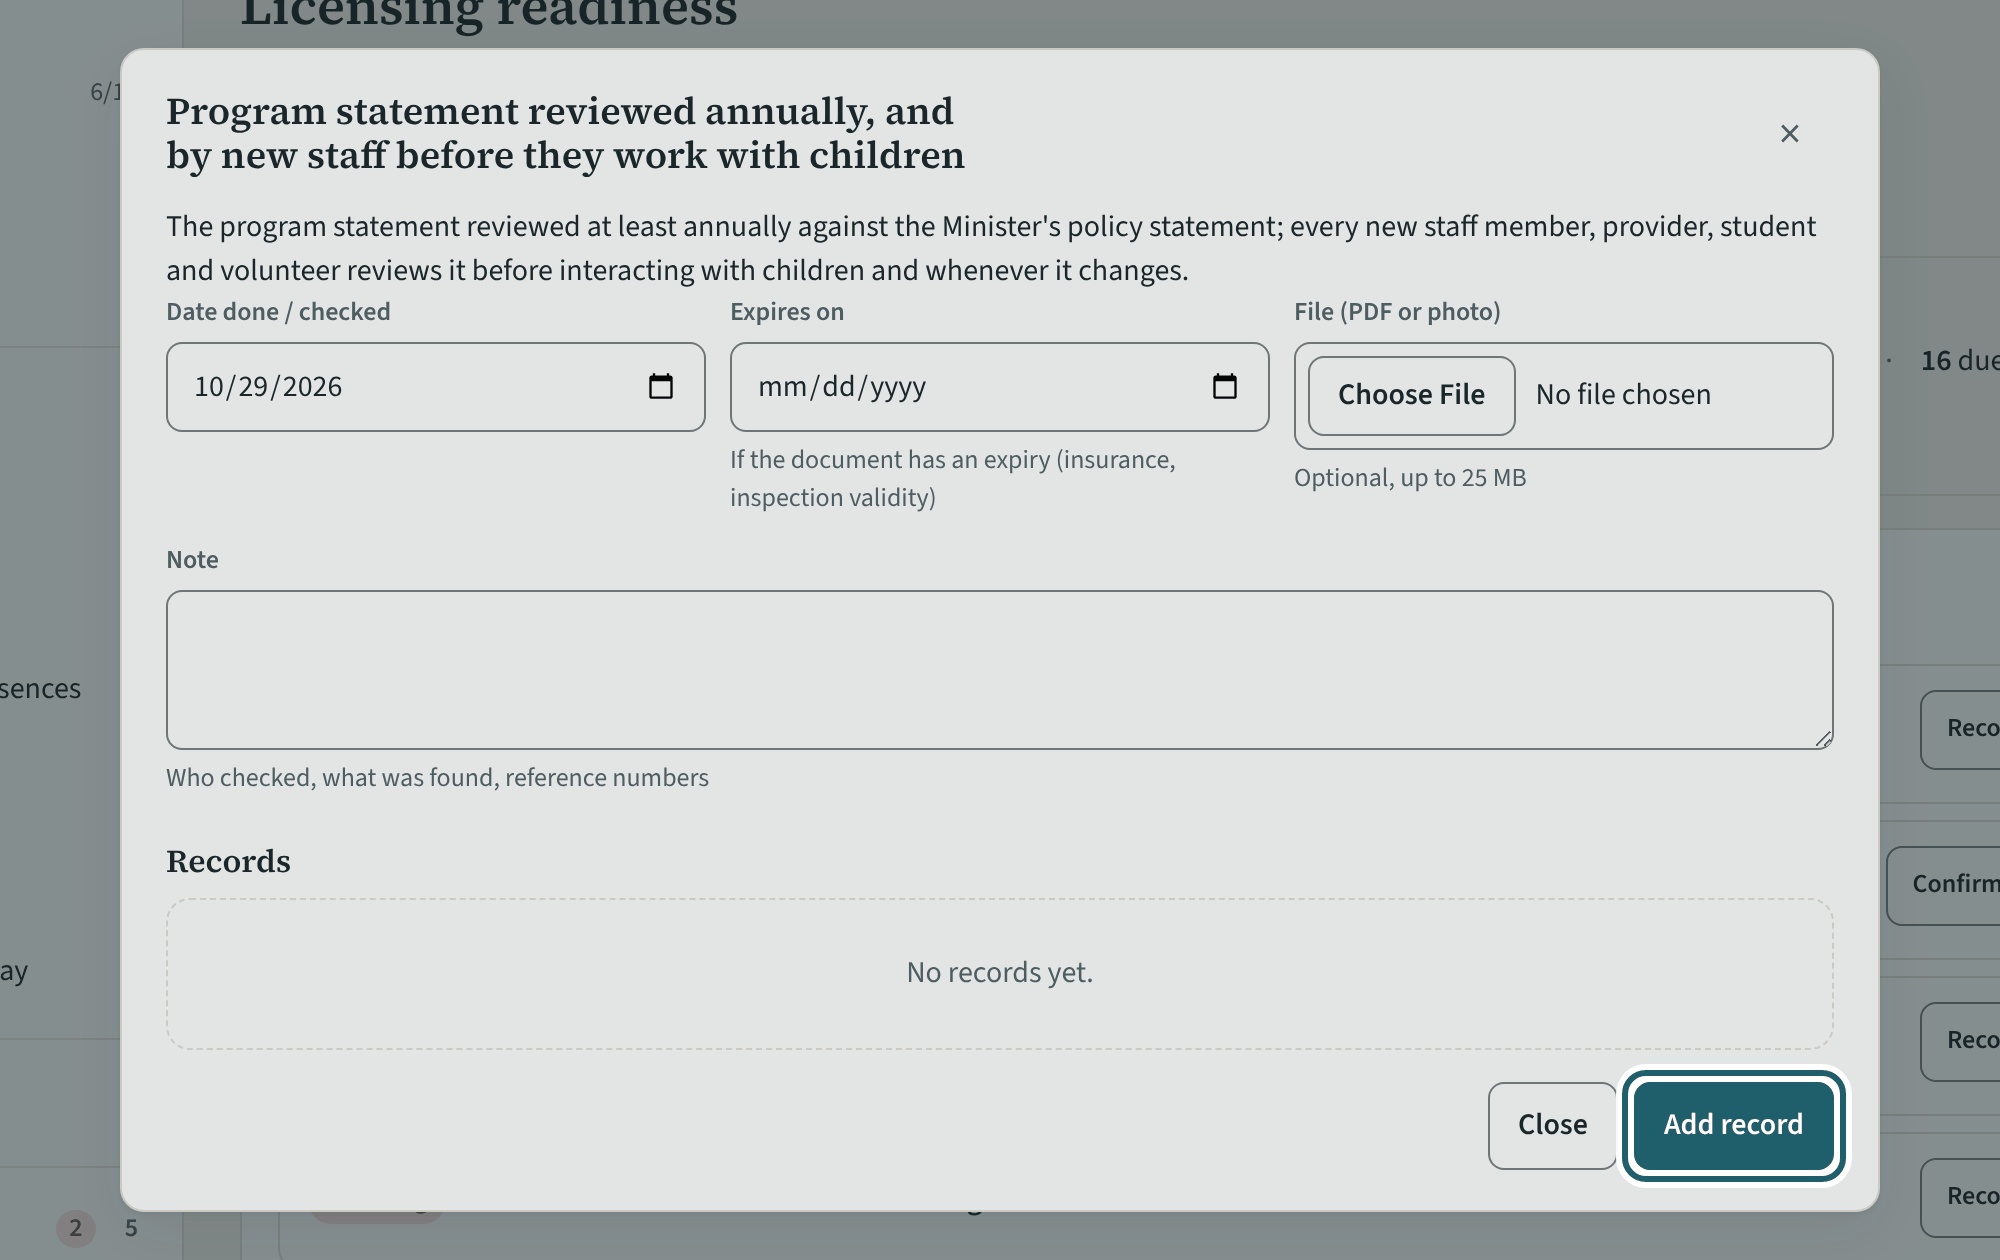
"Record evidence" on an approval or inspection: the date it was checked, its expiry and the document, so the requirement is met from the record.
Watch out: An expired record shows Overdue, one coming due shows Due soon. "Add record" keeps the history: last year's inspection stays beside this year's.
-
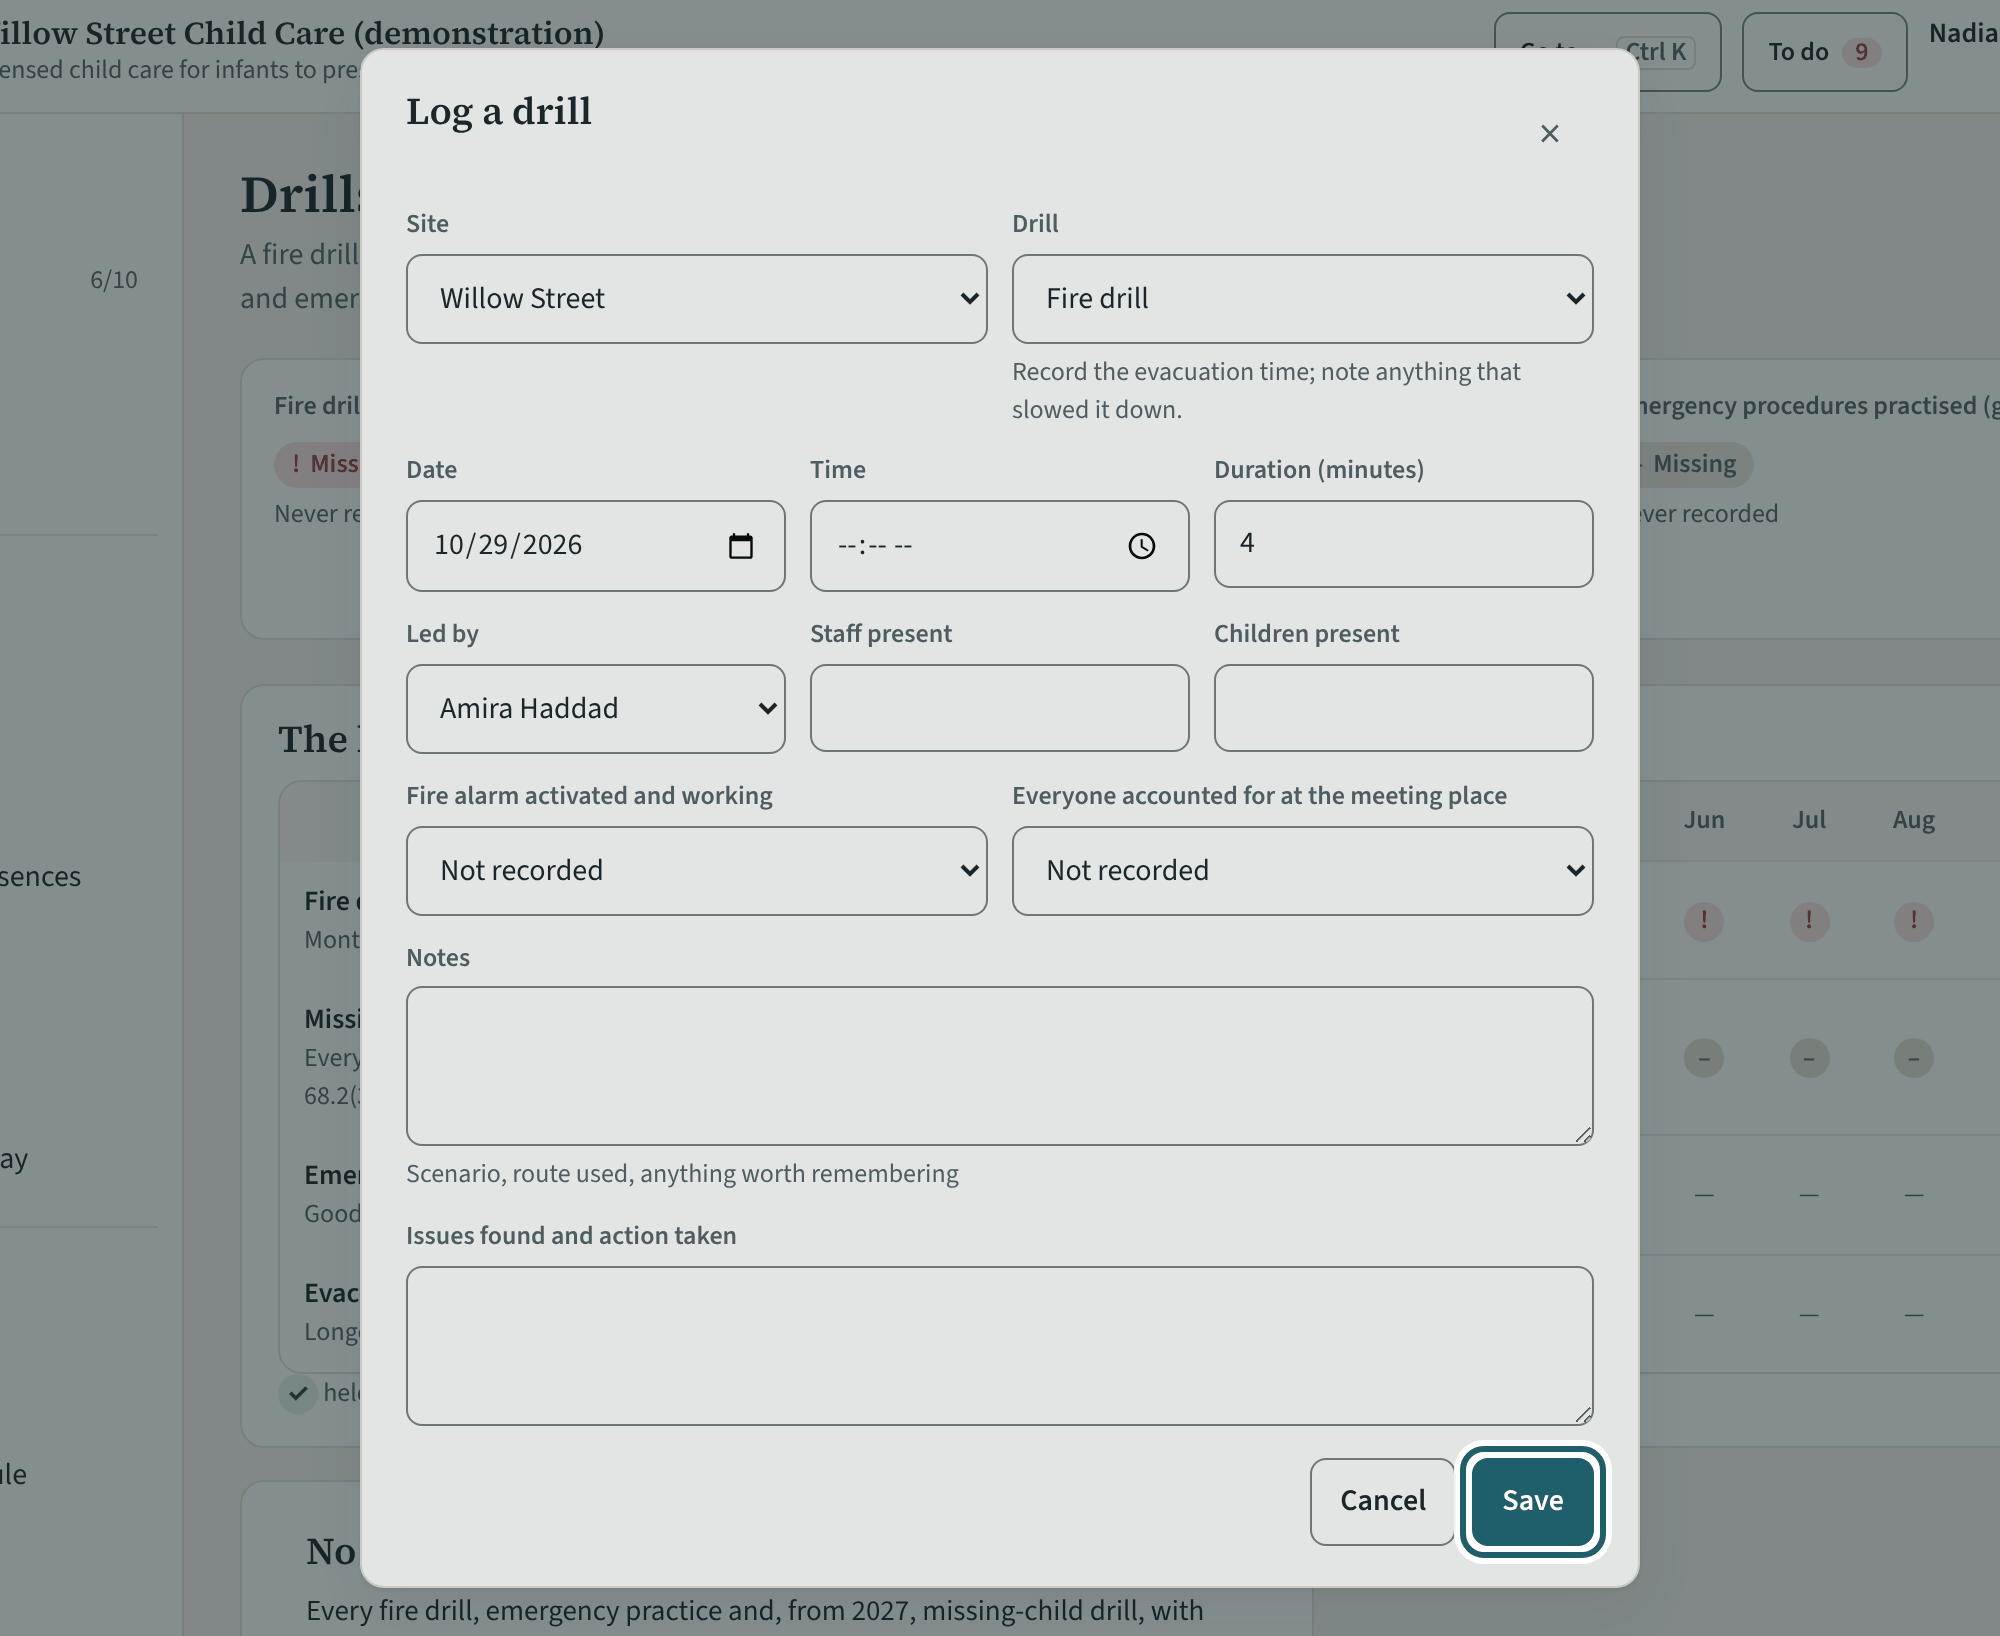
Record a drill
On Drills, "Record a drill": the site, the kind of drill, date, time and duration, who led it, who was present, everyone accounted for, and any issue found.
Watch out: Fire drill records are kept at least 12 months (s. 68(1)(e)); a month without a drill is visible before an inspector sees it. From 2027, a missing-child drill at least once every three months (s. 68.2(3)).
-
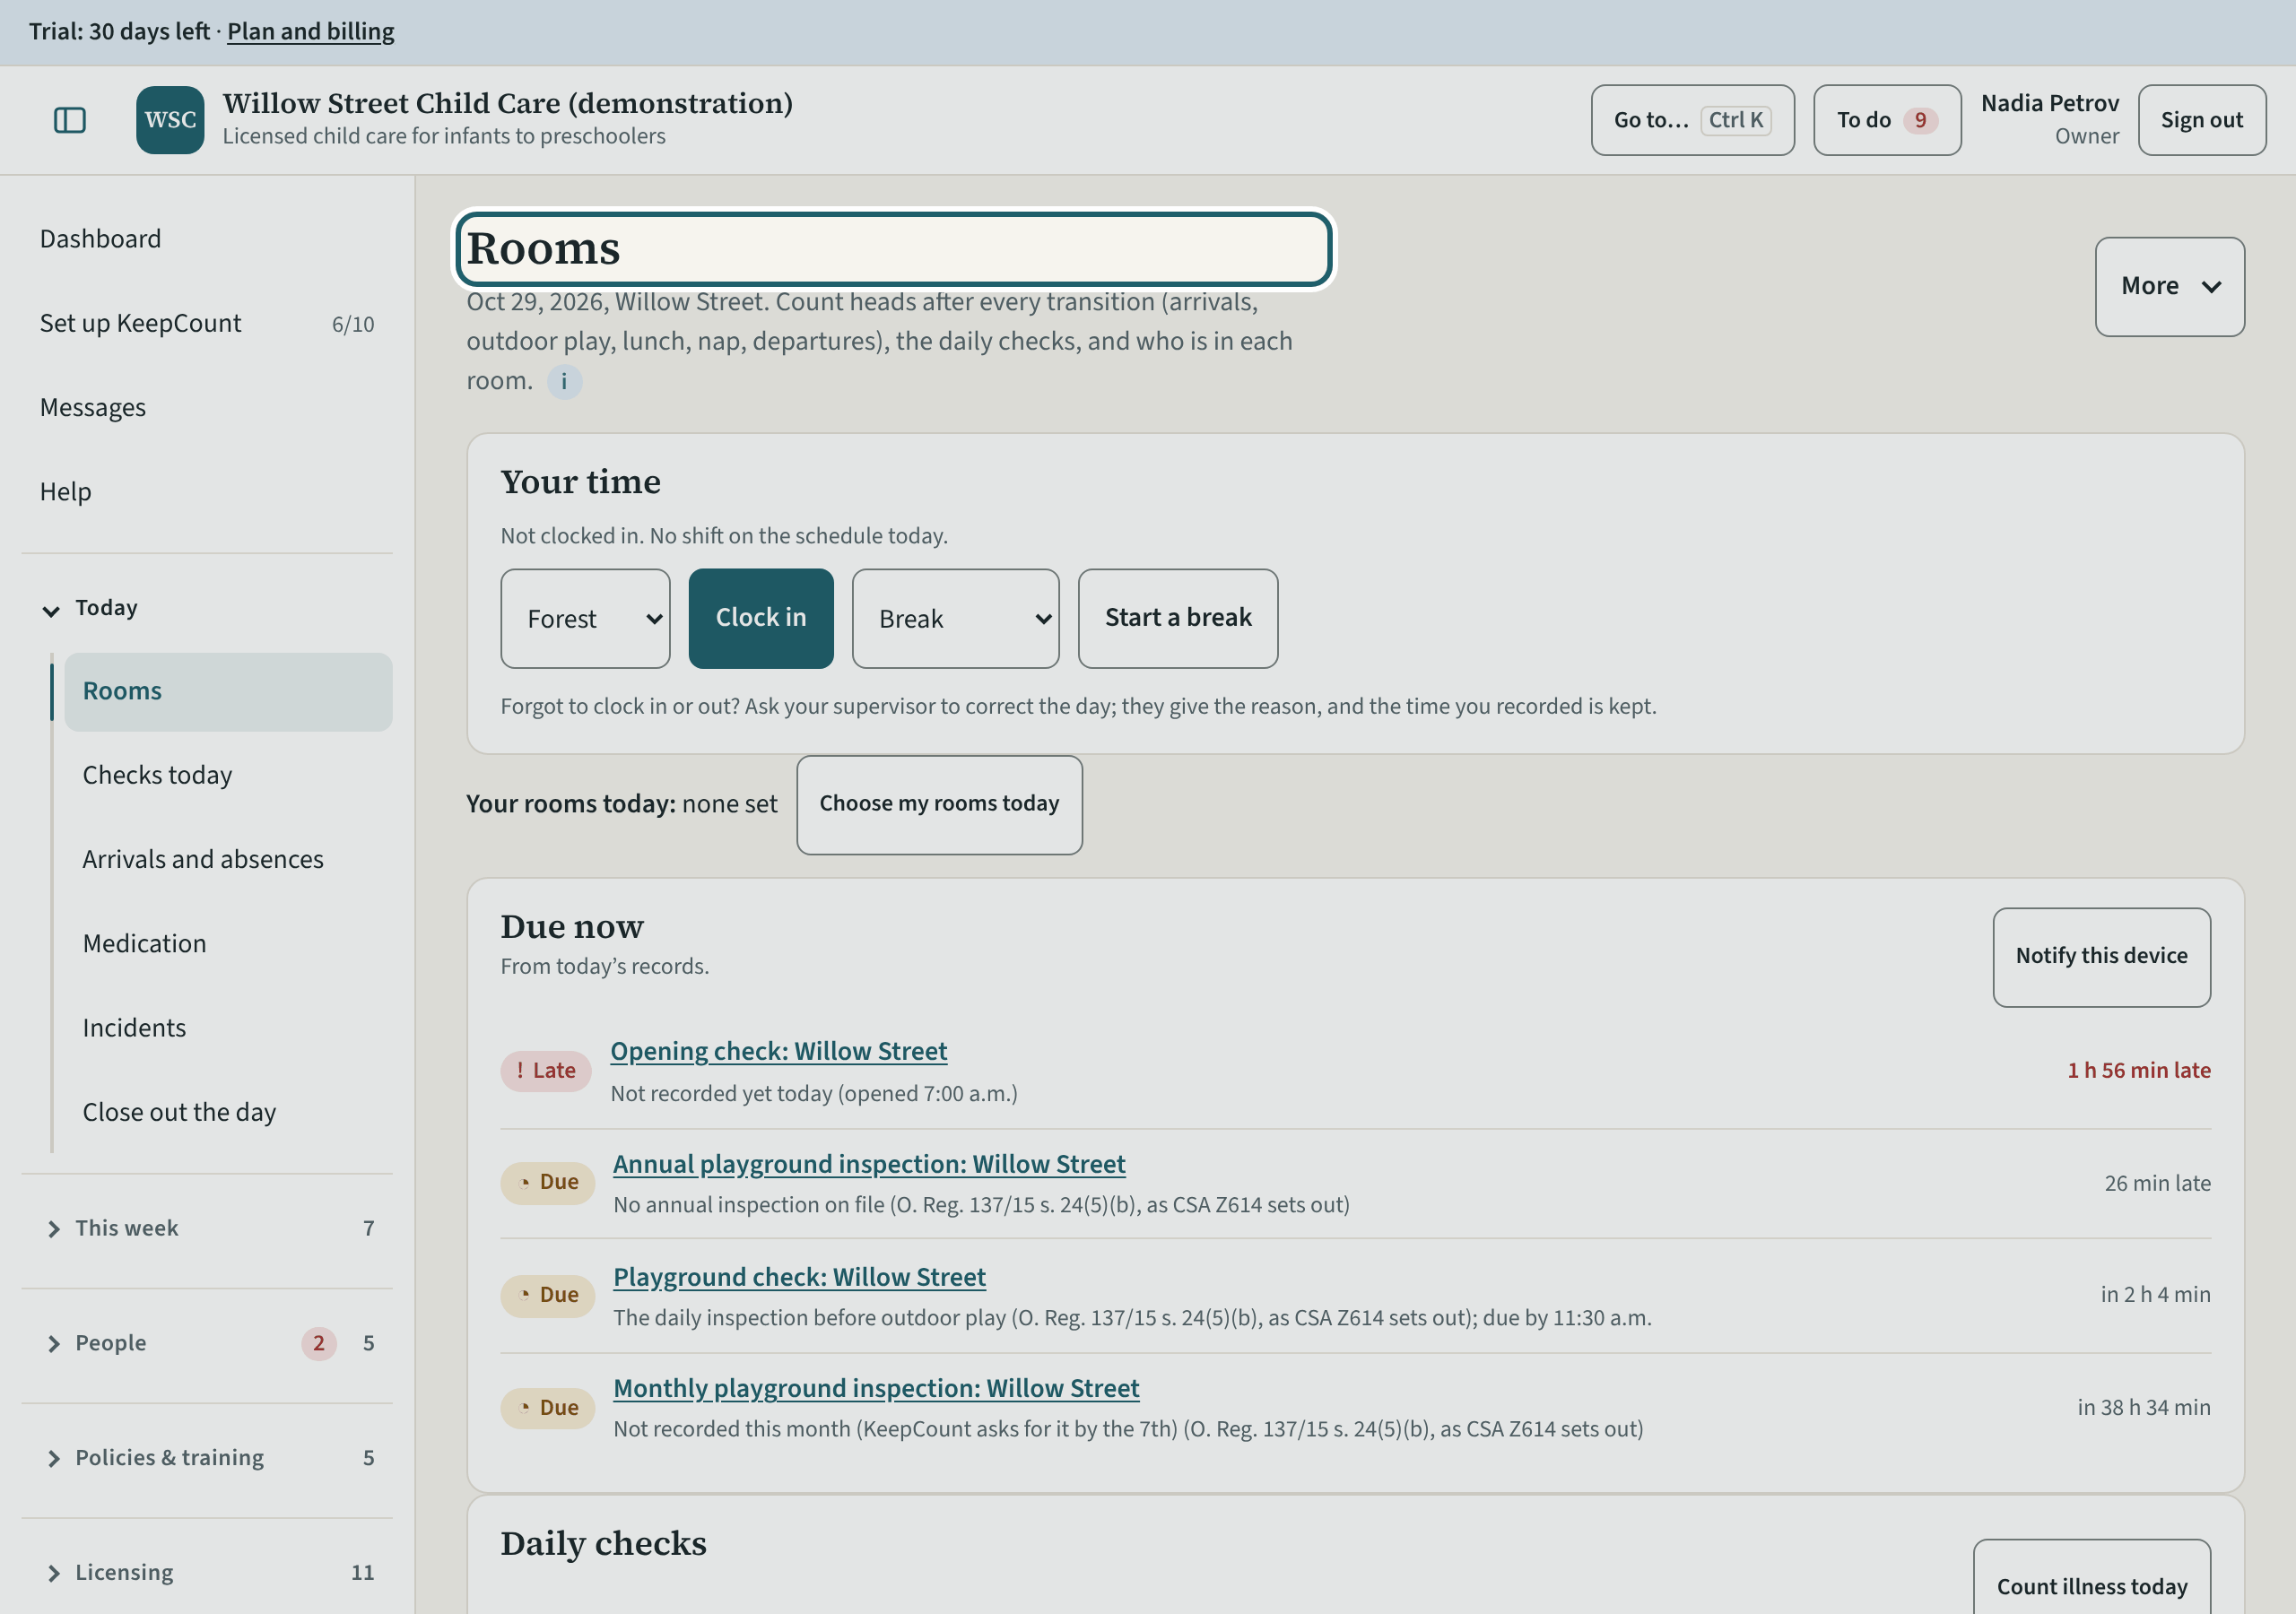
Rooms, as you see them
Rooms shows today's state of every room: the last head count and its verdict, who is signed in, the daily checks and the sleep checks.
Watch out: You can record in any room, but what you record is marked as yours, with the cover and its reason.
-
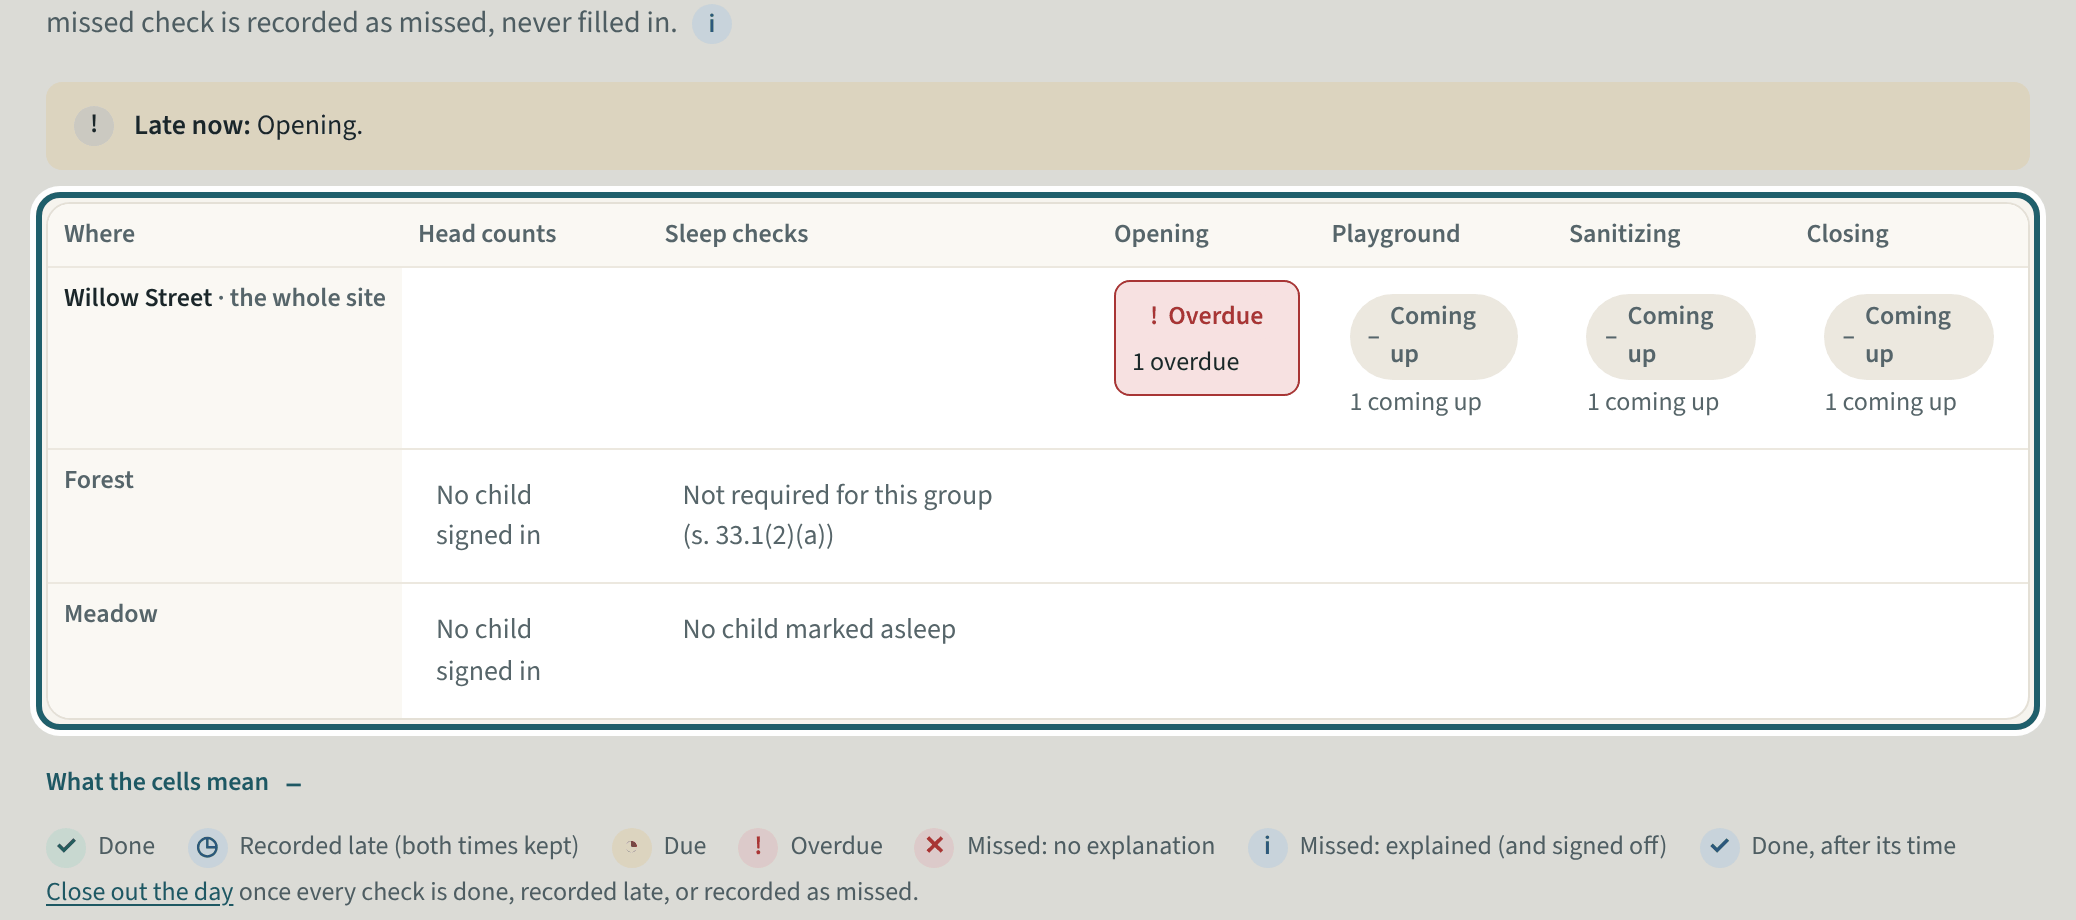
Checks today
Checks today is the board of every room's counts and checks: done, coming up or overdue. A missed check is explained and signed off here.
Watch out: A missed check explained and signed off counts as a miss with a reason; a gap with no explanation stays a gap in the binder.
-
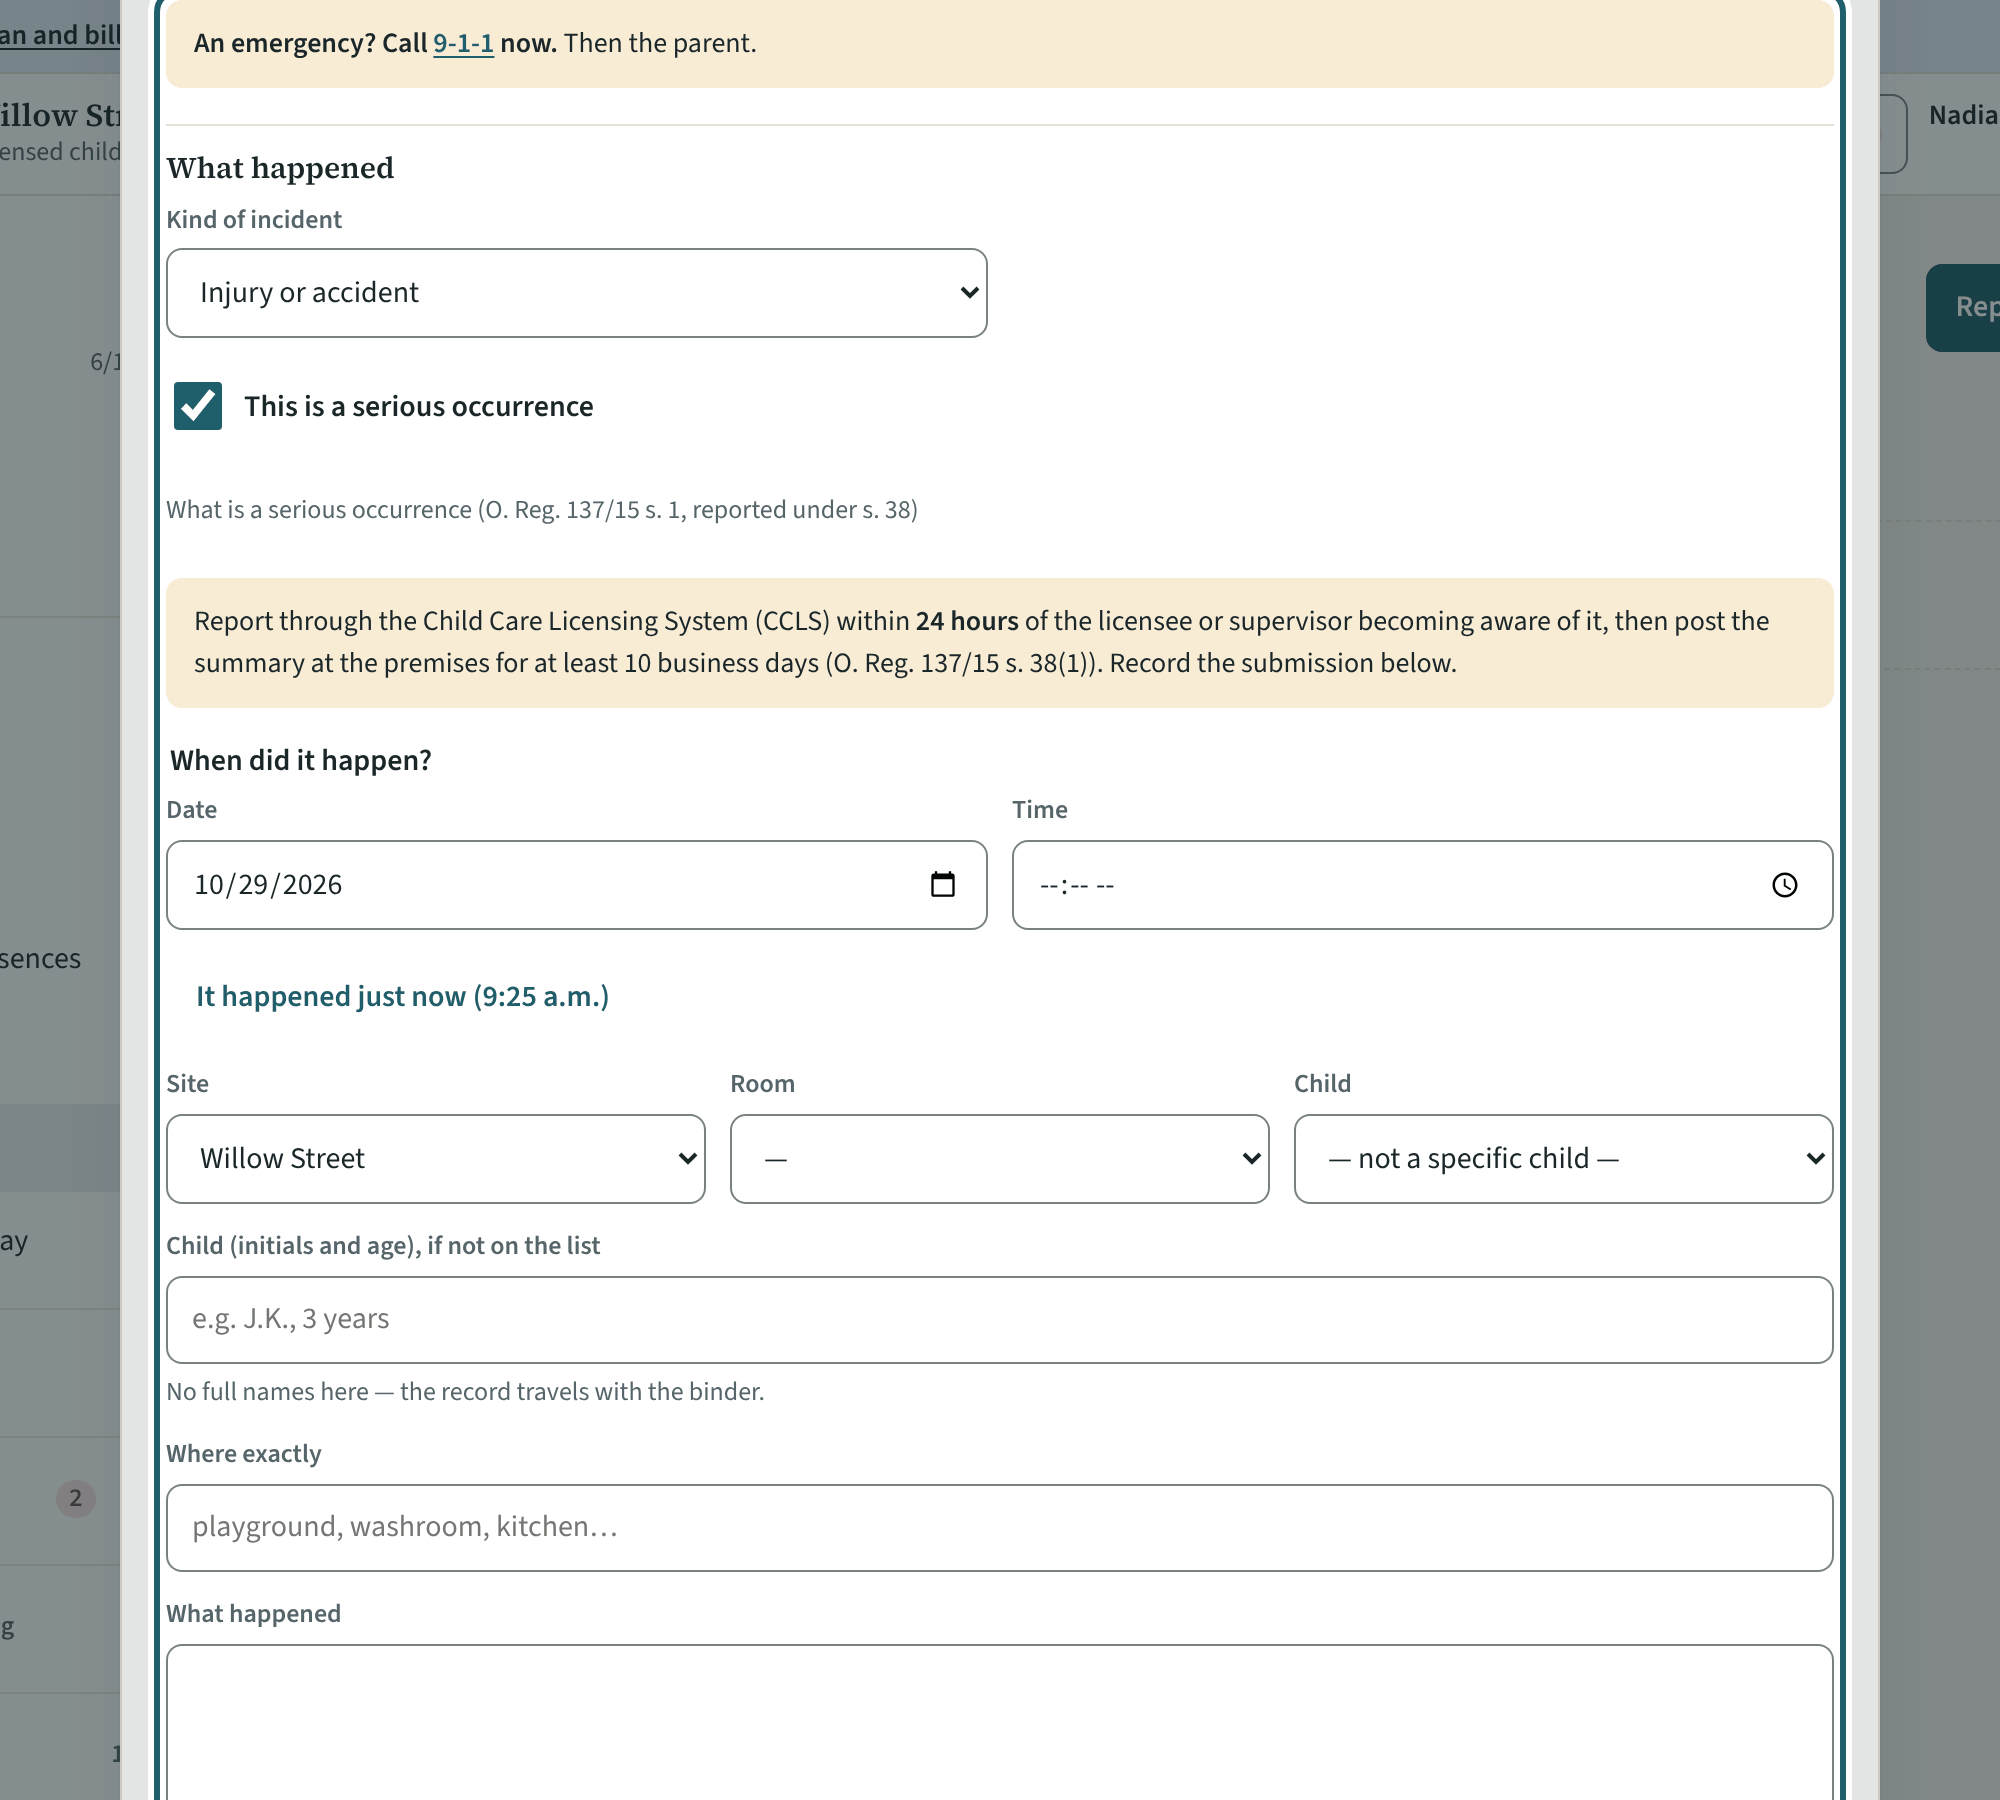
Report an incident
Any incident affecting a child's or a staff member's health, safety or well-being goes in the daily record. A serious occurrence adds the Ministry steps.
Watch out: A serious occurrence is reported to the Ministry within 24 hours of the licensee or supervisor becoming aware of it (s. 38): the clock starts then, and readiness shows a report that went past it.
-
The inspection binder
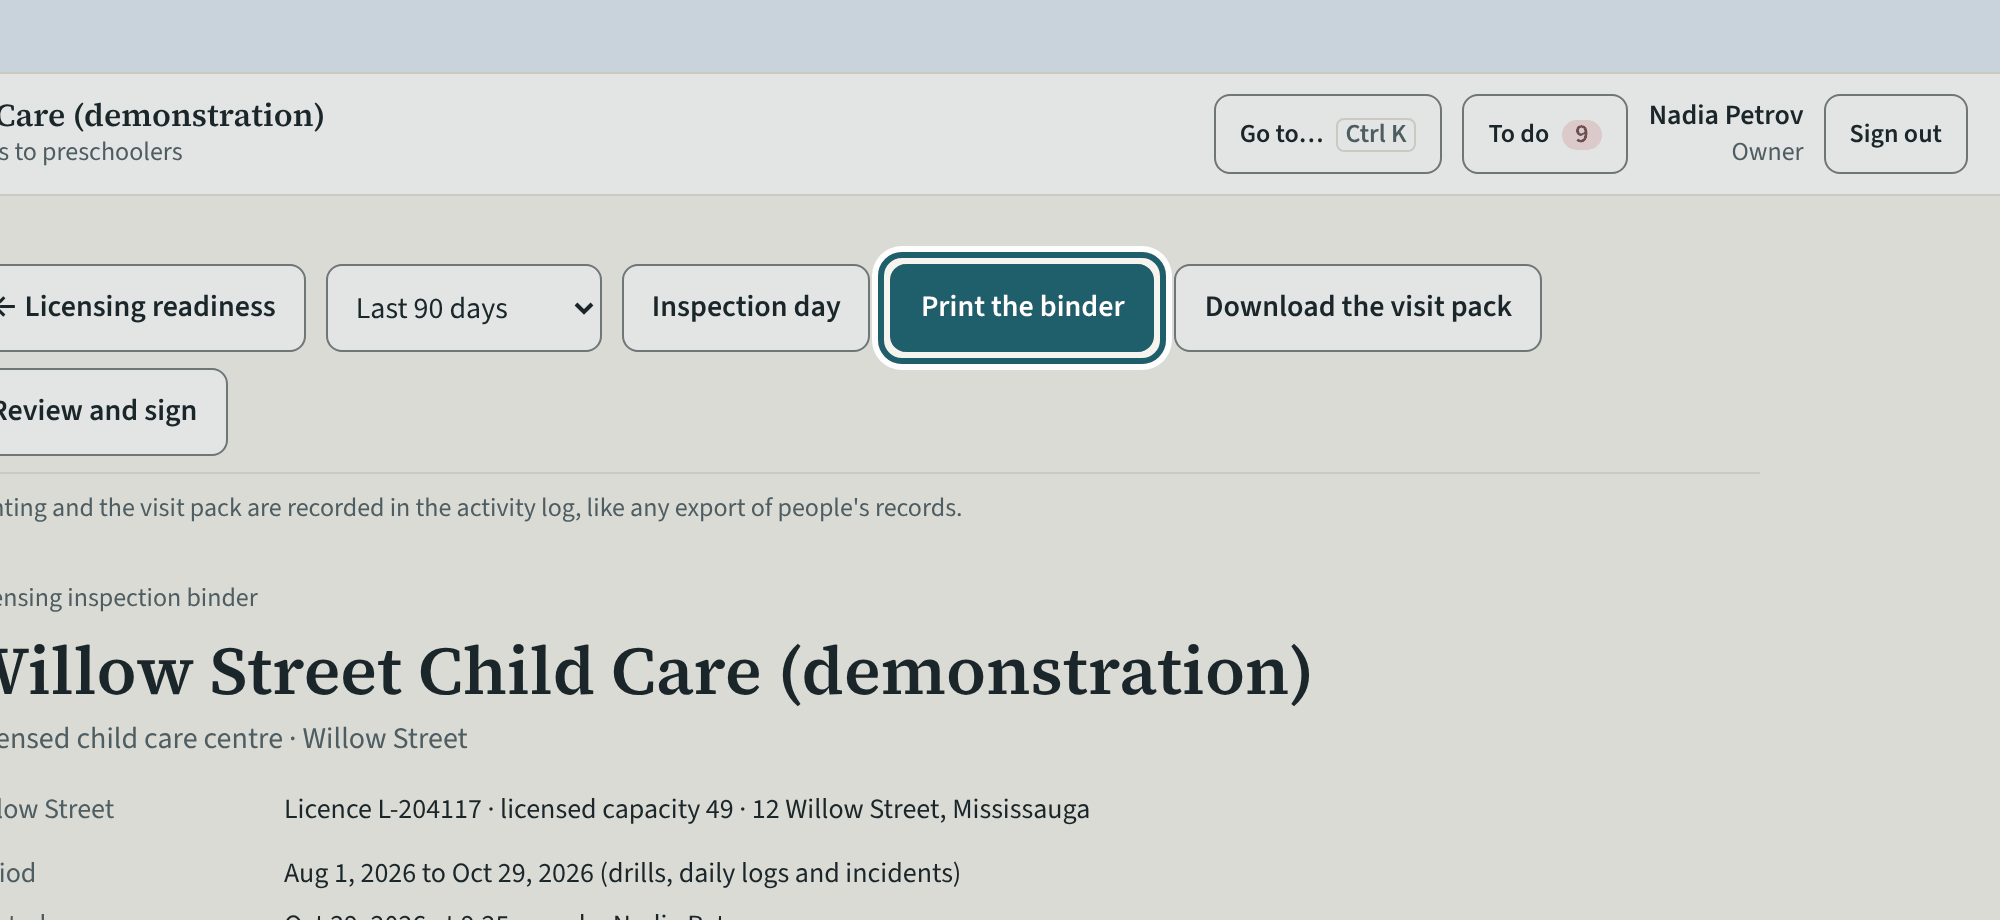
The binder is the visit in one document: cover, contents, the score, the Licensing Manual's parts in its order with the evidence, and a licensee review.
Watch out: Choose the period first (30 days, 90 days or 12 months). Printing the binder is logged with who printed it.
-
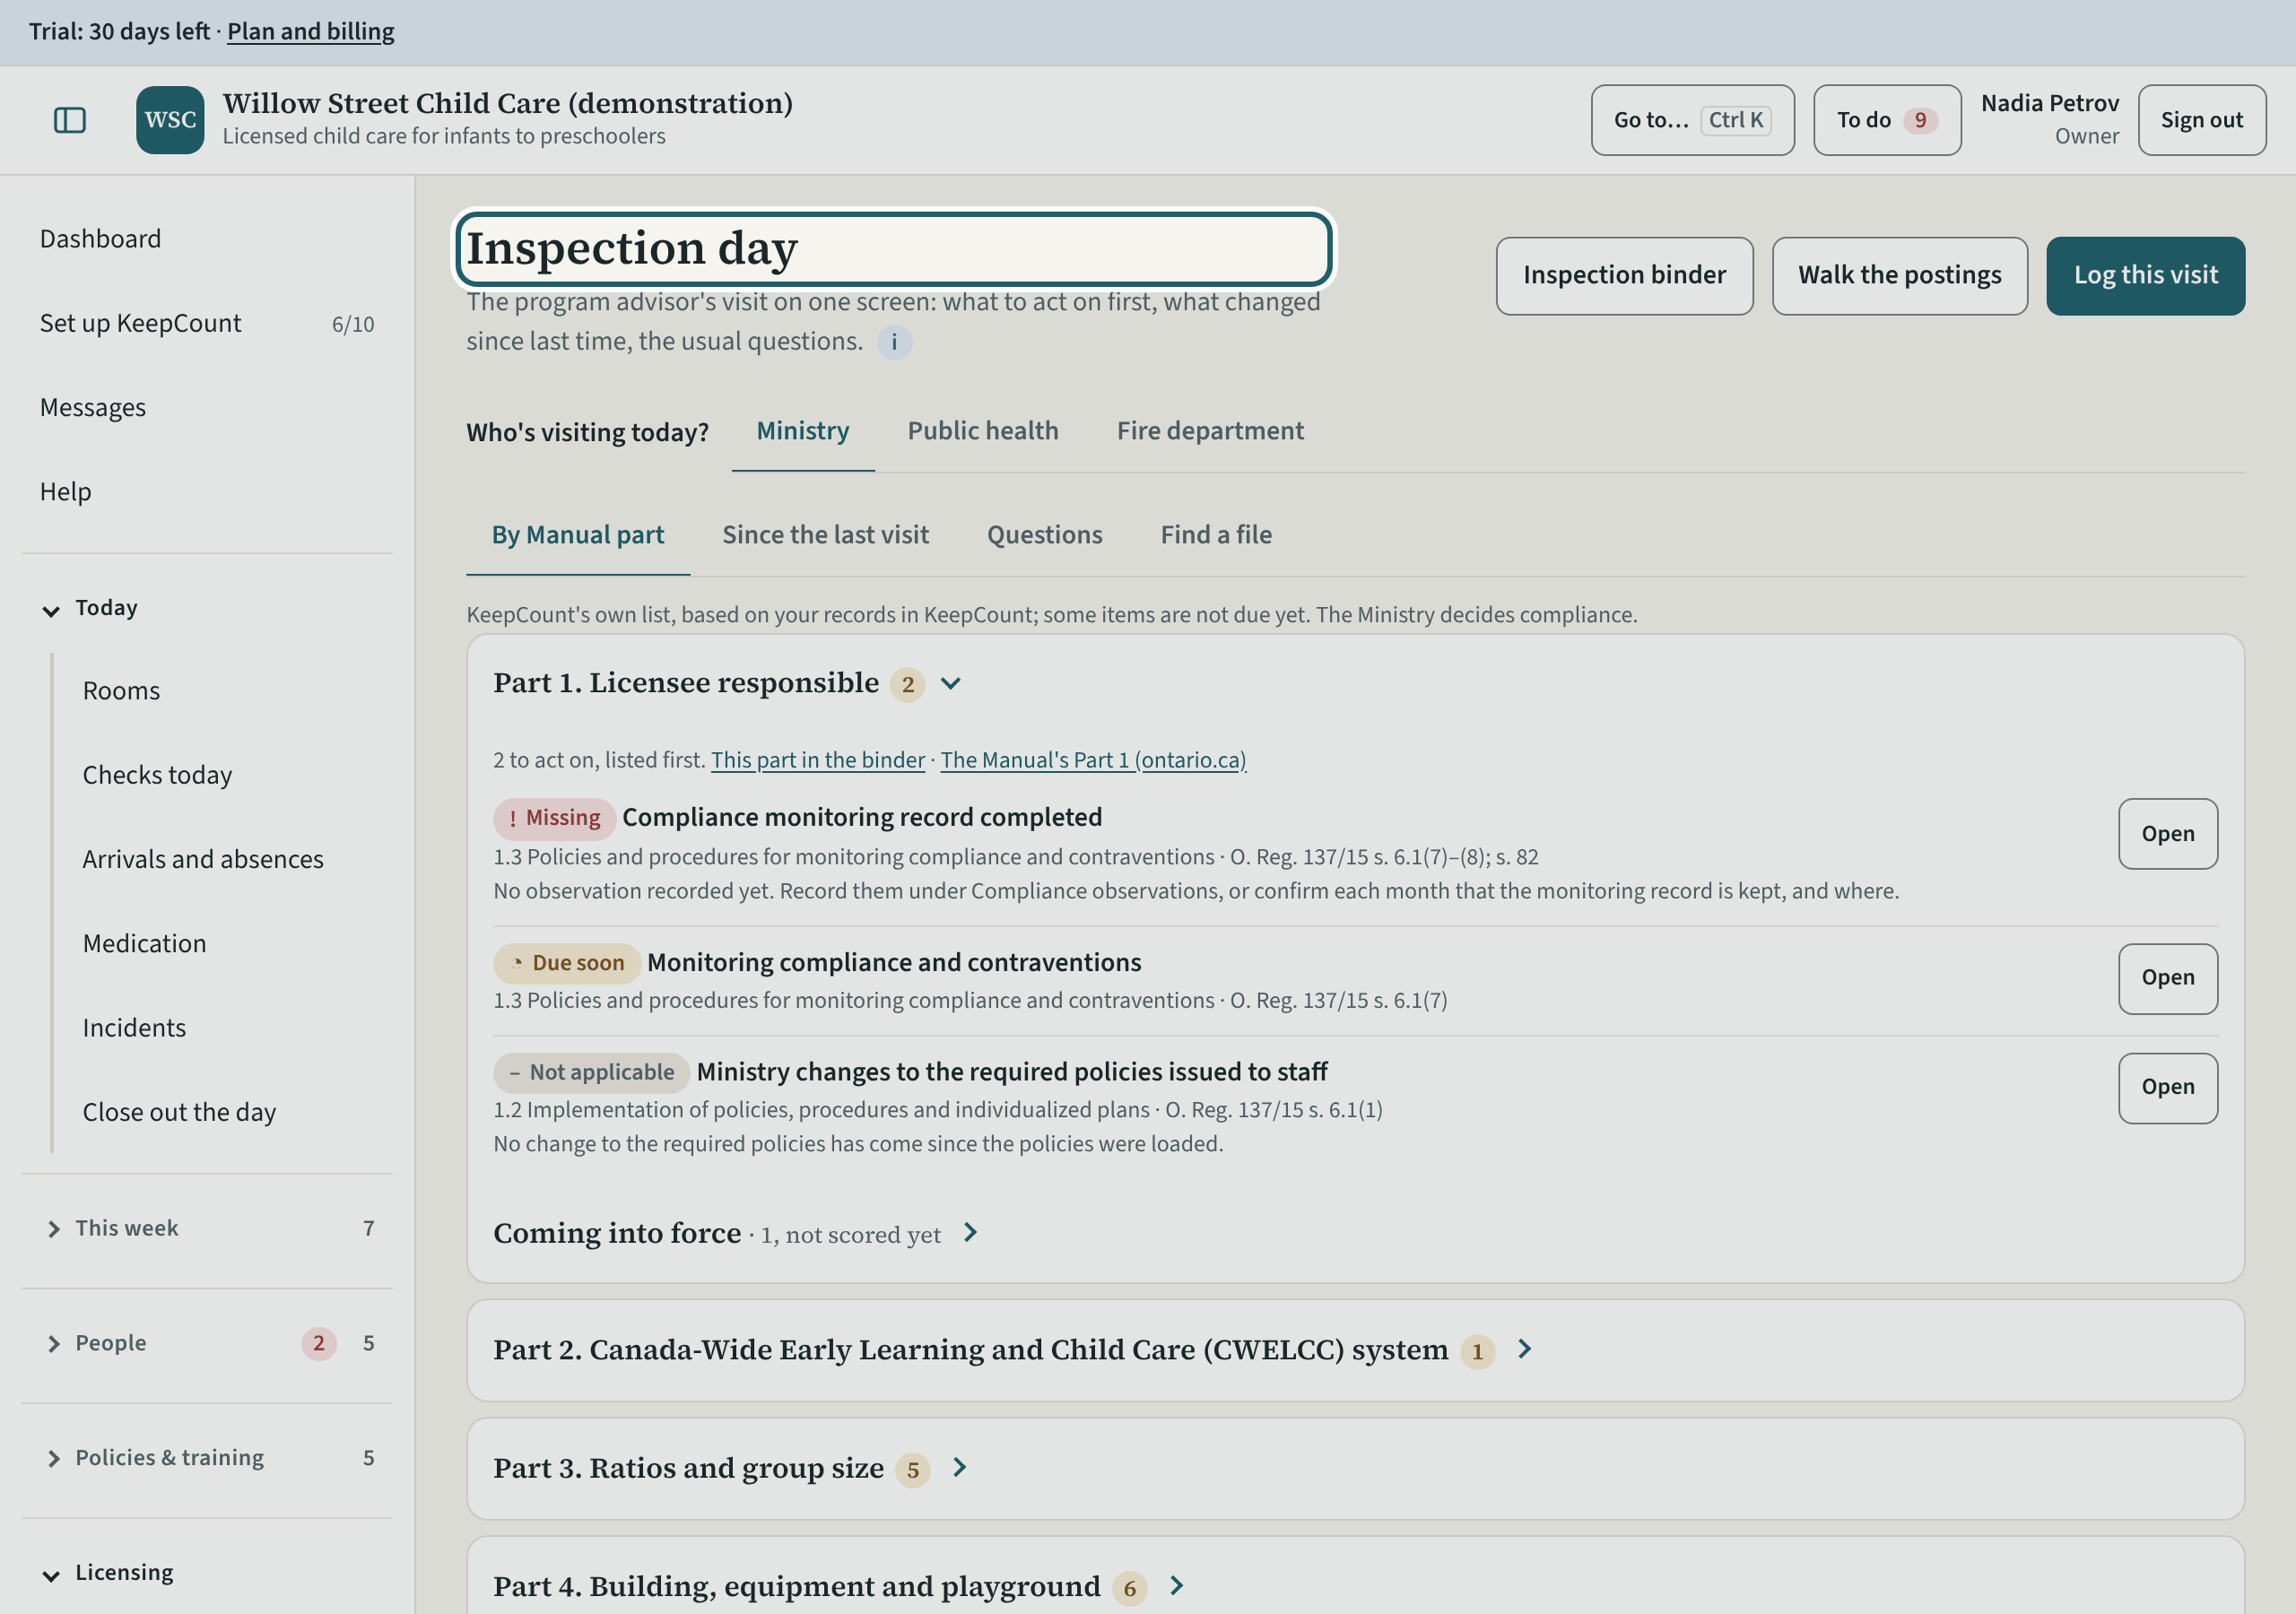
Inspection day
On the day, Inspection day: who is visiting, the records by Manual part, what changed since the last visit, the questions an adviser asks, and "Log this visit".
-
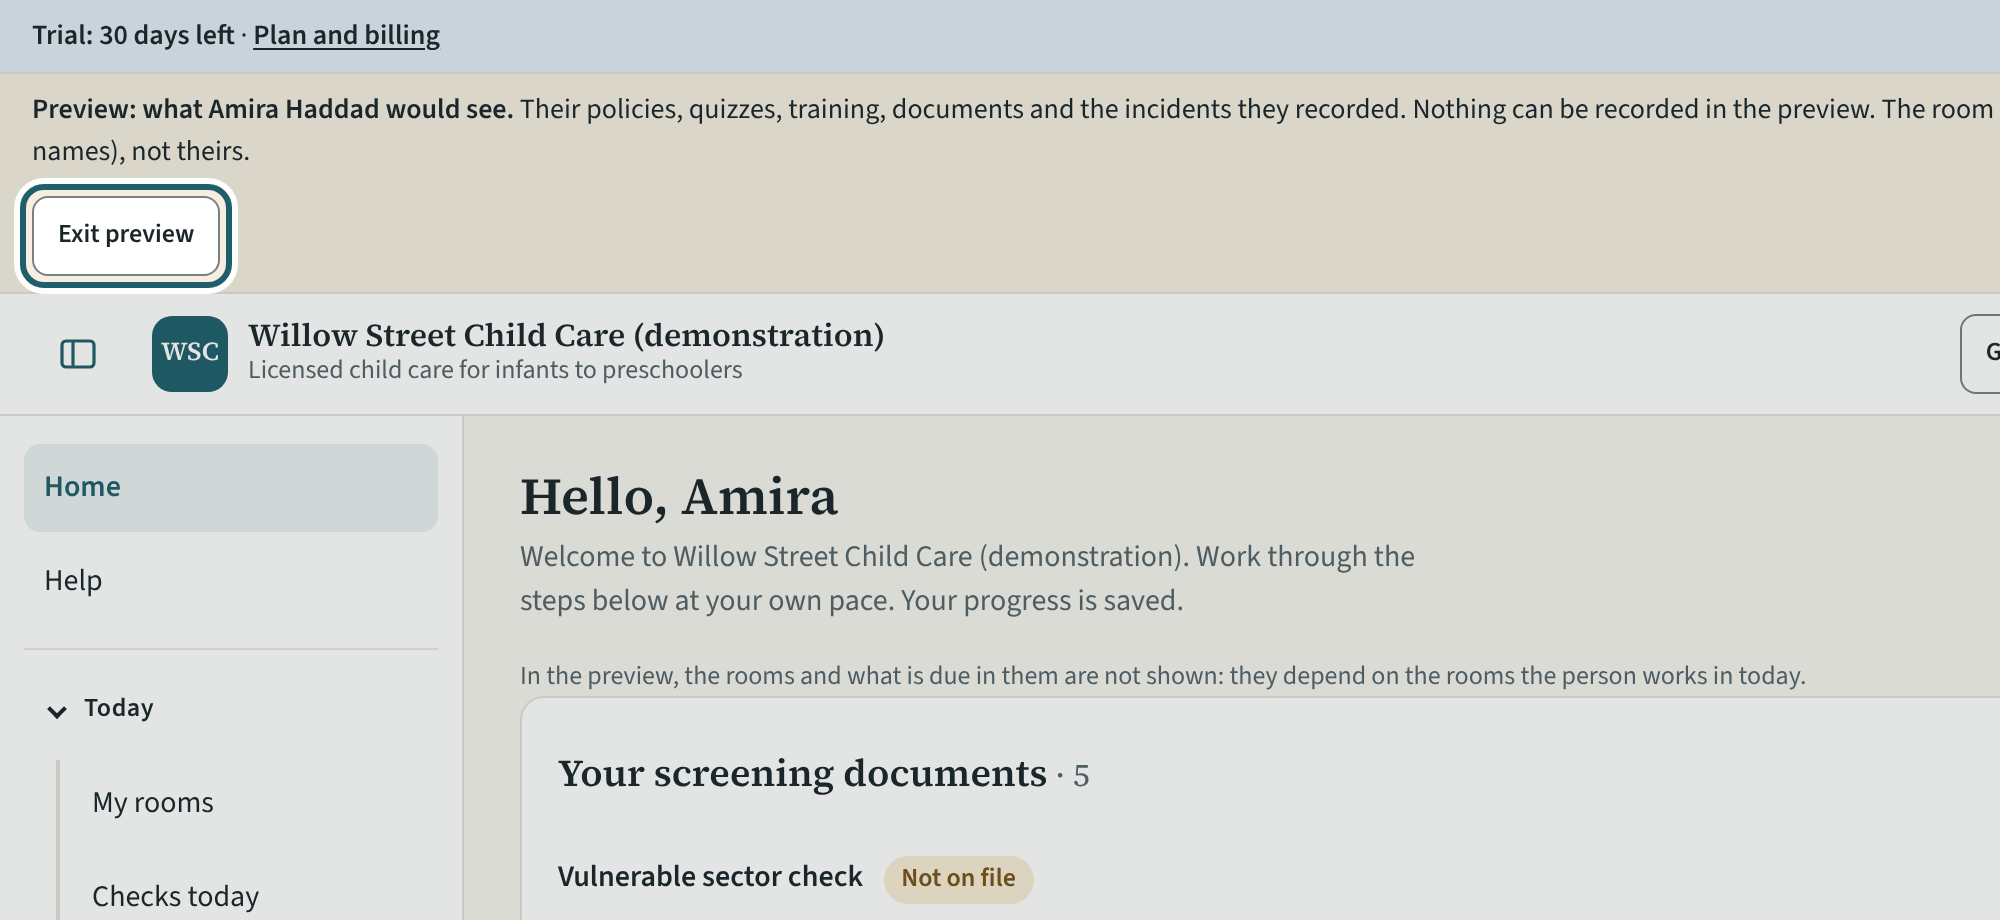
See what staff see
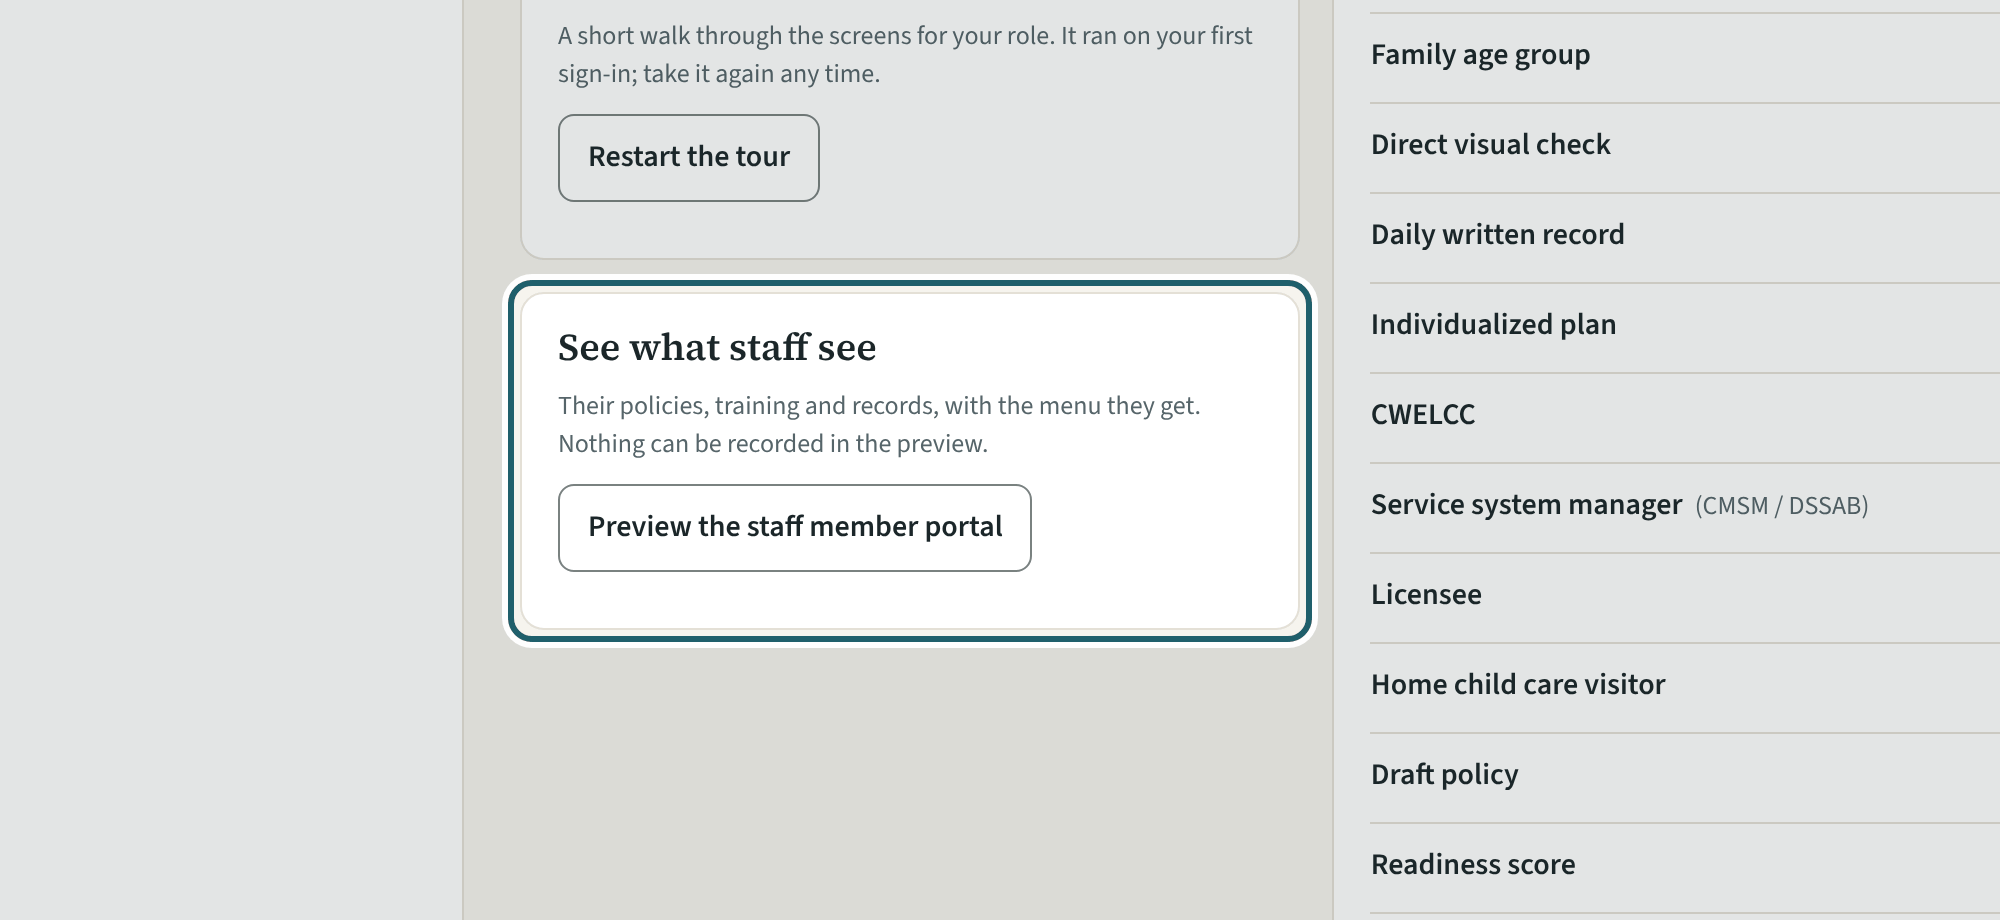
From Help, "Preview the staff member portal": the portal as one person sees it. Nothing can be recorded in the preview.
-
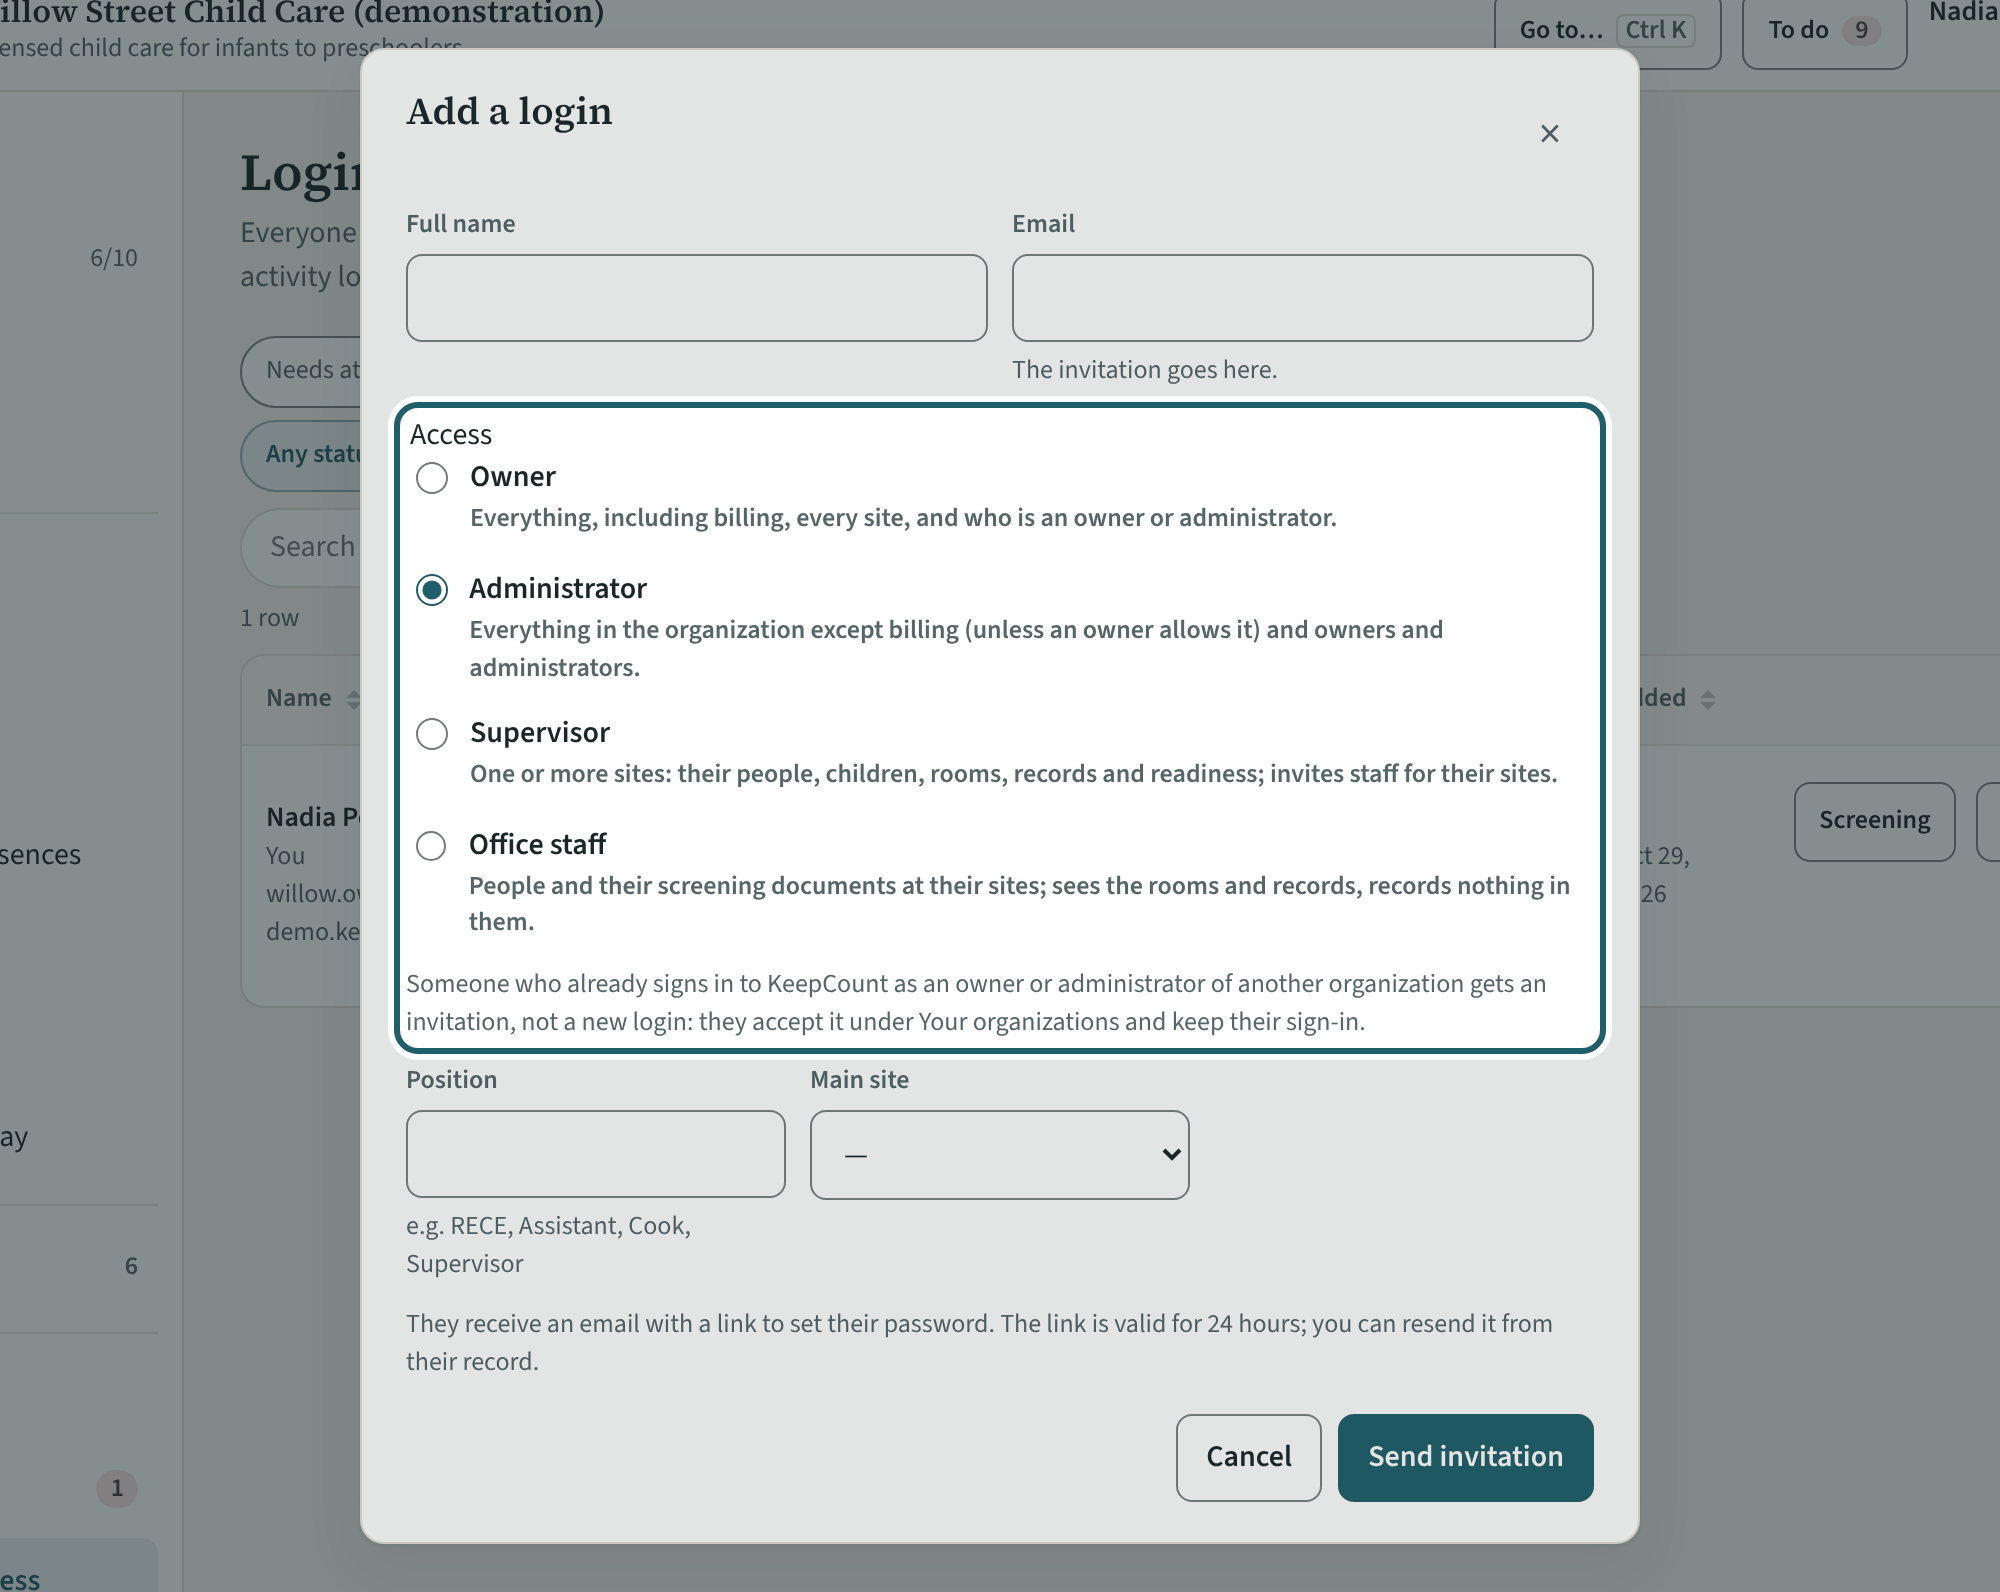
Who else administers
On Logins and access, "Add a login" for the people who run the centre with you: owner, administrator, supervisor of a site, or office staff.
Watch out: Only an owner makes or removes an owner or an administrator, and KeepCount keeps at least one active owner. Room staff and volunteers are added from Staff, not here.
-
Settings, tab by tab
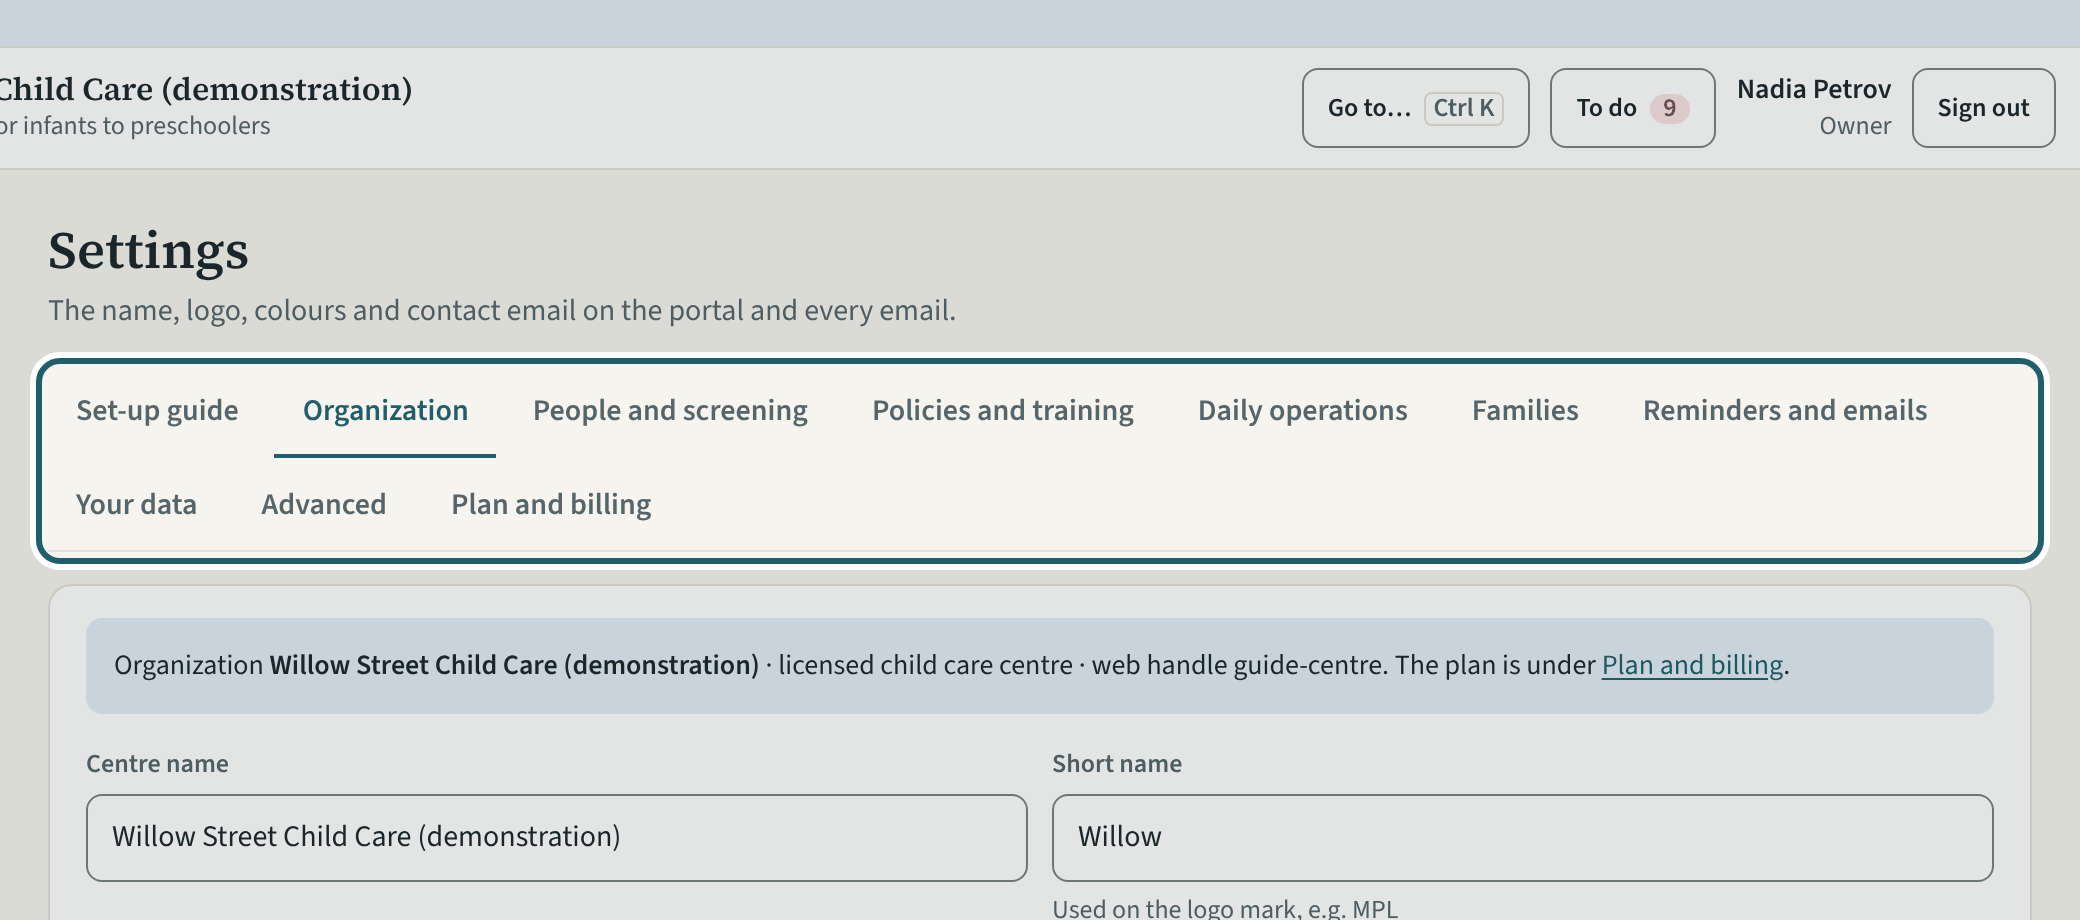
Settings tabs, each with its own Save: Organization, People and screening, Policies and training, Daily operations, Reminders and emails, Your data, Advanced.
Watch out: Each tab has its own Save. Plan and billing is an owner's page; starting the paid plan is arranged with KeepCount support.
-
Help and the tour
Help has the guides to the regulation, What's new after each release, the staff portal preview, who to ask, and "Restart the tour" for the eleven admin screens.
Watch out: "Report a problem" goes to KeepCount support only, with this version: say what you did and what you saw, without a child's name or health details.